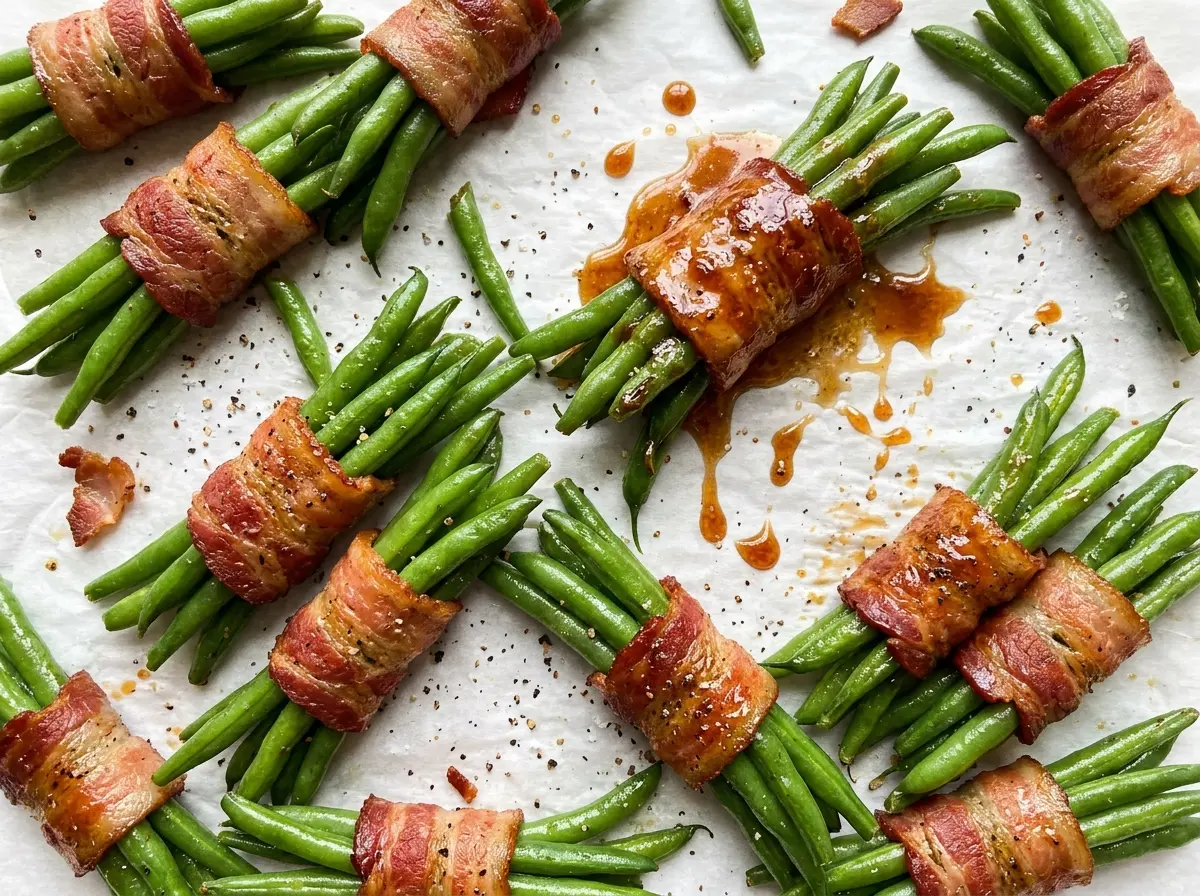
The butter-and-brown-sugar glaze bubbles at the edges of the baking dish while the bacon turns bronze on top. That contrast is what makes these Green Bean Bundles feel more finished than a pan of plain green beans, even though the prep stays straightforward. Each portion is wrapped before baking, and the glaze coats the beans as well as the bacon instead of sitting beside them.
I like the balance here: crisp-tender green beans, salty bacon, and a sweet garlic-butter coating. The glaze comes together on the stovetop, then does its work in the oven as the bacon browns. These eight bundles are easy to portion, and they look right at home in the baking dish they came from.
Kitchen Note
After the ice bath, drain the beans and pat them until the towel comes away dry, not just until the water stops dripping. Water clinging to the beans thins the glaze at the bottom of the dish.
Save these Green Bean Bundles for a side dish with browned bacon and a buttery brown-sugar glaze.
Why the Beans Need a Fast Stop Before the Oven
The green beans cook twice, but each round has a different job. The brief boil softens them just enough to take the hard, raw edge off; the oven then finishes the bundles while the bacon browns and the glaze thickens. If the beans go into the baking dish raw, the bacon may be ready before the beans have softened to a pleasant bite.
The ice-water bath matters because the beans keep cooking from their own heat after they leave the pot. Cooling them promptly protects their bright color and crisp-tender texture, instead of letting them drift toward soft and olive-colored while you work on the bacon. It also gives you a clear pause between blanching and bundling, so the beans aren’t hot and slippery when you season them.
Think of the boil as a head start, not the whole cooking process. The beans should still have a little firmness when they come out of the water; the oven takes them the rest of the way without turning the centers mushy.
What the Beans, Bacon, and Glaze Each Bring
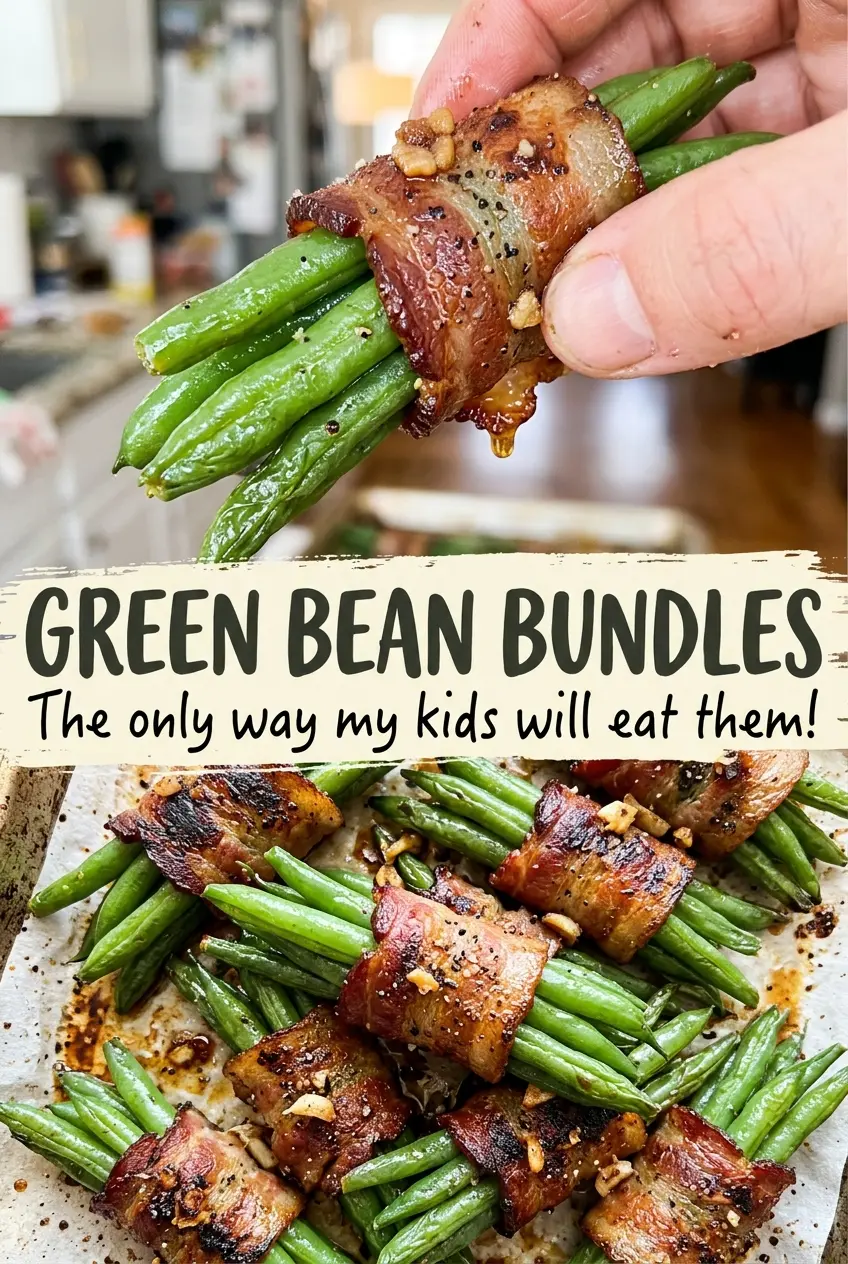
- Fresh green beans — Look for firm beans that are similar in size, so they soften at the same rate and sit neatly together in a bundle. Frozen whole beans are the closest substitute: thaw them fully, drain, and pat them dry before seasoning. They tend to be softer and more difficult to bundle than fresh beans.
- Bacon — Standard sliced bacon bends around the beans without fighting you. Extra-thick slices are harder to wrap and may not brown as readily in the baking time. Turkey bacon can replace pork bacon, but it renders less fat and gives the bundles a leaner finish; cook it only until flexible enough to wrap.
- Unsalted butter and light brown sugar — Unsalted butter lets the seasoning stay balanced, while brown sugar gives the glaze its sweetness and glossy coating. Dark brown sugar works in the same amount for a deeper molasses note and a darker glaze. If salted butter is what you have, adjust the kosher salt in the bundles rather than letting the dish get too salty.
- Garlic powder — It disperses evenly through the butter-and-sugar glaze without adding moisture. Granulated garlic works as a direct swap, though you may notice a slightly coarser texture in the finished coating. The inexpensive pantry version is fine here; fresh garlic isn’t a good stand-in because it can brown in the hot glaze.
From Bright Beans to Browned, Glazed Bundles
Blanch, Cool, and Dry the Beans
Heat the oven to 400°F, bring a large pot of water to a boil, and set out a bowl of ice water. Boil the trimmed beans for 3 to 4 minutes, until they look bright green and feel crisp-tender. Transfer them straight to the ice water, then drain and pat them thoroughly dry. If the beans feel limp already, they’ve had too long in the pot; keep the blanch brief so the oven can finish them.
Render the Bacon Just Enough to Wrap
Cook the bacon in a skillet over medium heat for 4 to 5 minutes, turning it once. You’re looking for some rendered fat, but the slices should still bend easily; crisp bacon is likely to crack when you wrap it. Drain the slices on paper towels. Season the beans with kosher salt and black pepper, divide them into eight bundles, and wrap each bundle with one slice of bacon.
Stir Together the Butter-Brown Sugar Glaze
Melt the butter in a small saucepan over medium-low heat, then stir in the brown sugar and garlic powder. Cook for 1 to 2 minutes, stirring until the mixture is combined. Keep the heat moderate so the butter doesn’t scorch before the sugar blends in. Coat a 9×13-inch baking dish with nonstick cooking spray and arrange the bundles in it.
Bake Until the Bacon Browns, Then Rest
Pour the glaze evenly over the bundles and bake for 20 to 25 minutes, until the bacon is browned. Check the bundles near the end of the baking window; the bacon’s color is the cue to watch, rather than waiting for every bit of glaze to disappear. Let them rest for 5 minutes before serving so the hot glaze settles around the beans and the bundles are easier to lift.
Two Simple Ways to Adapt the Bundles
Make the Glaze Dairy-Free
Replace the butter with an equal amount of dairy-free butter sticks. Choose a stick-style product rather than a soft tub spread, which tends to contain more water. The glaze may taste a little less rich, but it still coats the bundles and carries the brown sugar and garlic.
Turn Up the Garlic
Increase the garlic powder to 3/4 teaspoon for a more pronounced savory note against the brown sugar. The glaze keeps the same buttery sweetness, but the garlic comes through more clearly in each bite.
Storage and Reheating
- Refrigerator: Store leftovers in an airtight container for 3 to 4 days. The beans soften a little, and the glaze firms up as it chills.
- Freezer: Freeze the baked bundles in a single layer until firm, then transfer them to an airtight container for up to 2 months. Thaw overnight in the refrigerator; expect softer beans and less-crisp bacon.
- Reheating: Warm them in a 350°F oven until the centers reach 165°F. Loosely cover with foil if the bacon is browning before the bundles are hot, then uncover briefly at the end; the microwave heats them quickly but leaves the bacon soft.
Questions That Come Up While Making Green Bean Bundles
Green Bean Bundles
Ingredients
Equipment
Method
- Heat the oven to 400°F.
- Bring a large pot of water to a boil.
- Prepare a bowl of ice water.
- Add the green beans to the boiling water and cook for 3 to 4 minutes, until bright green and crisp-tender.
- Transfer the green beans to the ice water to cool.
- Drain the green beans and pat thoroughly dry.
- Cook the bacon in a skillet over medium heat for 4 to 5 minutes, turning once, until some fat has rendered but the slices are still pliable.
- Drain the bacon on paper towels.
- Season the green beans with the salt and pepper.
- Divide the green beans into 8 bundles.
- Wrap each bundle with a slice of bacon.
- Melt the butter in a small saucepan over medium-low heat.
- Stir in the brown sugar and garlic powder and cook for 1 to 2 minutes, stirring, until combined.
- Coat a 9x13-inch baking dish with nonstick cooking spray.
- Arrange the bundles in the baking dish.
- Pour the glaze evenly over the bundles.
- Bake for 20 to 25 minutes, until the bacon is browned.
- Let the bundles rest for 5 minutes before serving.