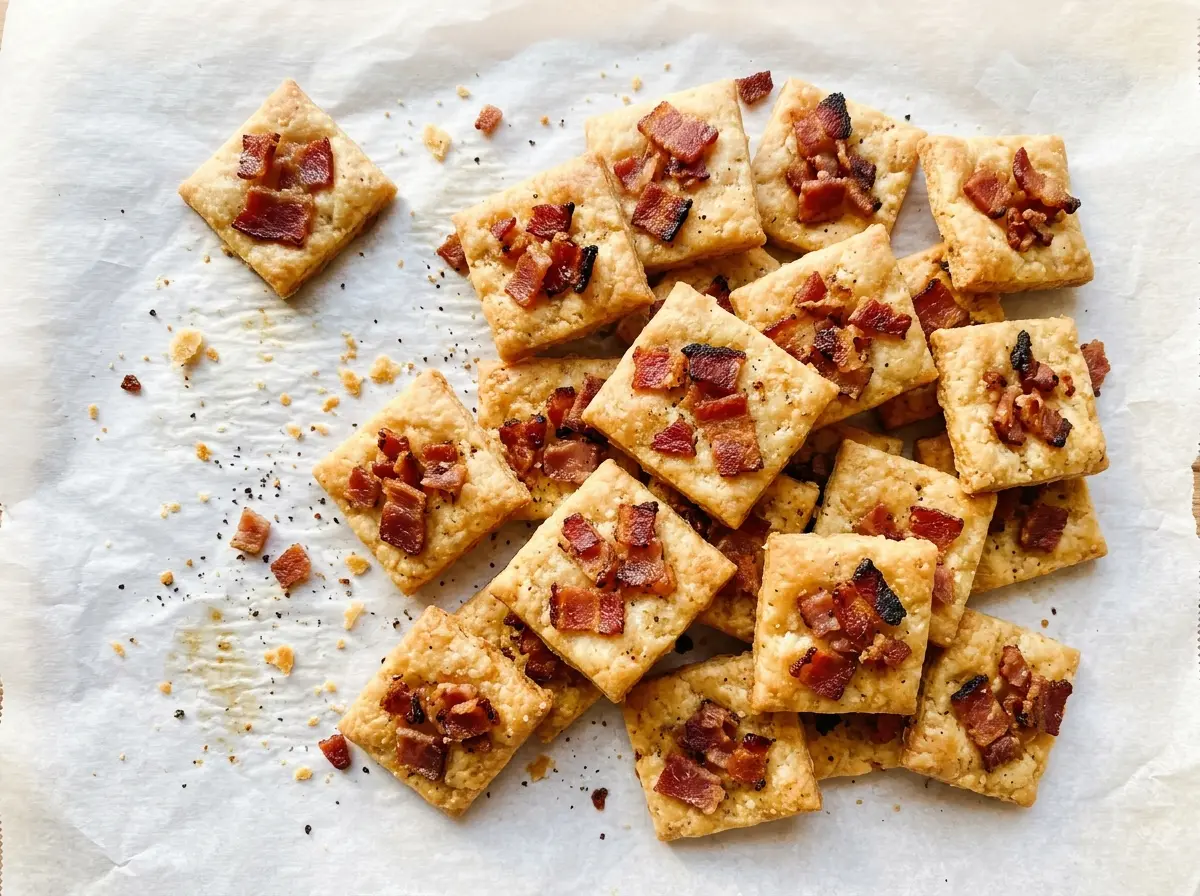
The sugar is the first part of these bites to change in the oven: a dry sprinkle turns glossy and starts to bubble while the bacon slowly crisps around the cracker. That long, gentle bake is what makes Bacon Crackers feel more like a small savory-sweet bite than a cracker with a strip of bacon laid over it. The cracker gives a buttery crunch underneath, and the bacon brings enough salt to keep the brown sugar from tasting one-note.
I like that each piece has a clear sweet-salty contrast without needing a dip or a garnish. A rectangular cracker gives the bacon a flat surface to wrap around, and regular-cut slices are easy to portion across the batch. When they’re ready, the sugar has a little shine and the bacon is crisp at the edges. The buttery cracker still has a presence under the bacon instead of disappearing into it.
Kitchen Note
Let the crackers cool on the rack for the full five minutes before serving. That short rest gives the hot, bubbly sugar a chance to settle, so the topping is less likely to smear when you pick one up.
Save these Bacon Crackers for an easy sweet-and-salty appetizer with crisp bacon and glossy brown sugar.
Why These Need a Rack, Not Just a Foil-Lined Pan
The wire rack changes how the bacon cooks. It holds the crackers above the rendered fat, so the bacon isn’t sitting in a puddle as it crisps. That matters in a low oven, where the bacon has time to render slowly over the long bake. Without space underneath, the bottoms can stay greasy instead of turning crisp.
The foil-lined baking sheet has a separate job: it catches drips and makes cleanup easier. Keep the rack stable on the sheet, and arrange the crackers in a single layer so they aren’t crowded together. The rack also lets air move around the bacon-wrapped edges rather than leaving the underside pressed against a solid pan. This setup helps the bacon crisp while the sugar on top has time to turn bubbly, which is the combination you’re looking for rather than a dark, quickly cooked top and soft bacon.
What the Cracker, Bacon, and Brown Sugar Each Bring

- Buttery rectangular crackers — Their shape gives the bacon a flat, even surface to wrap around, and their buttery flavor holds up beneath the sweet topping. Club crackers are one option; choose another buttery rectangular cracker with a similar size if needed. Very delicate crackers are more likely to break during wrapping.
- Regular-cut bacon — It’s thin enough to cut in half crosswise and wrap around each cracker without making the bundle bulky. The recipe depends on that manageable thickness for the bacon to crisp during the long bake. Keep the slices intact as you wrap so each piece covers the cracker securely.
- Packed light brown sugar — Its soft texture makes it easy to sprinkle evenly, and it melts into the shiny, bubbling top. Pack it into the measuring cup before measuring so the amount is consistent. Spread the teaspoon over each cracker rather than leaving it in one mound, which helps the topping cover the surface more evenly.
Wrapping and Baking So the Bacon Turns Crisp
Set Up the Rack
Heat the oven to 250°F. Line a rimmed baking sheet with foil, then set a wire rack on top so it sits securely. The rack should be level; a tilted surface can let crackers slide as you arrange them. Keep the prepared sheet nearby while you wrap the crackers.
Wrap Each Cracker
Cut each bacon slice in half crosswise, then wrap one piece around one cracker. Set each cracker seam-side down on the rack so the loose end of bacon is held in place by the weight of the cracker. Work gently, since buttery crackers can snap if you squeeze them while wrapping. Arrange the finished pieces in a single layer.
Add an Even Sugar Layer
Sprinkle 1 teaspoon of packed brown sugar over each cracker. Aim for an even coating across the top rather than a tall pile in the middle. If sugar falls onto the foil, leave it there instead of trying to press it back onto the bacon. Even coverage gives each piece a consistent sweet finish.
Bake Until Both Cues Appear
Bake for 1 1/2 to 2 hours, until the bacon is crisp and the sugar is bubbly. The bacon should look cooked through, not pale and floppy at the edges, and the sugar should have a glossy, active bubble rather than a dry, powdery appearance. Start checking as the bake approaches the shorter end of the range, since ovens can vary. When both cues are there, take the sheet from the oven and let the crackers cool on the rack before serving.
Two Practical Ways to Adjust the Batch
Use a Different Buttery Rectangle
Club crackers are a good example, not the only option. Another buttery rectangular cracker of a similar size keeps the same easy wrapping shape, though a thinner or more fragile cracker may crack while you handle it. Avoid changing to a round cracker, since it won’t give the bacon the same flat surface to wrap around.
Scale the Batch Down
For fewer crackers, reduce each ingredient in the same proportion and keep the same pairing: one piece of bacon around each cracker, with the same teaspoon of brown sugar on top. Use the same oven temperature and judge the batch by crisp bacon and bubbly sugar rather than assuming a smaller quantity needs half the bake time.
Storage and Reheating
- Refrigerator: Refrigerate leftovers in a covered container within 2 hours and use them within 3 to 4 days. The crackers will soften somewhat as they sit.
- Freezer: Freezing isn’t recommended; thawing softens the cracker and takes away its crisp texture.
- Reheating: Warm them in the oven until hot and crisp again. Skip the microwave, which tends to soften the cracker and leave the bacon limp.
Questions That Come Up When Making Bacon Crackers
Bacon Crackers
Ingredients
Equipment
Method
- Heat the oven to 250°F.
- Line a rimmed baking sheet with foil and set a wire rack on the sheet.
- Cut each bacon slice in half crosswise.
- Wrap one piece of bacon around each cracker.
- Place the crackers seam-side down on the rack.
- Sprinkle 1 teaspoon brown sugar over each cracker.
- Bake for 1 1/2 to 2 hours, until the bacon is crisp and the sugar is bubbly.
- Let the crackers cool on the rack for 5 minutes before serving.