The roux goes from pale to too dark faster than it seems, and that little window is where turkey gravy gets its smooth, mellow base. I keep the whisk moving and watch for a light golden color before any broth goes in. This Perfect Turkey Gravy makes enough for eight servings, and it uses a simple butter-and-flour roux to thicken turkey broth and pan drippings into a gravy that pours easily without tasting floury.
I like having the drippings option because it brings the roasted turkey flavor right into the saucepan. Strained, defatted drippings blend with low-sodium turkey broth, while an extra portion of broth works when there aren’t enough drippings to use. Either way, adding the liquid gradually and whisking until smooth keeps the gravy from turning lumpy.
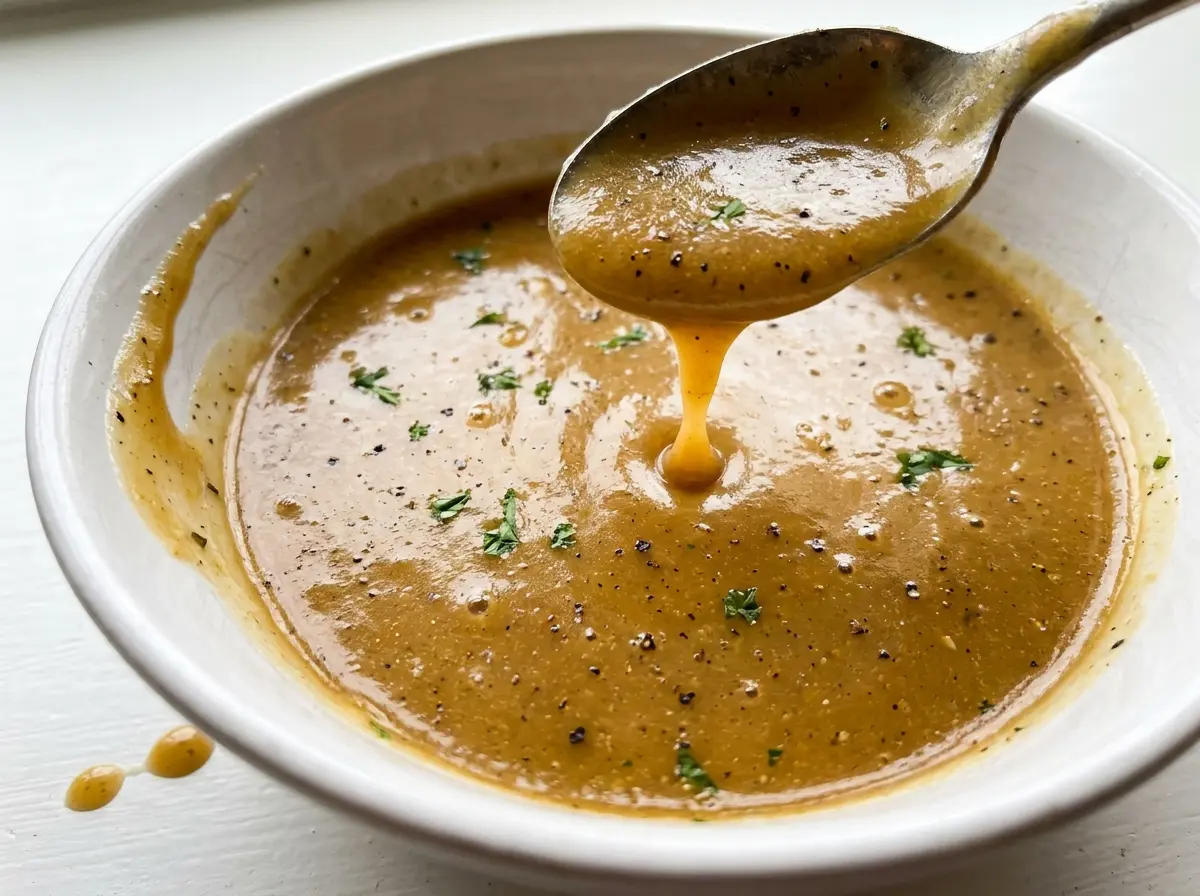
Once it simmers, the gravy thickens in just a few minutes. Taste it at the end before adding more salt, since the drippings and broth can bring their own seasoning. The finished gravy should be smooth, savory, and ready to ladle over turkey.
Kitchen Note
Taste before you add extra salt. Low-sodium broth gives you room to season at the end, and the drippings can vary in saltiness depending on how the turkey was prepared.
Save Perfect Turkey Gravy for the next holiday meal: a smooth, pale-golden roux turns broth and turkey drippings into a gravy that’s ready in minutes.
Why a Gradual Pour Keeps Turkey Gravy Smooth
A roux gives this gravy body, but it needs to meet the broth evenly. Flour stirred into melted butter disperses through the fat first; when liquid is added a little at a time, the whisk can work it into a smooth mixture before more broth arrives. Pouring in all the liquid at once makes it harder to break up pockets of flour, which can leave small lumps even after the gravy simmers.
Keep whisking as you add the broth and drippings, and pause briefly if the mixture needs a moment to smooth out. Once all the liquid is incorporated, the gravy can come to a simmer and thicken evenly. A steady whisk matters more during this transition than vigorous speed; the goal is to keep the flour distributed throughout the saucepan.
This also explains why the roux should be smooth before the broth goes in. A pale golden roux has cooked long enough to lose the raw-flour taste while still keeping a mild flavor that lets the turkey broth come through. The result is a gravy with a cohesive texture instead of a floury finish or scattered lumps.
How Butter, Flour, and Turkey Drippings Shape the Gravy

- Unsalted butter — It supplies the fat that carries the flour into a roux and keeps the gravy’s seasoning easy to adjust. Use butter rather than relying on a strongly flavored fat; its mild taste lets the turkey broth stay in front.
- All-purpose flour — Flour thickens the broth as the gravy simmers and gives it a familiar, spoon-coating consistency. It’s worth measuring it carefully for a balanced roux; a different thickener would need a different method and proportion.
- Low-sodium turkey broth — This is the main liquid and gives the gravy its turkey base. Low-sodium broth is useful because it leaves room to season after the drippings have been added and the gravy has reduced slightly.
- Turkey pan drippings — Strained, defatted drippings add roasted-turkey character that broth alone doesn’t quite replicate. When the pan doesn’t yield enough, the listed broth alternative keeps the gravy moving without changing the basic method.
- Kosher salt and black pepper — Salt rounds out the turkey flavor, while black pepper adds a gentle, familiar bite. Taste the finished gravy before deciding whether it needs more salt.
Building a Smooth Roux and Simmering Until Thick
Melt the Butter Without Browning It
Set the butter in a 3-quart saucepan over medium heat and let it melt for about 1 to 2 minutes. It should turn liquid and look glossy, not browned or separated. Keep the heat moderate so the butter is ready for the flour without taking on a toasted flavor. A saucepan with room for whisking makes the next stages easier.
Cook the Flour to Pale Gold
Whisk the flour into the melted butter and keep whisking constantly for 2 to 3 minutes. The roux should look smooth, with no dry flour visible, and shift to a pale golden color. Don’t let it brown deeply; a darker roux brings a stronger toasted taste and won’t match this mild turkey gravy. Keep the whisk moving around the sides and bottom of the pan.
Whisk in the Broth and Drippings
Gradually pour in the turkey broth and strained, defatted drippings while whisking. The mixture will loosen as the liquid goes in, then become smooth and fluid once everything is incorporated. Add the liquid steadily rather than tipping it all in at once, and work out any small flour pockets before moving on. If you’re using broth in place of the drippings, whisk it in the same way.
Simmer, Thicken, and Season
Bring the gravy to a simmer over medium heat, then cook for 5 to 8 minutes, whisking often. It should become visibly thicker and coat the whisk instead of running off like thin broth. Stir in the salt and black pepper, taste, and add more salt if needed. The gravy is ready when it’s smooth and thickened, not when it has boiled hard.
Two Ways to Make the Turkey Flavor Work for You
Make an all-broth batch
Use low-sodium turkey broth for the half-cup portion in place of pan drippings. The gravy still thickens the same way, with a cleaner, broth-led turkey flavor rather than the deeper roasted note from drippings.
Use the drippings for a roastier finish
Choose the strained, defatted turkey pan drippings for the half-cup portion when you have them. They add a fuller roasted flavor, while the low-sodium broth keeps the gravy from relying on drippings alone.
Storage and Reheating
- Refrigerator: Refrigerate leftovers within 2 hours and keep them covered for 3 to 4 days. The gravy will firm up as it chills.
- Freezer: Freeze in an airtight container for up to 3 months. Thaw it in the refrigerator; the texture may look slightly separated until it’s whisked while reheating.
- Reheating: Warm it in a saucepan over medium-low heat, whisking often, until it reaches 165°F. Avoid high heat, which can make the gravy catch on the bottom before it heats evenly.
Questions That Come Up While Making Turkey Gravy
Perfect Turkey Gravy
Ingredients
Equipment
Method
- Melt the butter in a 3-quart saucepan over medium heat, about 1 to 2 minutes.
- Whisk in the flour and cook, whisking constantly, for 2 to 3 minutes, until the roux is smooth and pale golden.
- Gradually whisk in the turkey broth and pan drippings until smooth.
- Bring the gravy to a simmer over medium heat.
- Cook for 5 to 8 minutes, whisking often, until thickened.
- Stir in the salt and black pepper.
- Taste the gravy.
- Add more salt if needed.