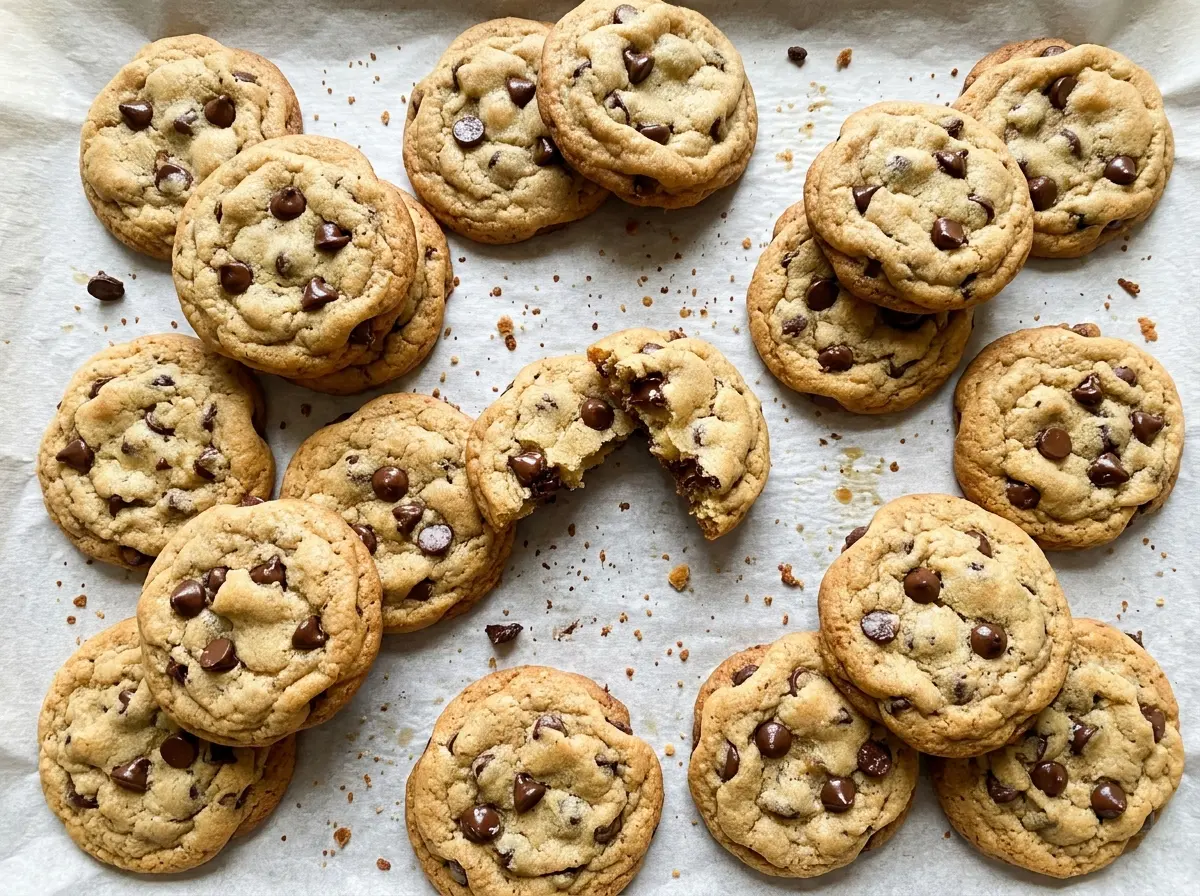
The edges turn golden before the centers look fully set, and that’s exactly when these cookies are ready to come out. I used to wait for the whole cookie to look firm, which meant the bottoms kept going darker while the cookies cooled. With the Original Toll House Chocolate Chip Cookies, watching the edges instead gives you that classic balance: tender in the middle, with a lightly crisp rim and plenty of semisweet chocolate.
The dough comes together in a familiar order: cream the softened butter with both sugars and vanilla, add the eggs one at a time, then work in the flour mixture. That order gives the butter and sugar time to turn creamy before the dry ingredients go in. Walnuts add a little crunch alongside the chocolate, and the rounded tablespoonfuls bake into a generous batch of cookies with the simple, recognizable flavor that makes this recipe worth keeping close.
Kitchen Note
Beat the butter, sugars, and vanilla until the mixture looks creamy before adding the eggs. Add the eggs one at a time; the batter comes together more evenly that way.
Save these Original Toll House Chocolate Chip Cookies for a batch with golden edges, soft centers, semisweet chocolate, and a little crunch from walnuts.
Why Every Baking Sheet Needs to Cool Between Batches
Cookie dough starts changing as soon as it lands on a hot surface. If you scoop the next batch onto a baking sheet that just came out of the oven, the butter in the dough begins to soften before the cookies even start baking. That early melt can make the cookies spread more than you expect, and the next batch won’t behave like the first.
This recipe makes enough dough for several rounds, but the fix is straightforward: bake one sheet at a time, then let each baking sheet cool completely before loading it again. Having two rimmed sheets on hand helps the rhythm—one can cool while the other is in the oven. Don’t rush that switch by scraping fresh dough onto a warm pan. A cool, ungreased sheet gives each rounded scoop the same starting point, so the batch stays more consistent from the first cookies to the last.
What the Flour, Butter, and Chocolate Each Bring to the Dough

- All-purpose flour — Spoon it into the measuring cup and level it off instead of scooping directly from the bag, which packs in more flour and can leave the dough dry. Regular all-purpose flour is the right choice here; a specialty flour would change the structure.
- Unsalted butter — Butter supplies the rich flavor and helps the sugars cream into the base of the dough. Use softened, not melted, butter so it can be beaten creamy; unsalted butter also lets the measured salt stay in control. A butter substitute won’t give quite the same taste or texture.
- Granulated and light brown sugars — The two sugars do different jobs: granulated sugar supports the crisp edges, while packed brown sugar adds moisture and a deeper, caramel-like note. Pack the brown sugar into its measuring cup, and use light brown sugar for the intended balance.
- Large eggs — The eggs bind the dough and contribute moisture. Add them individually after creaming so each one blends into the butter mixture before the next goes in.
- Semisweet chocolate morsels — Semisweet morsels bring a clear chocolate flavor without making the dough overly sweet. A standard baking package works well; there’s no need to seek out specialty chocolate for this classic cookie.
- Chopped walnuts — Walnuts add a firm, toasty crunch that contrasts with the softer dough. Choose fresh-tasting nuts; stale walnuts can bring a bitter note that’s hard to hide. The pieces should be chopped so they distribute through the cookies rather than landing in a few oversized bites.
- Baking soda and salt — Baking soda helps the cookies spread and brown, while salt keeps the sweetness from tasting flat. Whisk them thoroughly with the flour so neither is concentrated in one part of the batch.
Mixing and Baking the Cookies Without Guesswork
Whisk the dry ingredients evenly
Whisk the flour, baking soda, and salt together in a medium bowl before you start combining the dough. A thorough whisk spreads the leavener through the flour so the cookies bake more evenly. Spoon and level the flour as you measure it; too much flour can make the dough stiff and the baked cookies less tender. Set the bowl aside while you cream the butter mixture.
Cream the butter mixture, then add the eggs
Beat the softened butter with the granulated sugar, packed light brown sugar, and vanilla until creamy. The mixture should look blended rather than like separate pieces of butter and sugar. Beat in the large eggs one at a time, allowing the first to mix in before adding the second. If the butter is too firm to beat smoothly, give it more time to soften instead of melting it.
Bring the dough together and fold in the morsels
Gradually beat the flour mixture into the butter mixture, stopping once it’s combined. Scrape down the bowl if flour is sitting along the sides, but don’t keep beating after the dough comes together. Stir in the semisweet chocolate morsels and chopped walnuts so they’re distributed throughout. The dough will be thick enough to portion into rounded tablespoonfuls.
Bake one sheet at a time and watch the edges
Heat the oven to 375°F and drop rounded tablespoonfuls of dough about 2 inches apart on two ungreased 13×18-inch rimmed baking sheets. Bake one sheet at a time for 9–11 minutes, until the edges are golden brown. Let the cookies cool on the sheet for 2 minutes, then move them to a wire rack. Let the baking sheet cool before adding dough for another batch.
Two Simple Ways to Adapt the Classic Cookie
Make a walnut-free batch
Leave out the chopped walnuts and keep the chocolate morsels. The cookies will have a smoother bite and a more direct chocolate flavor, while the dough still bakes using the same method. If you’re avoiding nuts because of an allergy, check the ingredient and cross-contact information on the chocolate package.
Let the walnuts take the lead
For a chocolate-free variation, leave out the semisweet morsels and keep the chopped walnuts. You’ll get a buttery cookie with a more pronounced nutty crunch, rather than the familiar chocolate-and-walnut combination. Keep the rest of the dough and baking method the same.
Storage and Reheating
- Refrigerator: Store baked cookies in an airtight container for up to a week; they’ll firm up and lose some of their soft texture.
- Freezer: Freeze completely cooled cookies in an airtight freezer-safe container for up to 2 months. Thaw at room temperature before serving.
- Reheating: Warm a cookie in the microwave for about 8–10 seconds. Longer heating can make the chocolate very hot and the cookie tough, so start briefly.
Questions I Get Asked About These Toll House Cookies
Original Toll House Chocolate Chip Cookies
Ingredients
Equipment
Method
- Preheat the oven to 375°F.
- Whisk the flour, baking soda, and salt together in a medium bowl.
- Beat the butter, granulated sugar, brown sugar, and vanilla until creamy.
- Beat in the eggs one at a time.
- Gradually beat the flour mixture into the butter mixture until combined.
- Stir in the chocolate morsels and walnuts.
- Drop rounded tablespoonfuls of dough about 2 inches apart onto two ungreased 13x18-inch rimmed baking sheets.
- Bake one sheet at a time for 9–11 minutes, until the edges are golden brown.
- Cool the cookies on the sheet for 2 minutes.
- Transfer the cookies to a wire rack.
- Continue baking batches, making sure each baking sheet has cooled before adding more dough.