The first batch of no-chill cookies I made spread too much because I treated softened butter like melted butter. They’re not interchangeable here: the butter should give when pressed but still hold its shape. With the butter at the right texture, these No Chill Chocolate Chip Cookies go from mixing bowl to oven without a waiting period, and the batch makes about 30 cookies.
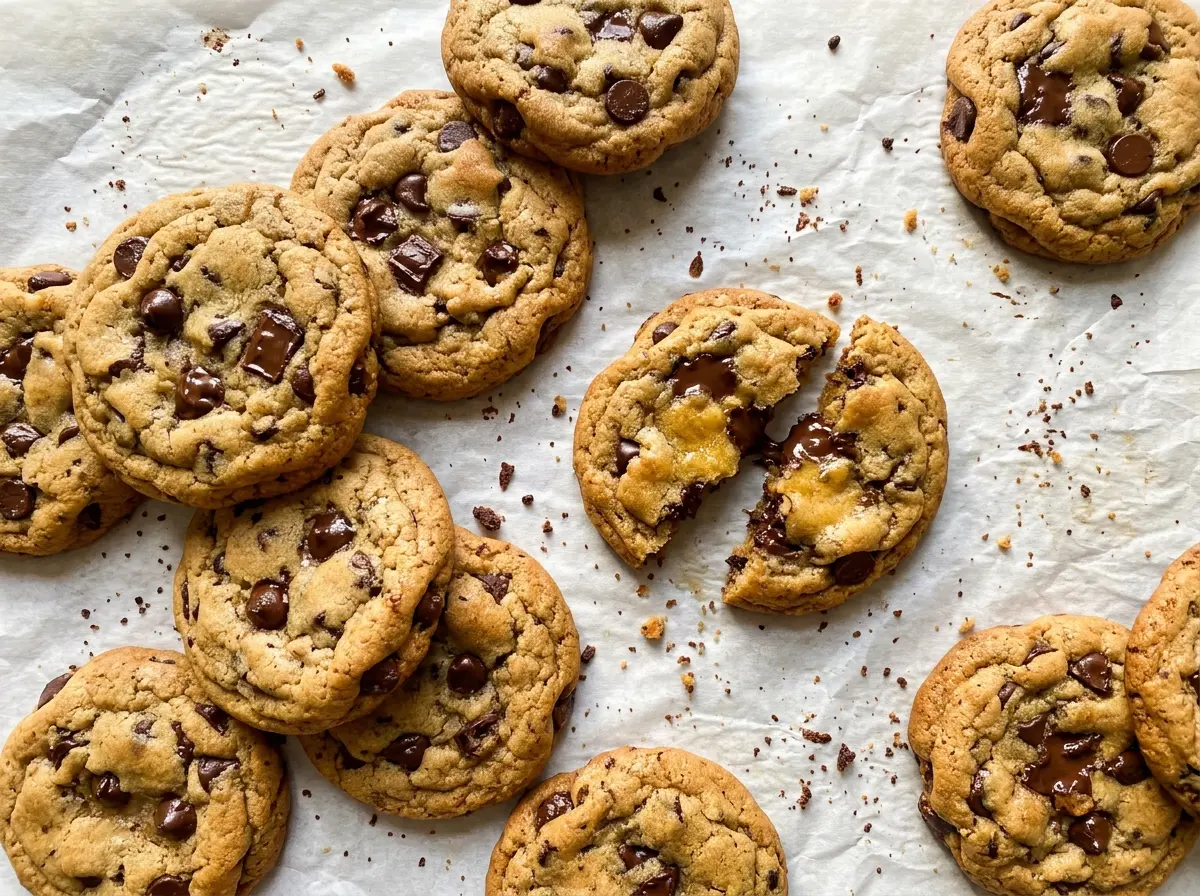
I cream the butter with both sugars before adding anything else. That gives the dough a smooth, fluffy start, while the light brown sugar keeps the centers tender and the granulated sugar helps the edges bake up lightly golden. Room-temperature eggs blend in more evenly, and the dough is easy to scoop as soon as the chocolate chips are folded through. The finished cookies have crisp-edged rims, soft centers, and chocolate in every bite.
Kitchen Note
Room-temperature eggs mix into the creamed butter more smoothly than cold ones. If they’re cold, the butter can look lumpy after you add them, so set the eggs out before you start.
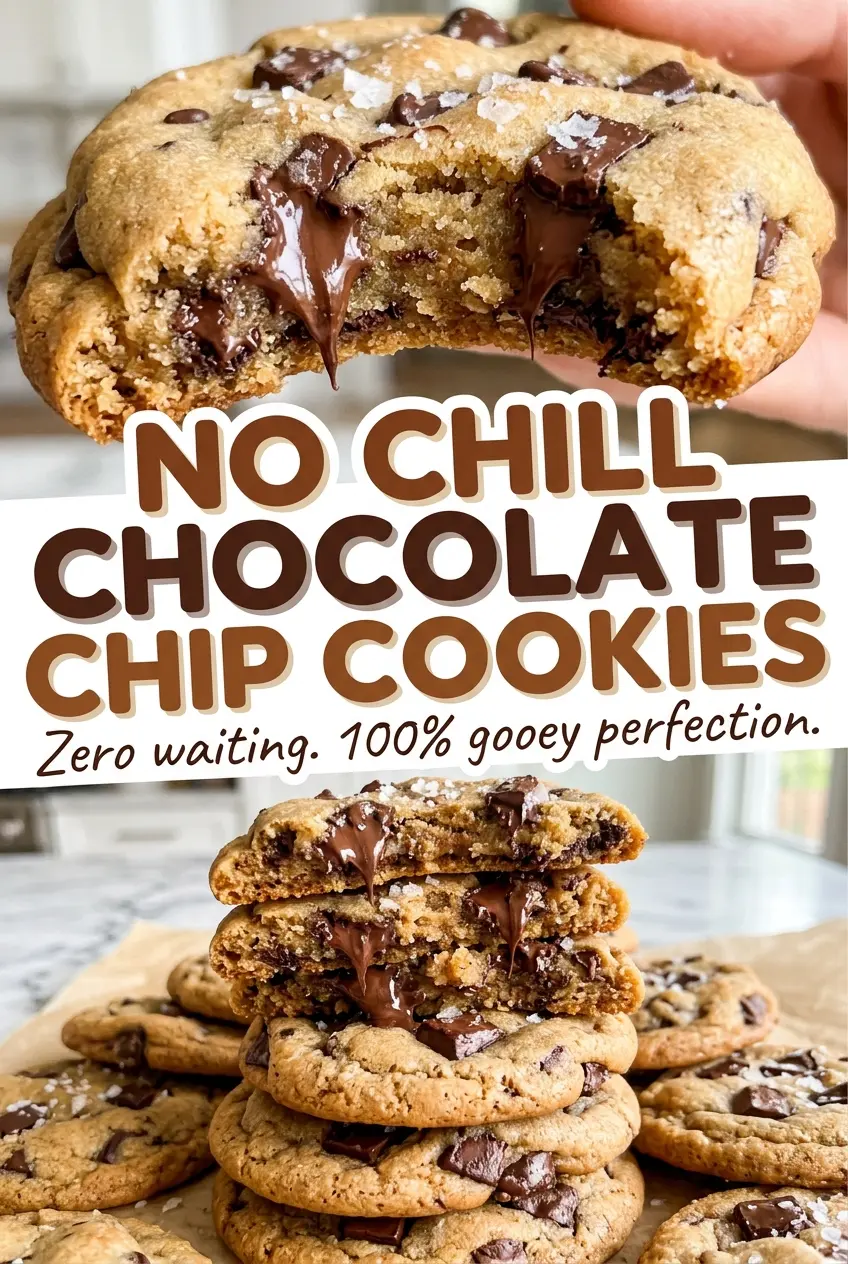
Save these No Chill Chocolate Chip Cookies for a day when you want crisp edges and soft centers without waiting for dough to chill.
Softened Butter Is What Makes These Cookies Truly No-Chill
Skipping the chill works best when the butter starts softened, not warm or melted. Soft butter creams with the sugars and gives the dough structure; melted butter behaves differently and can leave the cookies flatter and greasier. You should be able to press a finger into the butter, but it shouldn’t look shiny or slump on the counter. If it’s gone soft enough to feel oily, give it a little time to firm up before mixing.
The other part of the no-chill approach is timing. Once the flour is mixed in and the chocolate chips are folded through, scoop the dough and get the pans into the oven rather than leaving the bowl out while you finish other tasks. The dough doesn’t need a rest to become scoopable, and the portions bake while the butter is still at the texture you started with. That makes the process quick without asking you to trade away the soft centers and lightly golden edges.
The Ingredients That Set the Spread, Chew, and Chocolate Pockets
- Unsalted butter — Butter brings the richness and helps the sugars cream into a smooth base. A standard grocery-store butter works well; the texture matters more than choosing a premium brand. If using salted butter instead, reduce the added kosher salt to account for the salt already in the butter.
- Granulated and light brown sugars — Using both gives the cookies a balance of lightly crisp edges and a softer middle. Light brown sugar brings moisture and a mild molasses note; dark brown sugar can replace it, but the cookies will taste deeper and more molasses-forward.
- Eggs — Eggs bind the dough and contribute to its tender texture. Large eggs are the right size for the dough’s balance, so avoid swapping in extra-large eggs, which add more moisture.
- All-purpose flour and baking soda — All-purpose flour gives the cookies enough structure without making them bready, and baking soda helps them spread and brown. Ordinary all-purpose flour is all you need; a specialty flour isn’t an upgrade here.
- Vanilla extract — Vanilla rounds out the buttery, brown-sugar flavor. Use the extract you already keep for baking; there’s no need to buy an expensive bottle just for these cookies.
- Semisweet chocolate chips — Chips hold their shape better than finely chopped chocolate, giving you distinct chocolate pockets throughout. A familiar grocery-store brand works nicely, while a darker or milkier chip will shift the sweetness.
Mix, Scoop, and Bake Before the Dough Has Time to Wait
Prepare the pans and heat the oven
Heat the oven to 350°F and line two 18×13-inch rimmed baking sheets with parchment paper. Starting with the oven fully heated helps the cookies bake on schedule instead of sitting in a slowly warming oven. Set the pans aside while you mix the dough. Parchment also makes it easier to lift the baked cookies off the sheets after their short rest.
Cream the butter and sugars
Beat the softened butter with the granulated and brown sugars in a large bowl on medium speed for about 2 minutes. Stop when the mixture looks creamy and evenly blended, rather than stopping while you can still see distinct streaks of butter. Scrape the bowl if the mixer has pushed sugar up the sides. Starting with an uneven mixture can leave pockets of butter or sugar in the finished dough.
Add the eggs, then the dry ingredients
Beat in the eggs one at a time, then mix in the vanilla. In a separate medium bowl, whisk together the flour, baking soda, and kosher salt so the leavener is distributed through the flour. Add that mixture to the butter mixture and mix on low just until combined; stop when the dry patches disappear. Fold in the chocolate chips by hand so they’re spread through the dough without extra mixing.
Scoop and bake until the centers still look soft
Right after folding in the chips, scoop the dough into 1 1/2-tablespoon portions and place them about 2 inches apart on the prepared sheets. Bake both sheets at once for 10–12 minutes, switching their positions halfway through. Look for lightly golden edges while the centers still appear soft; waiting for the centers to look fully baked can leave you with a firmer cookie after cooling. Let the cookies rest on the sheets for 5 minutes, then move them to a wire rack.
Easy Swaps for a Different Kind of Chocolate Chip Cookie
Use dark chocolate chunks for bigger pockets
Replace the semisweet chips with an equal amount of chopped dark chocolate. The larger pieces melt into broader pockets, and the less-sweet chocolate makes each bite taste more cocoa-forward.
Make them sweeter with milk chocolate
Swap the semisweet chips for milk chocolate chips. The cookies will taste sweeter and creamier, so this is a good choice if you prefer chocolate that’s mellow rather than bittersweet.
Make a dairy-free batch
Use stick-style dairy-free butter in place of the unsalted butter and dairy-free semisweet chips instead of regular chips. The cookies will have a slightly different buttery flavor, and plant-based butters vary in softness, so choose a firm stick-style product rather than a soft tub spread.
Storage and Reheating
- Refrigerator: Keep the cooled cookies in an airtight container for up to 1 week; the butter firms up, so they’ll be less soft straight from the fridge.
- Freezer: Freeze cooled cookies in an airtight container for up to 2 months, separating layers with parchment. Thaw at room temperature before serving.
- Reheating: Warm cookies in a 300°F oven for about 3 minutes, just until the chocolate softens. Longer heating can dry the edges before the centers warm through.
Questions That Come Up While Baking These Cookies
No Chill Chocolate Chip Cookies
Ingredients
Equipment
Method
- Heat the oven to 350°F.
- Line two 18x13-inch rimmed baking sheets with parchment paper.
- Beat the butter, granulated sugar, and brown sugar in a large bowl with an electric mixer on medium speed until creamy, about 2 minutes.
- Beat in the eggs one at a time.
- Mix in the vanilla.
- Whisk the flour, baking soda, and salt in a medium bowl.
- Add the flour mixture to the butter mixture and mix on low just until combined.
- Fold in the chocolate chips.
- Immediately scoop the dough into 1 1/2-tablespoon portions onto the prepared baking sheets, spacing them about 2 inches apart.
- Bake both sheets at once for 10–12 minutes, switching their positions halfway through, until the edges are lightly golden and the centers still look soft.
- Let the cookies rest on the baking sheets for 5 minutes.
- Transfer the cookies to a wire rack to cool.