When the tops turn golden and the apple filling starts bubbling around the edges, the kitchen smells like cinnamon and baked fruit. Individual apple crumbles give everyone a crisp topping and tender apples in their own ramekin, without needing to cut and serve a larger dessert. I use firm Granny Smith or Honeycrisp apples so the pieces hold their shape as they bake.
The apples are cut into small, even pieces and tossed with cornstarch before they go into the oven. That coating helps thicken the juices as the fruit softens, so the filling is spoonable rather than watery. Cold butter worked into the oat topping gives you a mix of fine crumbs and little buttery pieces that bake into a golden, craggy layer. Let the ramekins rest for 10 minutes before serving; the bubbling filling is piping hot straight from the oven.
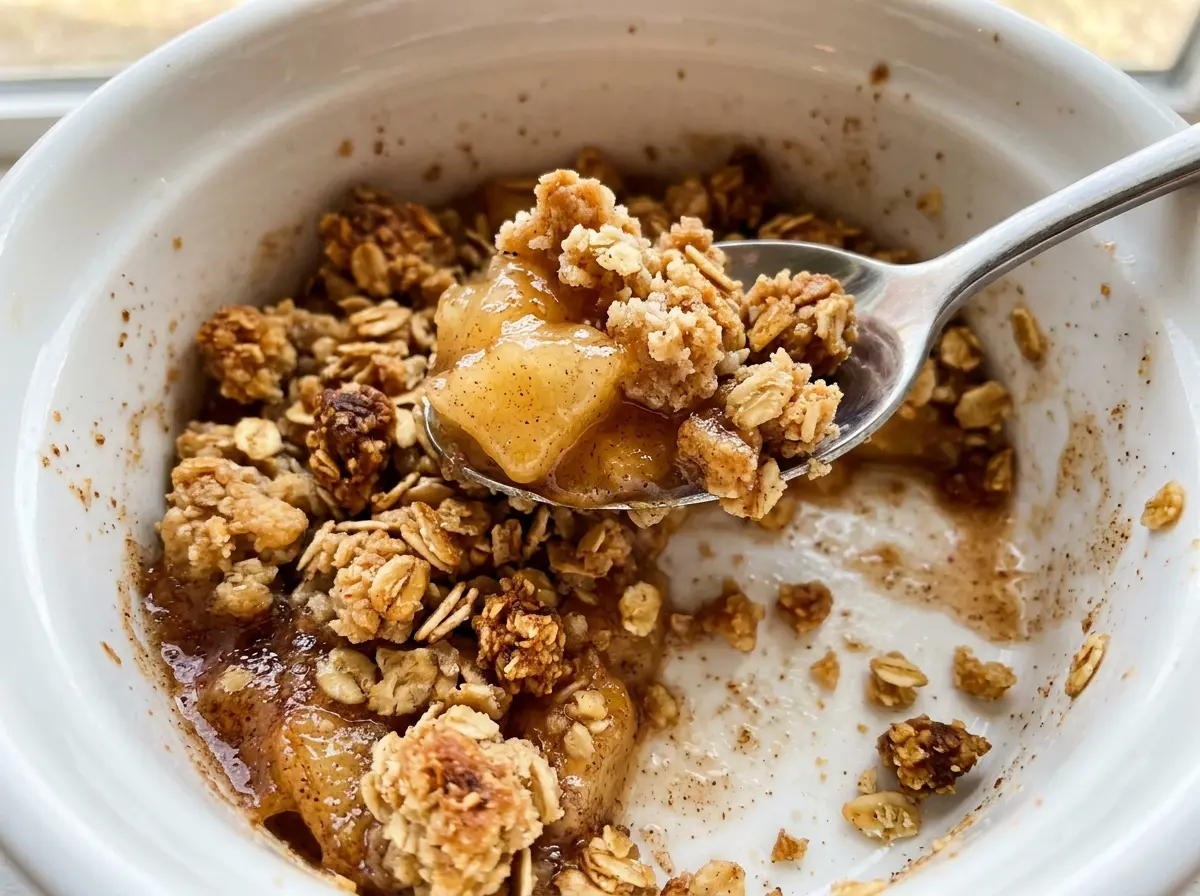
Kitchen Note
Use your fingertips to work the butter into the topping, and stop while some small pieces are still visible. If you rub it until the mixture feels like a smooth paste, the topping won’t bake up with the same crisp, craggy texture.
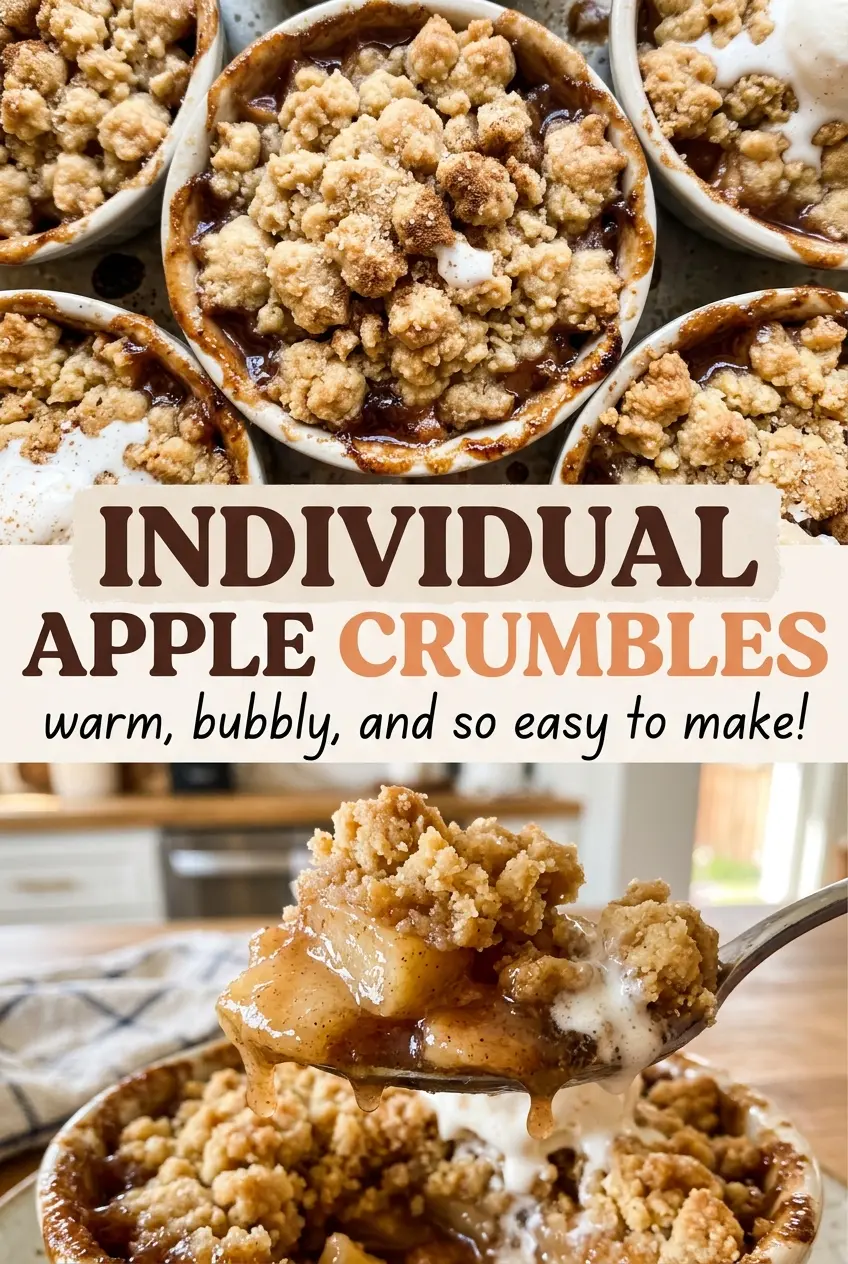
Save these individual apple crumbles for a dessert with tender cinnamon apples and a golden oat topping baked in its own ramekin.
Why the apples need cornstarch before they ever hit the oven
Apples soften and release juice as they bake. In a large pie, that liquid has more room to collect and can leave the bottom slice soupy; in these little ramekins, each portion is compact, so thickening the fruit matters. Cornstarch coats the cut apples and thickens their juices as the filling heats. The lemon juice and sugar help coat the pieces evenly, while cinnamon adds warmth without taking over the fruit.
The size of the apple pieces matters, too. Half-inch pieces soften in the time it takes the topping to bake, so you get tender fruit beneath the crisp crumbs rather than a mix of mushy edges and firm centers. Use firm apples, and keep the pieces close in size. If you cut them much larger, they’ll need longer to soften, and the topping may be ready before the fruit is. The filling bubbling at the edges is a useful sign that it’s hot enough for the cornstarch to do its job.
What the apples and cold butter contribute to the crumble
- Firm apples — Granny Smith apples bake up pleasantly tart, while Honeycrisp apples bring a sweeter, fruit-forward filling. Either works here; choose firm fruit that holds together when peeled and cut. Peeling, coring, and cutting the apples into even pieces helps each ramekin bake consistently.
- Lemon juice and cornstarch — Lemon juice brightens the apple filling, and cornstarch thickens the juices released in the oven. Toss everything until the pieces are evenly coated so you don’t end up with a pocket of dry starch.
- Old-fashioned rolled oats — These give the topping a distinct, hearty texture. Quick oats break down more readily and make a finer topping, so old-fashioned oats are the better choice for the coarse crumble in this version.
- All-purpose flour — Flour helps bind the topping around the oats and butter. A cup-for-cup gluten-free flour blend is the most useful swap if you need a gluten-free version; the topping’s texture may be a little less cohesive.
- Cold unsalted butter — Butter gives the topping its rich, crisp finish, and starting cold keeps the mixture from turning greasy while you work it. Store-brand butter is fine; the important detail is that it’s cold and cut into small cubes.
- Granulated and brown sugars — Granulated sugar sweetens and coats the apples, while packed light brown sugar brings a deeper sweetness to the topping. Keep the brown sugar packed when measuring so the crumble has enough sweetness to balance the oats.
From evenly cut fruit to a golden, crisp topping
Coat the apples evenly
Heat the oven to 375°F and coat six 8-ounce ramekins with cooking spray. Peel, core, and cut the firm apples into half-inch pieces, then toss them in a large bowl with the lemon juice, granulated sugar, cornstarch, and cinnamon. Stir until the pieces look evenly coated, with no visible patches of dry cornstarch. Uneven pieces bake at different rates, so take a moment to keep the cuts close in size.
Mix the oat topping
Stir the flour, old-fashioned rolled oats, packed light brown sugar, and salt together in a medium bowl. Add the cold, cubed butter and work it in with your fingertips until you have coarse crumbs with a few pea-size pieces. Keep the mixture loose rather than pressing it into a solid mass. If the butter begins to feel soft in your hands, pause briefly and let it chill before continuing.
Fill the ramekins without packing the topping
Divide the apple mixture among the prepared ramekins, then scatter the topping evenly over the fruit. Leave the topping in loose crumbs instead of pressing it down; that gives the surface room to bake into crisp clusters. Set the ramekins on a rimmed baking sheet before they go into the oven. The sheet catches any bubbling juices and makes it easier to move all six portions together.
Bake until the fruit bubbles
Bake for 35 to 40 minutes, until the topping is golden and the filling bubbles around the edges. Pierce an apple piece with a knife to check that the fruit is tender; a browned top alone doesn’t tell you whether the apples are ready. If the topping has colored but an apple piece still feels firm, give the ramekins more time and check again. Cool the crumbles for 10 minutes before serving.
Two changes that fit these individual apple crumbles
Choose a tart or sweeter apple filling
Use Granny Smith apples for a sharper contrast with the sweet topping, or choose Honeycrisp for a sweeter fruit flavor. Both are firm options for this bake, so the change is mainly in the balance of tartness and sweetness rather than the method.
Make the topping gluten-free
Replace the all-purpose flour with the same amount of a cup-for-cup gluten-free flour blend, and use certified gluten-free old-fashioned oats. The topping may crumble a little more easily, but it will still bake into a crisp layer over the apples.
Storage and Reheating
- Refrigerator: Cover and refrigerate leftovers for 3 to 4 days. The topping softens as it sits against the fruit.
- Freezer: These freeze well once baked and cooled. Wrap the ramekins or transfer portions to freezer-safe containers, then thaw in the refrigerator before reheating.
- Reheating: Warm individual portions in a 350°F oven until heated through; the oven helps the topping crisp back up. Avoid the microwave if you want to preserve the crumble’s texture, since it softens the topping.
Questions I get asked about individual apple crumbles
Individual Apple Crumbles
Ingredients
Equipment
Method
- Heat the oven to 375°F.
- Coat six 8-ounce ramekins with cooking spray.
- Toss the apples with the lemon juice, granulated sugar, cornstarch, and cinnamon in a large bowl until evenly coated.
- Stir the flour, oats, brown sugar, and salt together in a medium bowl.
- Work in the cold butter with your fingertips until the mixture forms coarse crumbs with some pea-size pieces.
- Divide the apples among the ramekins and scatter the crumble topping evenly over them.
- Set the ramekins on a rimmed baking sheet.
- Bake for 35 to 40 minutes, until the topping is golden, the filling bubbles around the edges, and the apples are tender when pierced with a knife.
- Cool the crumbles for 10 minutes before serving.