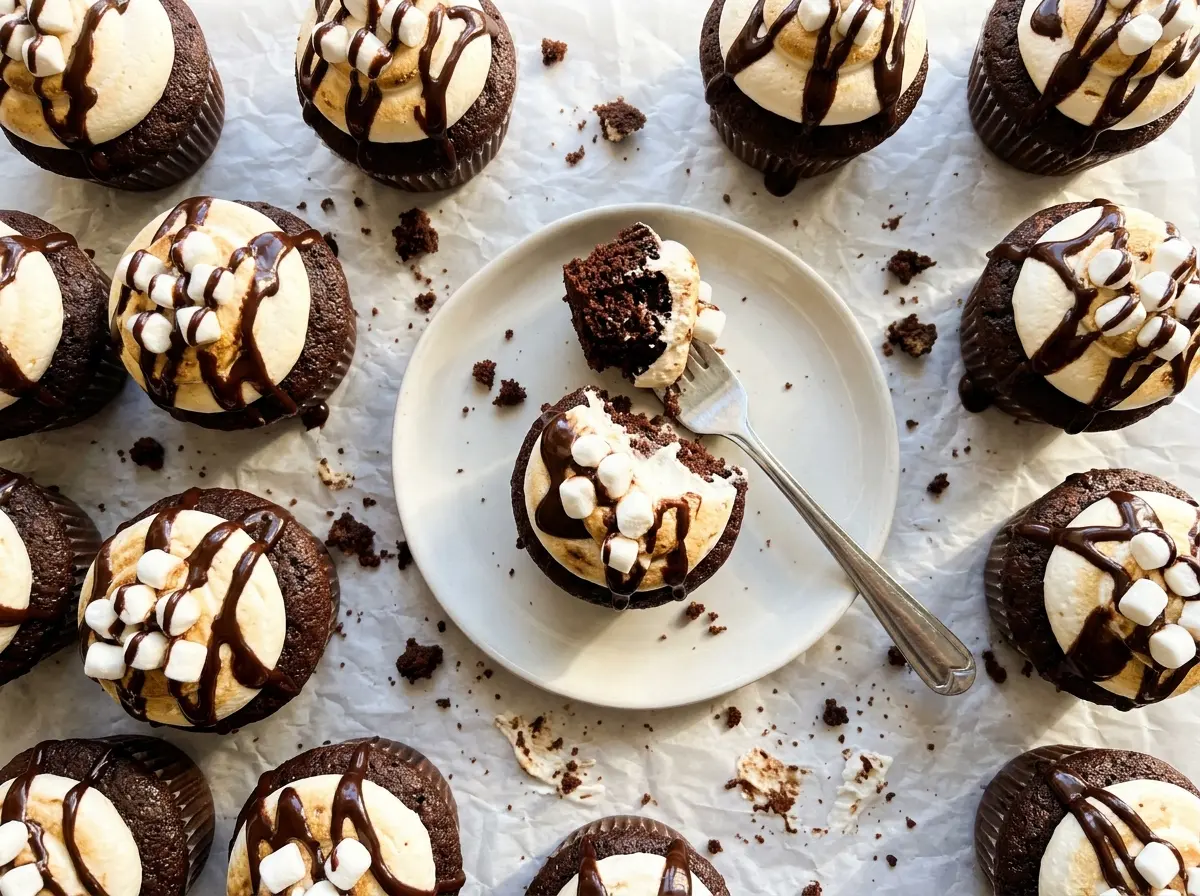
The batter looks almost too loose when the hot water goes in, and the first time I made these, I stopped to check whether I’d missed some flour. I hadn’t. That thin chocolate batter bakes into soft Hot Chocolate Cupcakes, with a cocoa flavor that feels right at home under marshmallow frosting.
These are built in two parts: a tender cocoa cupcake and a fluffy frosting made with marshmallow creme. I keep the batter simple and whisk the hot water in slowly, then let the cupcakes cool all the way before frosting. That last bit matters; even a little warmth can soften the butter in the frosting and make neat swirls harder to hold. Finished with mini marshmallows, each cupcake has the sweet, cozy look of hot chocolate in a paper liner.
Kitchen Note
Wait until the cupcakes are completely cool before you frost them. The butter in the marshmallow frosting softens quickly against a warm cake, so the topping can slide instead of staying fluffy.
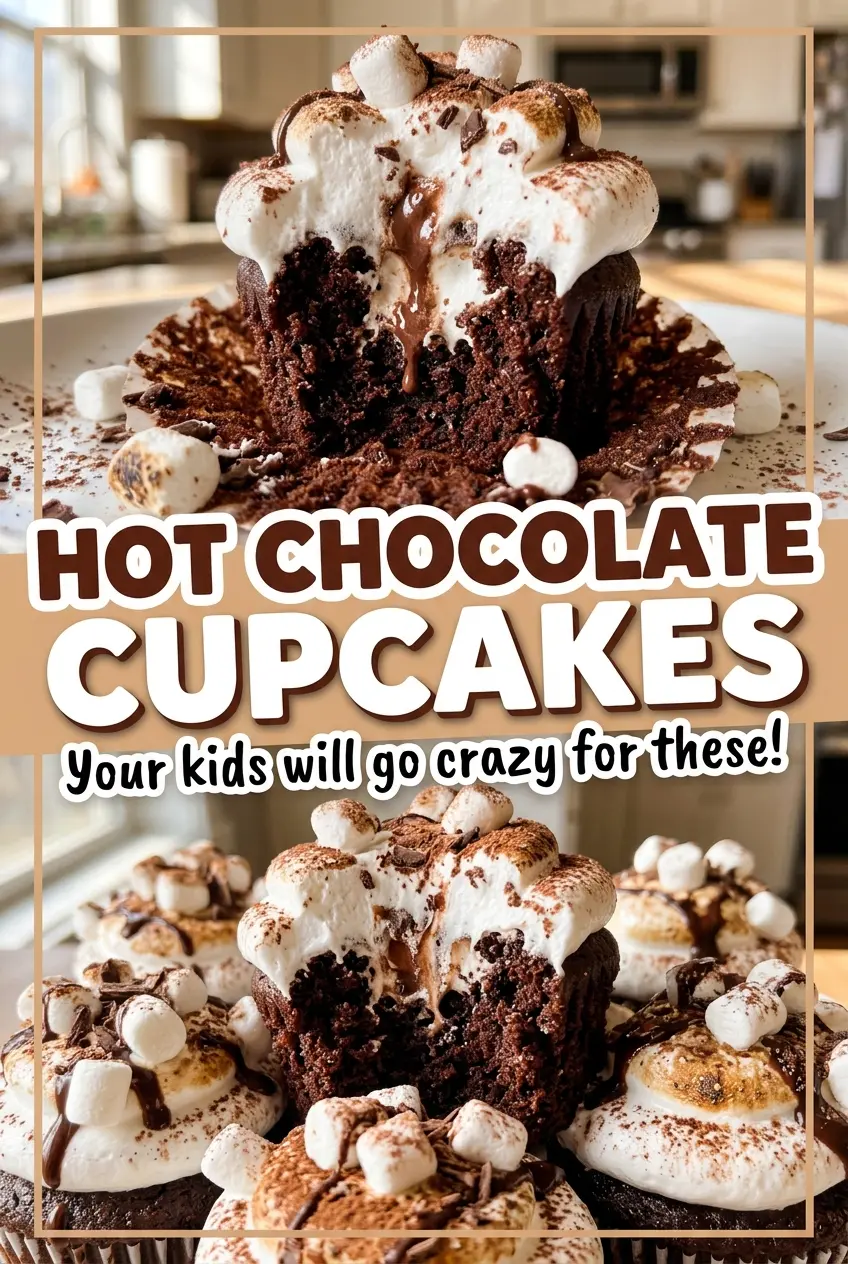
Save these Hot Chocolate Cupcakes for a cocoa-rich bake topped with fluffy marshmallow frosting and mini marshmallows.
Why This Cupcake Batter Looks Too Thin to Be Right
Once the hot water is whisked in, this batter is much thinner than a typical cupcake batter. That’s expected, not a sign that the flour was measured incorrectly. The dry ingredients are mixed with the egg, buttermilk, oil, and vanilla first; the water goes in last and loosens everything into a pourable mixture.
Adding extra flour to make it look thicker changes the balance of the batter and can leave you with a heavier cupcake. Instead, pour slowly into the liners and stop when each is about two-thirds full. A spouted measuring cup makes the job easier, but a spoon works if you take your time. The cupcakes should rise as they bake, while the cocoa keeps the crumb soft rather than dense.
That loose texture also means the batter can splash if you whisk too vigorously once the water is in. Add it gradually and whisk just until it’s incorporated. The finished batter should be smooth and easy to pour, not stiff enough to scoop.
What the Cocoa, Buttermilk, and Marshmallow Creme Each Bring
- Natural unsweetened cocoa powder — It gives the cupcakes their chocolate base without adding extra sugar. Use unsweetened cocoa rather than a sweetened drink mix; the latter changes both the sweetness and the dry-ingredient balance.
- Buttermilk — Its tang and acidity work alongside the baking soda and help keep the cake tender. Cultured buttermilk is the best fit here; there isn’t a direct swap among the listed ingredients that gives quite the same result.
- Neutral oil — Oil keeps the crumb soft after cooling. Canola oil is a good choice, and another neutral oil works in the same amount; avoid strongly flavored oils that would compete with the cocoa.
- Unsalted butter and marshmallow creme — The butter gives the frosting body, while the creme brings its marshmallow character. Use butter softened enough to beat smoothly, but not melted; a good-quality jar of marshmallow creme is worth choosing because it is the defining flavor of the topping.
- Powdered sugar — It thickens and sweetens the frosting without the graininess granulated sugar would leave. Add it in the stated three additions so it incorporates evenly rather than puffing out of the bowl.
- Mini marshmallows — Their small size makes them easy to place on each frosted cupcake. They’re the right choice for a topping that sits neatly without weighing down the frosting.
From Thin Cocoa Batter to Fluffy Marshmallow Tops
Whisk the Dry and Wet Mixtures Separately
Heat the oven to 350°F and line a standard 12-cup muffin pan with paper liners. Whisk the flour, granulated sugar, cocoa powder, baking soda, baking powder, and table salt together in a medium bowl so the leaveners are distributed through the cocoa. In a large bowl, whisk the egg, buttermilk, oil, and vanilla until smooth. Add the dry mixture and whisk just until combined; stop when no dry streaks remain.
Stream in the Hot Water
Slowly whisk the hot water into the batter, keeping the bowl steady as you pour. The batter will become thin, so don’t try to correct it with more flour. Scrape the sides and bottom of the bowl once to catch any dry pockets, then divide the batter among the paper liners. Fill each about two-thirds full to leave room for the cupcakes to rise.
Bake Until the Centers Spring Back
Bake for 18 to 22 minutes. The tops should spring back when gently touched, and a toothpick inserted in the center should come out clean. If the tops still feel soft and the toothpick shows wet batter, give them a little more time rather than pulling them early. Let the cupcakes cool in the pan for 5 minutes, then transfer them to a wire rack to finish cooling.
Beat the Frosting Until It Turns Fluffy
Beat the softened butter in a large bowl with an electric mixer on medium speed until smooth and creamy, about 2 minutes. Beat in the marshmallow creme, then add the powdered sugar in three additions along with the vanilla and salt, beating on low until combined. Turn the mixer to medium and beat until fluffy. Spread or pipe the frosting onto the cooled cupcakes, then top each with mini marshmallows.
Two Simple Ways to Change the Finish
Make a gluten-free batch
Replace the all-purpose flour with the same amount of a cup-for-cup gluten-free baking blend formulated for cakes. The crumb may be a little more delicate than the wheat-flour version, so let the cupcakes cool fully before lifting them from the rack or frosting them.
Skip the mini marshmallow topping
Leave off the mini marshmallows and keep the marshmallow frosting. The cupcakes still have the soft marshmallow finish, but the top is less sweet and easier to cover for storage.
Storage and Reheating
- Refrigerator: Keep frosted cupcakes in an airtight container for up to 3 days. The frosting will firm up when chilled.
- Freezer: Freeze unfrosted cupcakes in an airtight container for up to 2 months. Thaw them while wrapped, then frost once they’re at room temperature.
- Reheating: These are best served at room temperature rather than warmed. Let refrigerated cupcakes sit out for about 30 minutes; microwaving can soften or melt the butter frosting unevenly.
Questions That Come Up While Making These Cupcakes
Hot Chocolate Cupcakes
Ingredients
Equipment
Method
- Heat the oven to 350°F.
- Line a standard 12-cup muffin pan with paper liners.
- Whisk the flour, granulated sugar, cocoa powder, baking soda, baking powder, and salt in a medium bowl.
- In a large bowl, whisk the egg, buttermilk, oil, and vanilla until smooth.
- Whisk in the dry ingredients just until combined.
- Slowly whisk in the hot water; the batter will be thin.
- Divide the batter among the liners, filling each about two-thirds full.
- Bake for 18 to 22 minutes, until the tops spring back and a toothpick inserted in the center comes out clean.
- Cool the cupcakes in the pan for 5 minutes.
- Transfer the cupcakes to a wire rack and cool completely.
- Beat the butter in a large bowl with an electric mixer on medium speed until smooth and creamy, about 2 minutes.
- Beat in the marshmallow creme.
- Add the powdered sugar in 3 additions along with the vanilla and salt, beating on low until combined and then on medium until fluffy.
- Spread or pipe the frosting onto the cooled cupcakes.
- Top each cupcake with mini marshmallows.