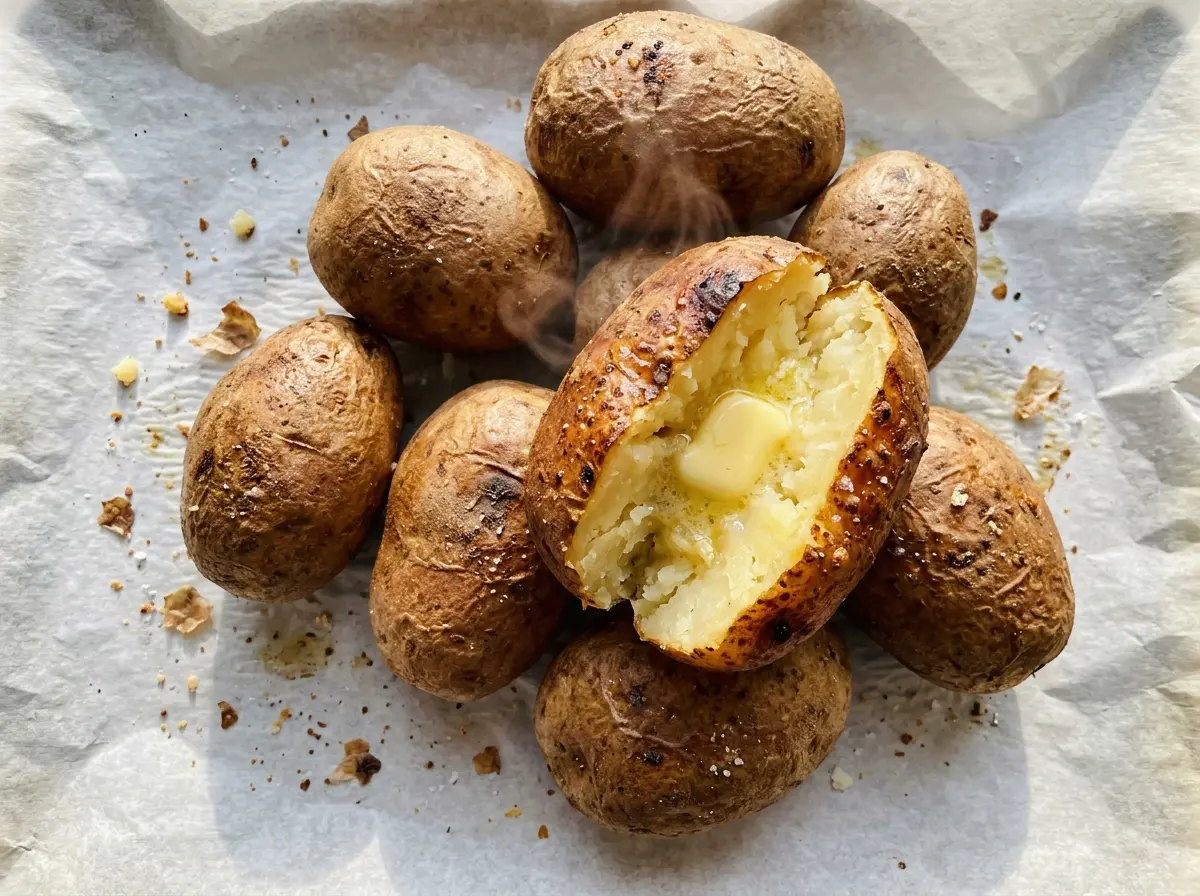
A knife can slide through the skin of a potato and still stop short at a firm, starchy middle. That’s the moment I learned not to judge a jacket potato by its outside. These English jacket potatoes bake until their skins turn crisp and a knife moves easily into the center, so you get a fluffy interior instead of a pretty shell around an undercooked core.
Russets are a good fit because their insides bake up light, while the oil helps the skins dry and crisp in the oven. I bake them directly on the center rack rather than on the baking sheet; hot air reaches the potatoes all around, and the sheet below catches drips. After a short rest, a deep lengthwise cut and a gentle squeeze open each potato into a wide, fluffy jacket.
Kitchen Note
Dry the potatoes thoroughly before the oil goes on. Water left on the skin dilutes the coating, so I pat each one until the outside feels dry all over.
Save these English jacket potatoes for the next time you want crisp skins and a soft, fluffy center with just a few pantry ingredients.
Why the Potato Sits on the Rack, Not the Pan
A potato baked on a flat pan has one side pressed against a surface that can hold moisture and slow the drying of the skin. Giving the potatoes space on the oven rack lets the heat circulate around them. That exposure is what helps the skin crisp instead of turning soft underneath.
The rimmed baking sheet has a separate job: it sits on the rack below the potatoes to catch any oil or drips. It isn’t there to hold the potatoes. Keeping those two jobs separate also means you don’t have to turn the potatoes midway through baking.
Skip wrapping the potatoes in foil if crisp skin is what you’re after. Foil holds steam close to the skin, which works against that dry, crackly finish. The open rack setup leaves the outside exposed while the thick russet flesh softens inside.
Why Russets, Oil, and Kosher Salt Matter Here

- Russet potatoes — Their starchy flesh becomes light and fluffy as it bakes, which gives the crisp shell a soft center to contrast with. Choose large potatoes that are firm and unwrinkled; the listed size helps them cook at a similar pace. Another large baking potato with a starchy interior is the closest substitute, though its skin and center may not be quite the same.
- Vegetable oil — A thin coating helps the skin bake crisp and gives the salt something to cling to. A basic bottle is fine here; there’s no need for a specialty oil. For an oil-free version, leave it off, knowing the skins won’t have quite the same crisp finish.
- Kosher salt — Its crystals season the outside without overwhelming the potato’s mild flavor. Keep to kosher salt for the recipe’s intended seasoning; if you want a less-salty skin, reduce the amount rather than changing the salt type and guessing at an equivalent volume.
The Oven Setup and Timing That Give You a Crisp Jacket
Set Up the Oven for Airflow
Heat the oven to 425°F and place a rimmed baking sheet on the rack below the center rack. The potatoes will bake directly on the center rack, so keep that position clear. The lower sheet catches drips without blocking the hot air around the potatoes.
Scrub, Dry, and Prick
Scrub each potato well, then dry it thoroughly before seasoning. Prick each one about six times with a fork. Keep the punctures distributed around the potato rather than crowding them into one spot, and handle the potatoes before oiling so the coating stays where you put it.
Coat the Skins Evenly
Rub the vegetable oil over the whole surface of each potato, including the ends. Sprinkle the kosher salt evenly over the oiled skins. Patchy oil or seasoning leaves some bites less crisp and less savory than others.
Bake Until the Center Is Tender
Place the potatoes directly on the center oven rack and bake for 55 to 75 minutes. Look for crisp skins, then test the thickest part with a knife; it should slide easily into the center. If it meets resistance, the middle needs more time, even if the outside already looks ready.
Rest, Slit, and Open
Let the potatoes rest for 5 minutes after they come out of the oven. Cut a deep slit lengthwise in each potato, then squeeze the ends gently to open it up. A deep cut gives the fluffy interior room to spread without tearing the skin all the way apart.
Two Useful Ways to Adapt These Jacket Potatoes
Bake a Half Batch
For two potatoes, use 1/2 tablespoon vegetable oil and 1/2 teaspoon kosher salt. Keep the oven temperature and rack arrangement the same, and judge doneness by the knife test rather than assuming the smaller batch needs less time.
Make the Skins Lower in Salt
Use 1/2 teaspoon kosher salt over the four potatoes for a milder, lower-sodium skin. The potatoes will still bake the same way, but the seasoning will be less pronounced; reducing the salt is more predictable than swapping in a different crystal size.
Storage and Reheating
- Refrigerator: Refrigerate leftovers within 2 hours and keep them covered for 3 to 4 days. The skins soften as they sit.
- Freezer: Freeze cooled potatoes individually wrapped for up to 1 month for best quality. The center may be a little grainier after thawing.
- Reheating: Split the potato and microwave until steaming hot throughout. Reheating it whole can leave the center cool while the outside gets too hot.
Questions That Come Up When Baking Jacket Potatoes
English Jacket Potatoes
Ingredients
Equipment
Method
- Heat the oven to 425°F.
- Place a rimmed baking sheet on the rack below the center rack to catch any drips.
- Scrub the potatoes well and dry them thoroughly.
- Prick each potato about 6 times with a fork.
- Rub the potatoes all over with the oil and sprinkle evenly with the salt.
- Place the potatoes directly on the center oven rack and bake for 55 to 75 minutes, until the skins are crisp and a knife slides easily into the centers.
- Let the potatoes rest for 5 minutes.
- Cut a deep slit lengthwise in each potato and squeeze the ends gently to open.