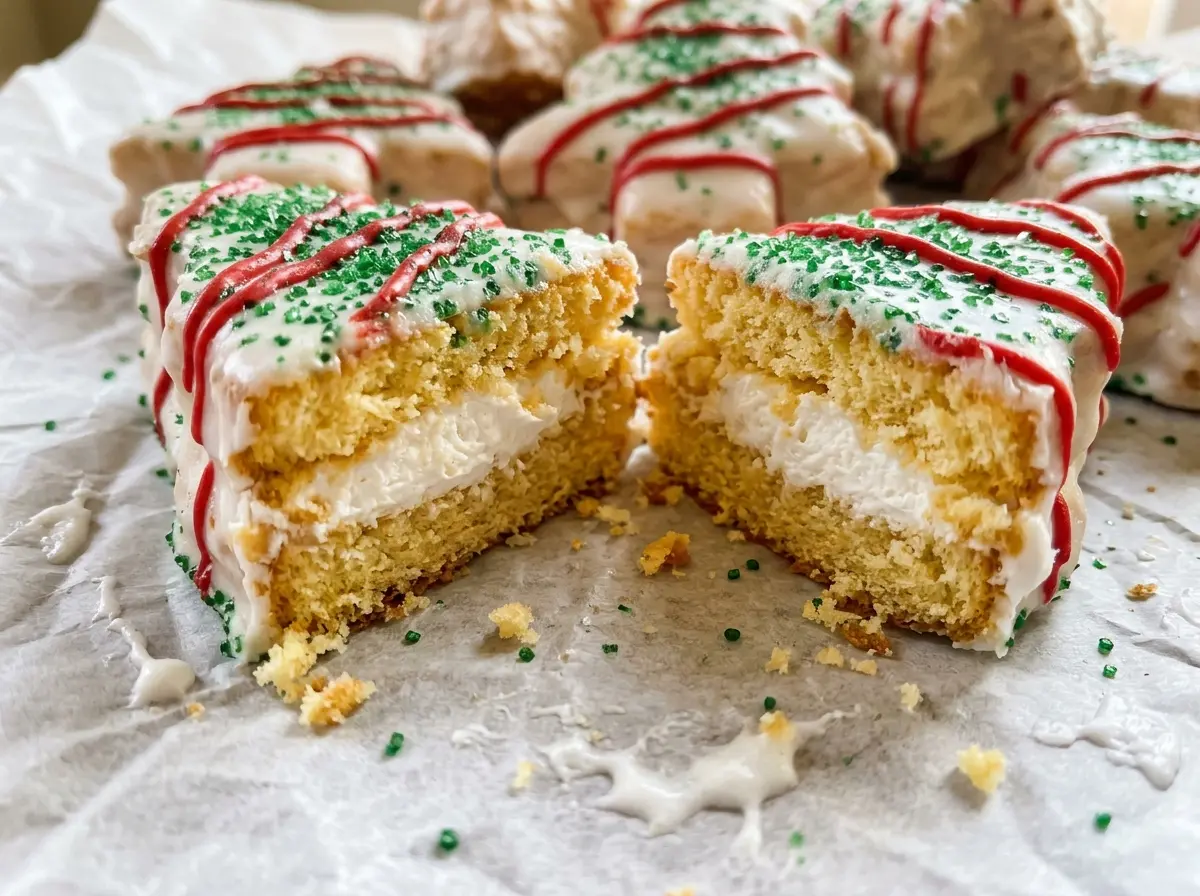
When the two cake pans come out of the oven, the layers look almost too thin to hold a filling. That’s exactly what you want: these copycat Little Debbie Christmas Tree Cakes get their soft, cakey bite from two delicate sheets with a slim layer of marshmallow creme between them. The edges should only just begin to turn golden, so I start checking before the full bake time is up.
The decoration is part of the fun, but the build is what makes these feel like the packaged treat: vanilla cake, a sweet marshmallow center, and a crisp white candy coating. I bake the layers separately, chill them until they’re easier to handle, then sandwich and coat the cutout trees one at a time.
They take a few rounds of cooling and chilling, but each one has a job. The result is a neat little tree with a tender center and a smooth shell, finished with green zigzags and red dots.
Kitchen Note
Give the cooled cake sheets their full 30 minutes in the refrigerator before cutting. They firm up enough for the tree cutter to make cleaner edges, rather than dragging soft cake along with it.
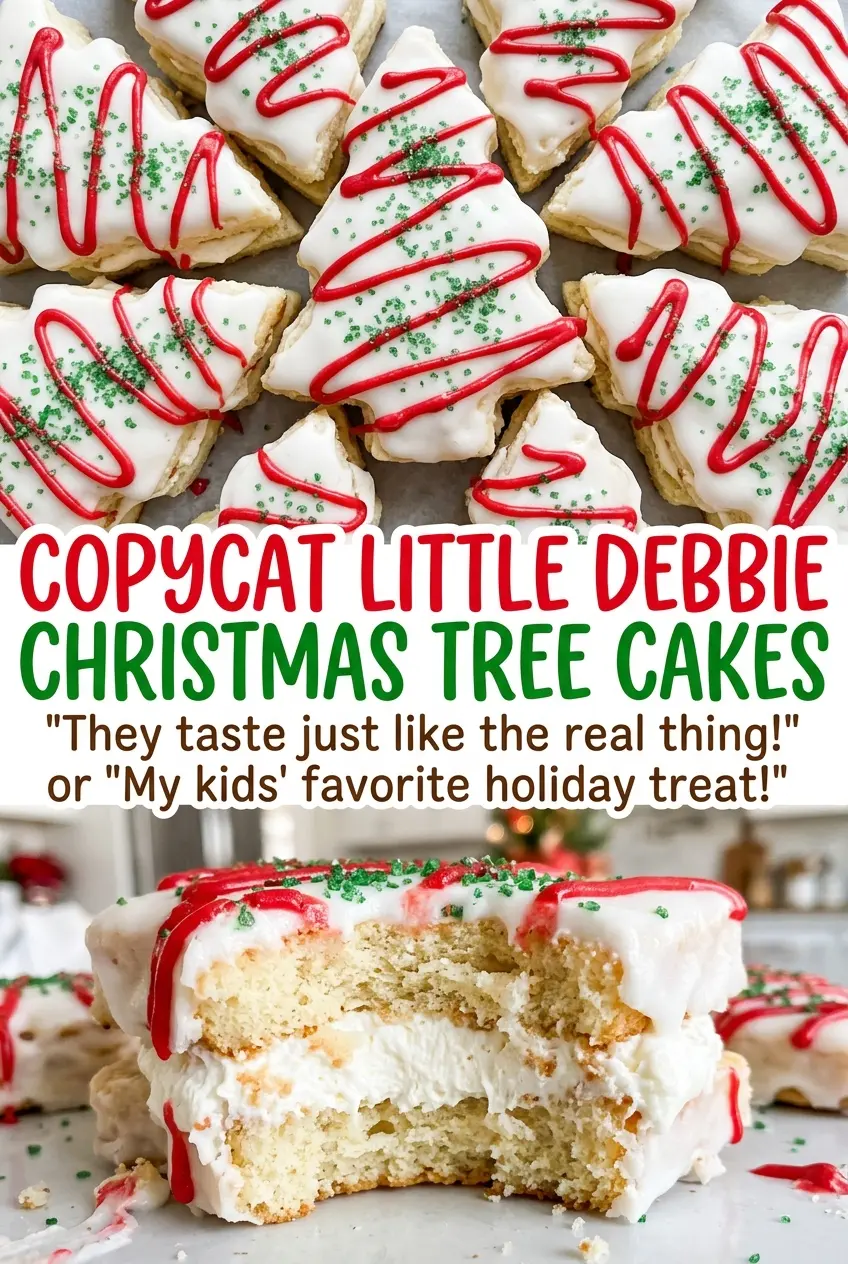
Save these copycat Christmas Tree Cakes for a homemade holiday treat with soft vanilla layers, marshmallow filling, and a crisp white shell.
Why These Cakes Need Two Thin Sheets, Not One Tall Sponge
A single tall cake might seem like a quicker route, but these treats depend on a different proportion: two thin layers surrounding a narrow stripe of filling. With the batter spread between two pans, each layer bakes quickly and stays tender enough to bite through easily once the cakes are coated. A thick layer would change that balance and make the finished sandwiches feel heavier.
The thin layers also make the tree shape practical. You cut matching pieces from each sheet, spread filling on one set, and place the second set on top. Keep the cuts close together so you can get 12 trees from each cake sheet. That leaves enough matching pieces for 12 sandwiches, with less cake left behind in the pan. The filling should reach close to the edges without being pushed all the way out; leaving a slim border gives it room to spread when you press the top layer gently into place. You get a defined filling line instead of a bulging seam.
What Gives the Cake Its Soft Layers and the Coating Its Snap
- All-purpose flour, baking powder, and eggs — Together they make a thin cake layer sturdy enough to cut and tender enough to sandwich. All-purpose flour is the dependable choice here; cake flour would make the delicate layers more fragile. Room-temperature eggs blend into the butter and sugar more evenly than cold ones, so take the chill off before mixing.
- Unsalted butter and whole milk — Softened butter creams with the sugar and gives the cake its rich, fine crumb, while whole milk keeps the batter supple. A same-volume swap of 2% milk works, though the cake will be a little less rich. Use butter that yields when pressed but isn’t oily or melted.
- Marshmallow creme and powdered sugar — Marshmallow creme makes the center light and stretchy; powdered sugar thickens it into a spreadable filling. Marshmallow creme is not the same as marshmallows melted with butter, which would make a stickier, less even layer. Choose a fresh tub that spreads easily, and beat the filling until no streaks of butter remain.
- White candy melts and vegetable shortening — Candy melts set into a smooth shell without tempering, and shortening loosens them so the coating flows over the trees. White chocolate is not a direct swap in this microwave method; it melts and sets differently. A deep bowl gives each tree room to dip, and the green and red melts make the thin piped details.
From Thin Cake Sheets to a Smooth Candy Shell
Cream the Batter Without Overworking It
Heat the oven to 350°F and prepare two 9×13-inch metal pans with nonstick cooking spray and parchment on the bottoms, then spray the parchment. Whisk the flour, baking powder, and salt in a medium bowl. Beat the softened butter and granulated sugar on medium-high until light and fluffy, then add the eggs one at a time and beat in the vanilla. Add the flour mixture in three additions, alternating with the milk in two additions, starting and ending with flour; mix on low only until combined so the thin layers stay tender.
Bake Until the Centers Spring Back
Divide the batter evenly between the pans and spread it into thin, even layers. Bake the pans side by side for 12 to 15 minutes. The tops should spring back when lightly touched, and the edges should only just begin turning golden; waiting for deep color will dry out these slim cakes. Cool them in the pans for 10 minutes, lift them out by the parchment, peel the parchment away, and cool completely on racks before covering and chilling.
Fill and Stack the Cutout Trees
Beat the remaining softened butter with the marshmallow creme, powdered sugar, and vanilla until the filling looks smooth and spreadable. Use a 3-inch-tall tree-shaped cutter and arrange the cuts closely on each chilled sheet to make 12 trees per sheet. Spread filling over 12 trees, leaving a narrow border, then top each with another tree and press gently. Set the sandwiches on a parchment-lined baking sheet and refrigerate them for 20 minutes so the filling firms before dipping.
Dip, Drain, and Pipe the Decorations
Melt the white candy melts with the shortening in a deep microwave-safe bowl at 50% power, using 30-second intervals and stirring between each one. Once smooth, let the coating stand for 5 minutes. Dip each cake separately and let the excess drip back into the bowl before setting it on the baking sheet. After the coating sets for about 20 minutes, melt the green and red candy melts separately in 15-second intervals, stirring between each. Transfer them to small piping bags or resealable bags, snip a tiny corner, pipe green zigzags and red dots, and let the decorations set for 10 minutes.
Three Ways to Change the Trees Without Losing Their Shape
Use a gluten-free flour blend
Replace the all-purpose flour with the same volume of a 1:1 gluten-free baking flour blend that includes xanthan gum. The cake layers may be a little more delicate, but the blend gives them the structure needed for cutting and filling; handle the sheets gently as you assemble the trees.
Make the filling peppermint
For a cool mint note, replace the filling’s vanilla with 1/4 teaspoon peppermint extract. Peppermint is stronger than vanilla, so using less keeps it from taking over the marshmallow center; leave the cake batter’s vanilla unchanged.
Choose a different candy-melt palette
Keep the white coating, then use other colors of candy melts for the piped zigzags and dots. The tree shape and smooth shell stay the same, while a new color combination lets you make the decorations fit a different celebration.
Storage and Reheating
- Refrigerator: Keep the cakes in an airtight container for up to 4 days. The cake and filling will firm up when cold, while the candy coating stays set.
- Freezer: Freeze the finished cakes in a single layer until firm, then pack them in an airtight freezer container with parchment between layers for up to 1 month. Thaw them in the refrigerator to help limit condensation on the coating.
- Reheating: These are best served without reheating. Let refrigerated cakes sit at room temperature for about 15 minutes before serving; don’t microwave them, since the candy coating will soften and melt.
Questions That Come Up While Making Christmas Tree Cakes
Copycat Little Debbie Christmas Tree Cakes
Ingredients
Equipment
Method
- Heat the oven to 350°F. Spray two 9x13-inch metal baking pans with nonstick cooking spray, line the bottoms with parchment paper, and spray the parchment.
- Whisk the flour, baking powder, and salt in a medium bowl.
- Beat 3/4 cup of the butter and the granulated sugar in a large bowl with an electric mixer on medium-high speed until light and fluffy, 2 to 3 minutes.
- Beat in the eggs one at a time, then beat in 2 teaspoons of the vanilla.
- Add the flour mixture in three additions, alternating with the milk in two additions and beginning and ending with the flour; mix on low just until combined.
- Divide the batter evenly between the pans and spread into thin, even layers.
- Bake side by side for 12 to 15 minutes, until the tops spring back when lightly touched and the edges are just beginning to turn golden.
- Cool in the pans for 10 minutes, then lift the cakes out by the parchment and peel off the parchment.
- Cool the cakes completely on racks.
- Cover the cooled cake sheets and refrigerate for 30 minutes to firm them.
- Beat the remaining 1/4 cup butter with the marshmallow creme, powdered sugar, and remaining 1/2 teaspoon vanilla until smooth and spreadable.
- Use a 3-inch-tall tree-shaped cookie cutter to cut 12 trees from each cake sheet, arranging the cuts closely together.
- Spread the filling evenly over 12 trees, leaving a narrow border, then top with the remaining trees and press gently to make sandwiches.
- Arrange the cakes on a parchment-lined baking sheet and refrigerate for 20 minutes to firm the filling.
- Melt the white candy melts and shortening in a deep, microwave-safe bowl at 50% power in 30-second intervals, stirring between intervals, until smooth.
- Let the coating stand for 5 minutes, then dip the cakes one at a time, letting excess coating drip back into the bowl before returning each cake to the baking sheet.
- Let the coating set for about 20 minutes.
- Melt the green and red candy melts separately in microwave-safe bowls in 15-second intervals, stirring between intervals.
- Transfer each color to a small piping bag or resealable bag and snip a tiny corner.
- Pipe green zigzags and red dots over the cakes and let set for 10 minutes.