Pressing cookie dough into a pan means no rolling pin, no scraps to gather up, and no trying to keep a dozen separate cookies the same size. These Christmas Tree Sugar Cookie Bars bake as one slab, then each piece gets its own piped green tree. The edges turn lightly golden while the center sets, giving you a soft sugar-cookie base that’s sturdy enough to decorate.
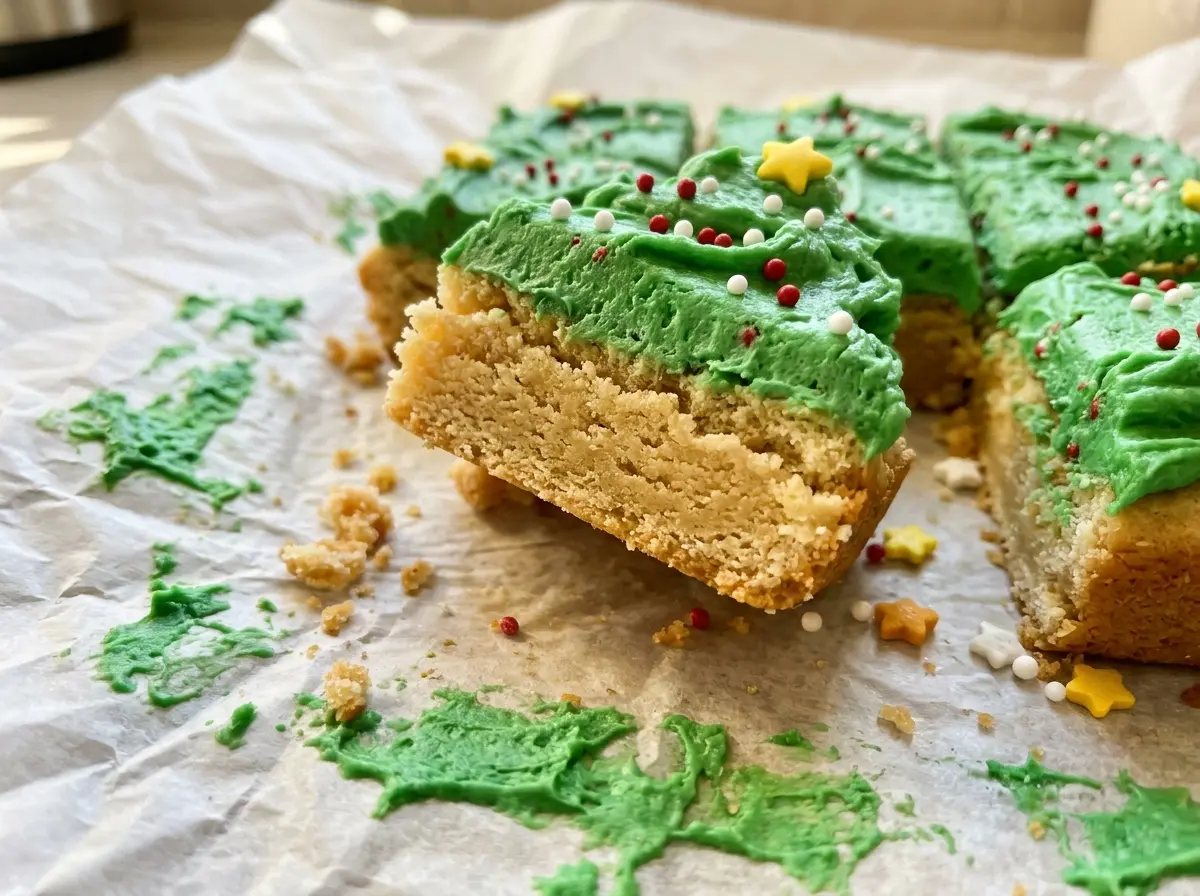
I like this format for holiday baking because the decorating happens after the bars are cut, so each tree has a clear little space of its own. The frosting is a simple buttercream made fluffy enough to pipe, and a star sprinkle and mini chocolate chip finish each one. Cut the slab into 12 bars, and you’ve got a tray of tidy Christmas trees with no individual cookies to roll or shape.
Kitchen Note
Let the cookie slab cool completely before frosting it. Warm bars soften the buttercream, and the piped zigzags can lose their shape before the stars and chocolate chips are in place.
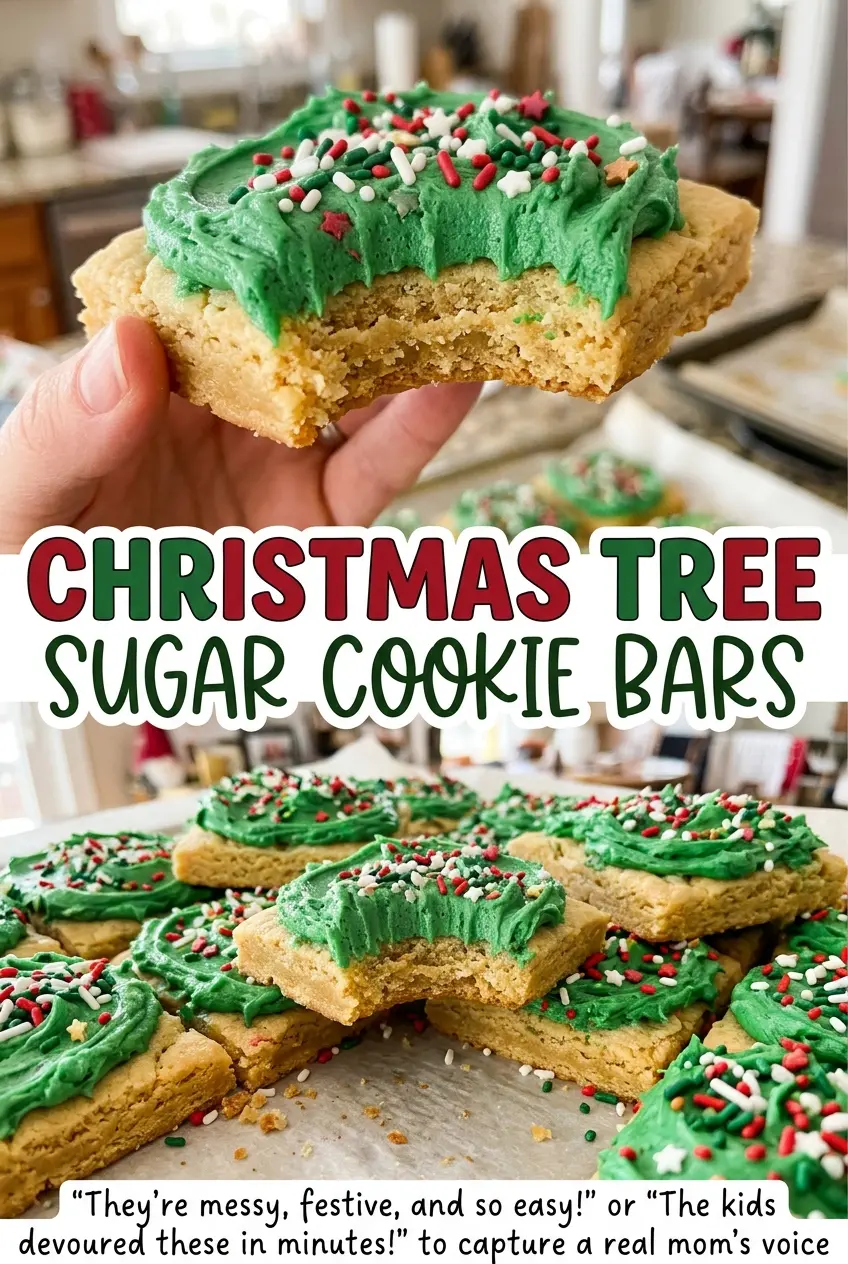
Save these Christmas Tree Sugar Cookie Bars for a holiday bake: soft cookie squares topped with green zigzag trees, yellow stars, and mini chocolate chips.
Why Pressing the Dough Evenly Matters More Than a Perfectly Smooth Top
These bars bake in one pan, so the dough’s thickness determines whether each square finishes at the same time. A thicker patch in the center can still look underdone when the thinner edges are already turning golden. Pressing the dough evenly into the corners and across the pan helps the whole slab bake at a similar pace.
You don’t need to fuss over a glassy, flawless surface. Aim for an even layer, pressing down any obvious high spots so the top isn’t full of ridges and dips. That steady thickness also makes the finished slab easier to portion into three columns and four rows. The cookie layer should stay a sugar-cookie bar, not turn cakey from extra handling or extra flour added to make the dough seem easier to work with.
The dough goes directly into the prepared pan after mixing; there’s no need to roll it out or shape individual cookies. The parchment overhang gives you a way to lift the cooled slab out in one piece, while the pan supports the soft dough as it bakes.
What Gives the Cookie Base and Pipeable Frosting Their Texture
- All-purpose flour — It gives the bars enough structure to lift and cut once cool. A standard all-purpose flour is right here; a cup-for-cup gluten-free baking blend is the useful swap if you need one, though the bars may be more delicate.
- Softened unsalted butter — Butter gives the cookie base its tender, rich crumb and makes the frosting creamy. Use butter that yields when pressed but isn’t melted; melted butter won’t cream with the sugar the same way. Unsalted butter also keeps the salt level in the dough predictable.
- Room-temperature egg — A room-temperature egg blends into the creamed butter and sugar more smoothly than a cold one. It helps bind the dough, so don’t leave it out if you want bars that hold together when sliced.
- Powdered sugar and milk — Powdered sugar gives the frosting its smooth body, while milk loosens it enough to pipe. Granulated sugar won’t make the same smooth frosting, so stick with powdered sugar for the tree details.
- Green gel food coloring — Gel color brings the frosting to a deep green without adding as much liquid as a thin coloring. Add it gradually so you can stop at the shade you want.
- Vanilla and decorations — Vanilla carries through both the cookie and frosting. The yellow star-shaped sprinkles and mini chocolate chips give each tree a clear top and trunk; choose sprinkles with defined star points so they read clearly against the green.
From Pressed Cookie Dough to Twelve Decorated Trees
Whisk the Dry Ingredients and Cream the Butter
Heat the oven to 350°F and prepare a 9×13-inch pan with parchment, leaving overhang on two sides; lightly coat the parchment with cooking spray. Whisk the flour, baking powder, and salt in a medium bowl. In a large bowl, beat the softened butter and granulated sugar on medium until light and fluffy, about 2 minutes, then beat in the egg and vanilla until combined.
Mix Just Until the Flour Disappears
Add the flour mixture on low speed and stop as soon as no dry streaks remain. Mixing longer than that works the dough more than it needs, while dry pockets mean it hasn’t come together yet. Transfer the dough to the prepared pan and press it into an even layer, taking a moment to fill the corners without building up a thick ridge along the edges.
Bake Until the Center Looks Set
Bake for 20 to 24 minutes. Look for lightly golden edges and a center that appears set; don’t wait for the whole top to turn brown. The bars are tender while warm, so leave the slab in the pan on a wire rack until completely cool, about 1 1/2 hours.
Beat the Frosting Until It Can Hold a Zigzag
Beat the softened butter for the frosting on medium until creamy, about 1 minute. Add the powdered sugar, milk, and vanilla; beat on low until combined, then on medium until fluffy and pipeable, about 2 minutes. Beat in green gel coloring a little at a time until the frosting is a deep green, with no streaks of color left.
Pipe Each Tree from Top to Bottom
Lift the cooled slab from the pan using the parchment overhang and cut it into 12 bars, making 3 columns and 4 rows. Spoon the frosting into a zip-top bag and snip a 1/2-inch corner. Pipe a zigzag tree on each bar, starting narrow at the top and widening the zigzags toward the bottom. Finish each tree with one yellow star sprinkle at the top and one mini chocolate chip at the bottom.
Three Simple Ways to Adapt the Tree Bars
Make the Trees Gluten-Free
Replace the all-purpose flour with an equal amount of a 1:1 gluten-free baking blend intended for cookies. The bars can be a little more fragile than the wheat-flour version, so let the slab cool fully before lifting and cutting it.
Pipe White Winter Trees
Leave out the green gel coloring and pipe the vanilla frosting in the same widening zigzags. The white trees look softer against the cookie base, while the yellow stars and chocolate-chip trunks keep the design recognizable.
Leave Off the Chocolate Chip Trunks
For a simpler finish, pipe the trees and add the yellow stars but skip the mini chocolate chips. You’ll keep the crisp tree outline and have one less small decoration to place on each bar.
Storage and Reheating
- Refrigerator: Store the decorated bars in an airtight container for up to 4 days. The frosting firms when chilled, so let a bar sit briefly before serving.
- Freezer: The unfrosted cookie slab freezes best. Wrap it tightly, freeze for up to 2 months, and thaw before cutting and decorating; the frosting and sprinkles are more likely to lose their neat finish after freezing.
- Reheating: These bars don’t need reheating. Skip the microwave, which can soften the frosting unevenly; serve them at room temperature instead.
Questions That Come Up When Decorating These Cookie Bars
Christmas Tree Sugar Cookie Bars
Ingredients
Equipment
Method
- Preheat the oven to 350°F.
- Line a 9x13-inch baking pan with parchment paper, leaving overhang on two sides, and lightly coat the parchment with nonstick cooking spray.
- Whisk the flour, baking powder, and salt together in a medium bowl.
- Beat the softened butter and granulated sugar in a large bowl with a mixer on medium speed until light and fluffy, about 2 minutes.
- Beat in the egg and 2 teaspoons vanilla until combined.
- Mix in the flour mixture on low speed just until no dry streaks remain.
- Press the dough evenly into the prepared pan.
- Bake for 20 to 24 minutes, until the edges are lightly golden and the center looks set.
- Cool completely in the pan on a wire rack, about 1 1/2 hours.
- Beat the 1/2 cup butter in a bowl with a mixer on medium speed until creamy, about 1 minute.
- Add the powdered sugar, milk, and 1 teaspoon vanilla, and beat on low until combined, then on medium until fluffy and pipeable, about 2 minutes.
- Beat in green gel food coloring a little at a time until the frosting is a deep green.
- Lift the cooled cookie slab from the pan and cut it into 12 bars, making 3 columns and 4 rows.
- Spoon the frosting into a zip-top bag, snip off a 1/2-inch corner, and pipe a zigzag tree shape onto each bar, widening the zigzags toward the bottom.
- Place one yellow star-shaped sprinkle at the top and one mini chocolate chip at the bottom of each frosted tree.