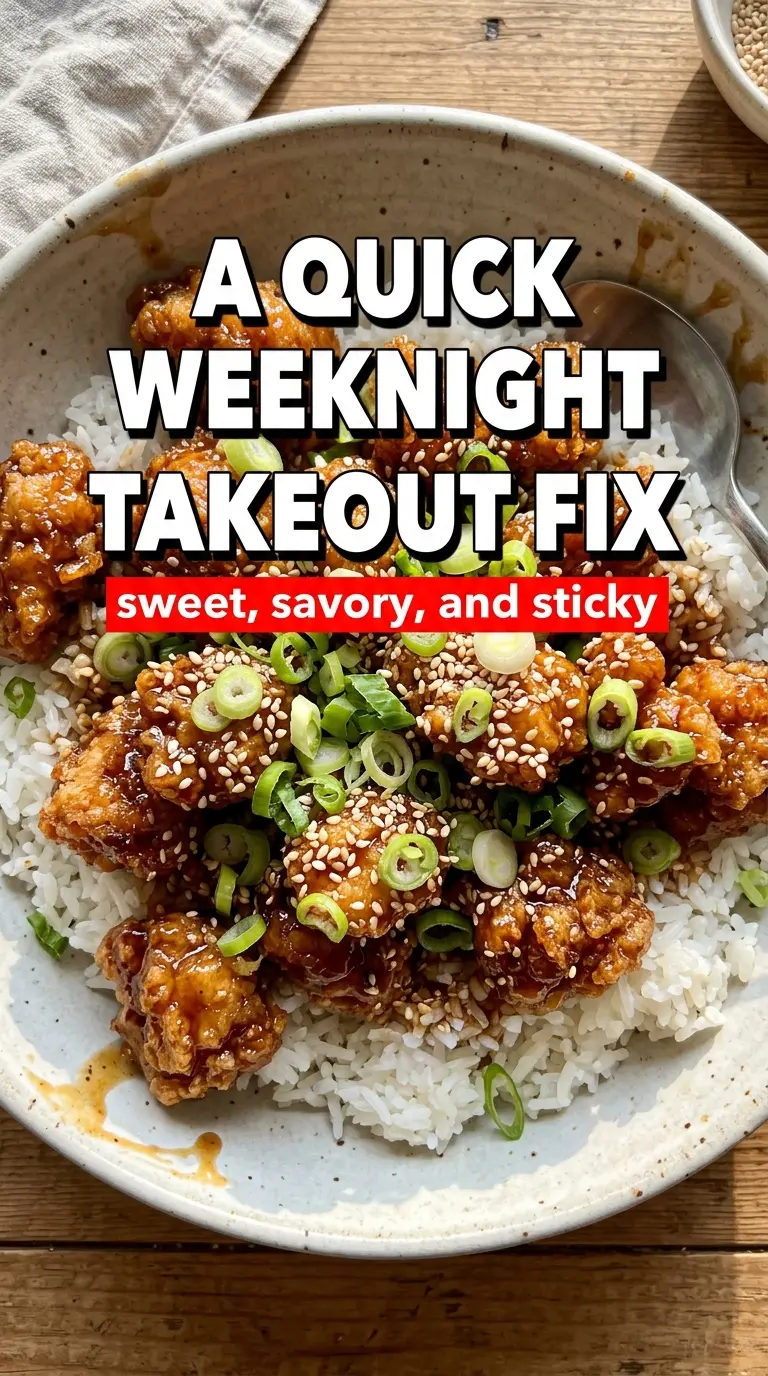
Crispy seared chicken coated in a glossy honey garlic sauce has a way of disappearing fast, and this version earns repeat status because it gives you that takeout-style finish without the soggy breading or the long wait. The chicken stays tender inside, the edges pick up a little chew from the cornstarch, and the sauce clings instead of pooling at the bottom of the pan.
The trick is keeping the sear and the sauce separate until the very end. Cornstarch on the chicken does two jobs here: it helps the chicken brown and it gives the sauce something to grab onto once everything comes back together. Honey, soy sauce, rice vinegar, garlic, and ginger turn into a fast glaze, but only if you let it simmer long enough to lose the raw edge and thicken before the chicken goes back in.
Below, I’ve included the one timing cue that matters most so the sauce doesn’t go from glossy to sticky, plus a few easy swaps for when you need to work with what’s already in the pantry.
The chicken got that crisp edge from the cornstarch and the sauce thickened up beautifully in the skillet. I served it over rice and my husband asked if we could put this in the weekly dinner rotation.
Crispy-seared Asian Style Honey Chicken with a sticky garlic glaze is a weeknight win worth keeping close.
The Shortcut That Keeps the Chicken Crisp Under the Sauce
Most honey chicken turns soft because the chicken sits in sauce too early or the sauce gets poured over pieces that never really browned. The fix is to treat the sear and the glaze as separate jobs. First, the cornstarch coating forms a thin shell that browns quickly in the skillet. Then the sauce goes into the same pan, where it picks up every bit of flavor left behind and thickens on contact with the slurry.
If the chicken is crowded, it steams instead of searing and you lose the texture that makes this dish worth making. Use a wide skillet and give the pieces enough space to hit the pan directly. You’re looking for golden edges and the chicken to release from the pan without sticking hard. That usually means the outside has set and the heat has done its job.
What Each Ingredient Is Actually Doing in This Dish
- Chicken thighs — Thighs stay juicy through the fast sear and hold up better once they’re tossed in sauce. Chicken breast works in a pinch, but it dries out faster, so pull it the moment it’s cooked through.
- Cornstarch — This is what gives the chicken that light crisp coating and helps the sauce cling later. Don’t skip it unless you want a thinner, looser finish.
- Honey — It gives the glaze body and shine, not just sweetness. If your honey is very thick or crystallized, warm it slightly so it mixes smoothly with the soy sauce and vinegar.
- Soy sauce and rice vinegar — Soy brings salt and depth; rice vinegar keeps the sauce from tasting flat. If you don’t have rice vinegar, use apple cider vinegar, but cut it back a little because it has a sharper edge.
- Garlic and ginger — These need just long enough in the pan to soften their raw bite without burning. Grate the ginger fresh if you can; jarred ginger tastes dull here.
- Cornstarch slurry — This is what turns the sauce from thin and shiny into thick enough to coat the chicken. Stir it in while the sauce is simmering, not after the heat is off, or it can clump instead of smooth out.
Building the Glaze in the Same Pan
Coating the Chicken
Toss the chicken pieces until every surface looks lightly dusted, not buried in powder. That thin layer is what browns fast and creates the texture contrast against the sauce. If you see dry patches of cornstarch, keep tossing until the coating looks even and velvety.
Searing for Color, Not Just Doneness
Heat the oil until it shimmers, then add the chicken in a single layer. Let it sit long enough to get a deep golden crust before turning it. If you move it too soon, it tears and sticks; if the pan is crowded, it loses heat and the chicken turns pale instead of crisp.
Reducing the Sauce
Once the chicken is out, add the honey, soy sauce, vinegar, garlic, and ginger to the same skillet. The sauce should bubble steadily and smell fragrant within a minute. Stir in the slurry and keep it moving until it turns glossy and thick enough to coat a spoon. If it still looks thin, give it another minute; if it turns too thick, a splash of water loosens it back up.
Bringing Everything Together
Return the chicken to the pan only after the sauce has thickened. Toss until every piece is lacquered and the pan looks clean except for a shiny film of glaze. This last toss should take less than a minute; too long, and the coating starts to soften.
How to Adapt This for Different Needs and Pantry Gaps
Gluten-Free Version
Swap the soy sauce for a gluten-free tamari or coconut aminos. Tamari gives the closest flavor and keeps the sauce balanced, while coconut aminos taste a little sweeter, so you may want a small splash more vinegar to keep the glaze from leaning too sweet.
Chicken Breast Instead of Thighs
Chicken breast works if that’s what you have, but cut the pieces a little larger and watch the pan closely. Breast meat goes from juicy to dry fast, so pull it as soon as the centers are opaque and the juices run clear.
Lower-Sugar Adjustment
You can cut the honey back slightly and add a bit more vinegar and soy sauce to keep the glaze from tasting flat. The sauce will be a little less sticky and less shiny, but it still coats the chicken nicely.
Make-Ahead for Faster Dinner
You can cut the chicken and mix the sauce ingredients ahead of time, but keep the cornstarch slurry separate until cooking day. If you mix the slurry too early, it settles and loses some of its thickening power.
Storage and Reheating
- Refrigerator: Store in an airtight container for up to 4 days. The coating softens a bit, but the flavor holds up well.
- Freezer: It freezes, but the sauce and coating both soften after thawing. Freeze for up to 2 months if needed, then thaw in the fridge overnight.
- Reheating: Warm in a skillet over medium-low heat with a splash of water to loosen the glaze. The microwave works, but it makes the chicken softer and can turn the sauce sticky around the edges before the center heats through.
Answers to the Questions Worth Asking
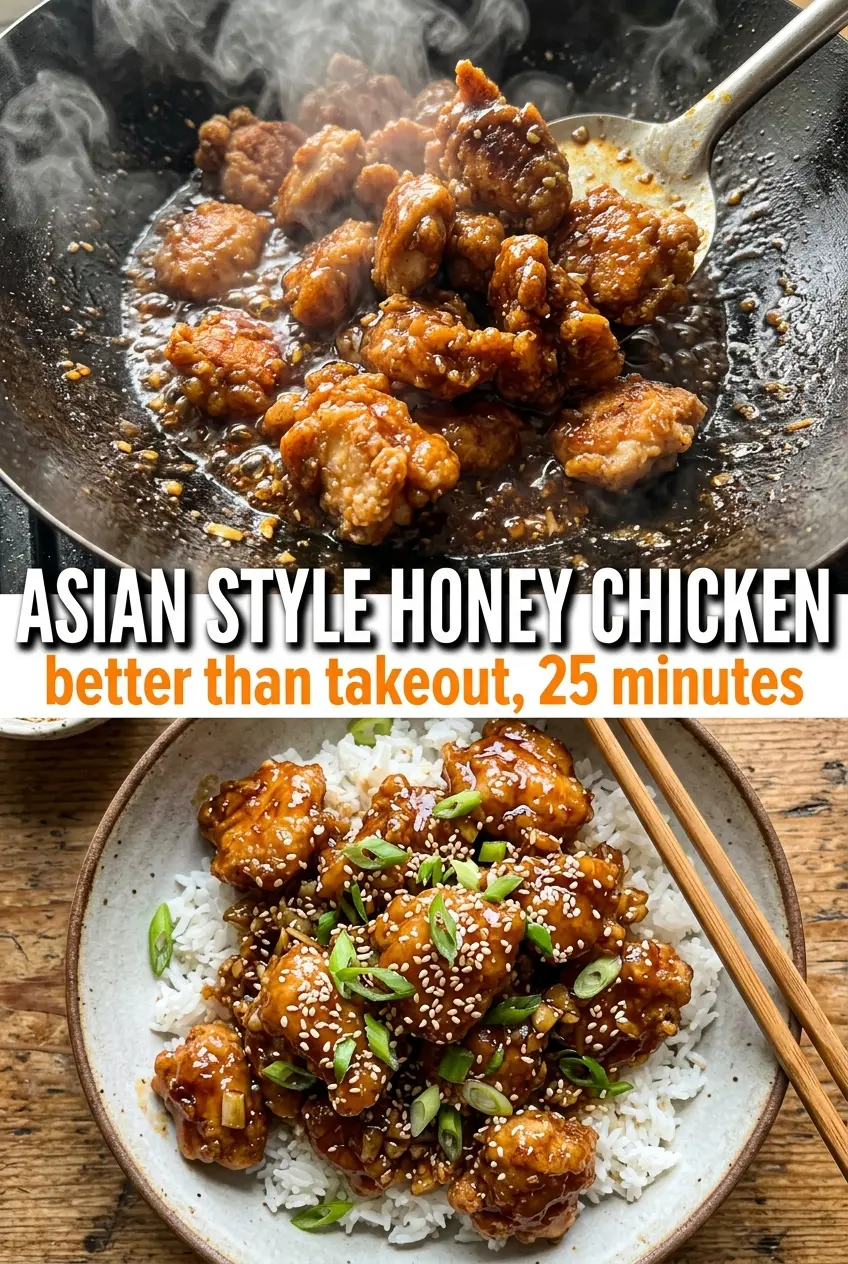
Asian Style Honey Chicken
Ingredients
Equipment
Method
- Toss the chicken pieces in cornstarch until evenly coated, so every piece looks lightly dusted.
- Heat the vegetable oil in a large skillet over medium-high heat and sear the chicken for 5–6 minutes until golden and cooked through, then remove and set aside.
- In the same skillet, combine the honey, soy sauce, rice vinegar, garlic, and ginger and bring to a simmer.
- Stir in the cornstarch slurry and cook for 1–2 minutes until thickened and glossy, with visible sheen on the sauce.
- Return the chicken to the skillet and toss to coat evenly in the sauce until the pieces are well glazed.
- Garnish with green onions and sesame seeds, then serve immediately (especially over steamed rice).