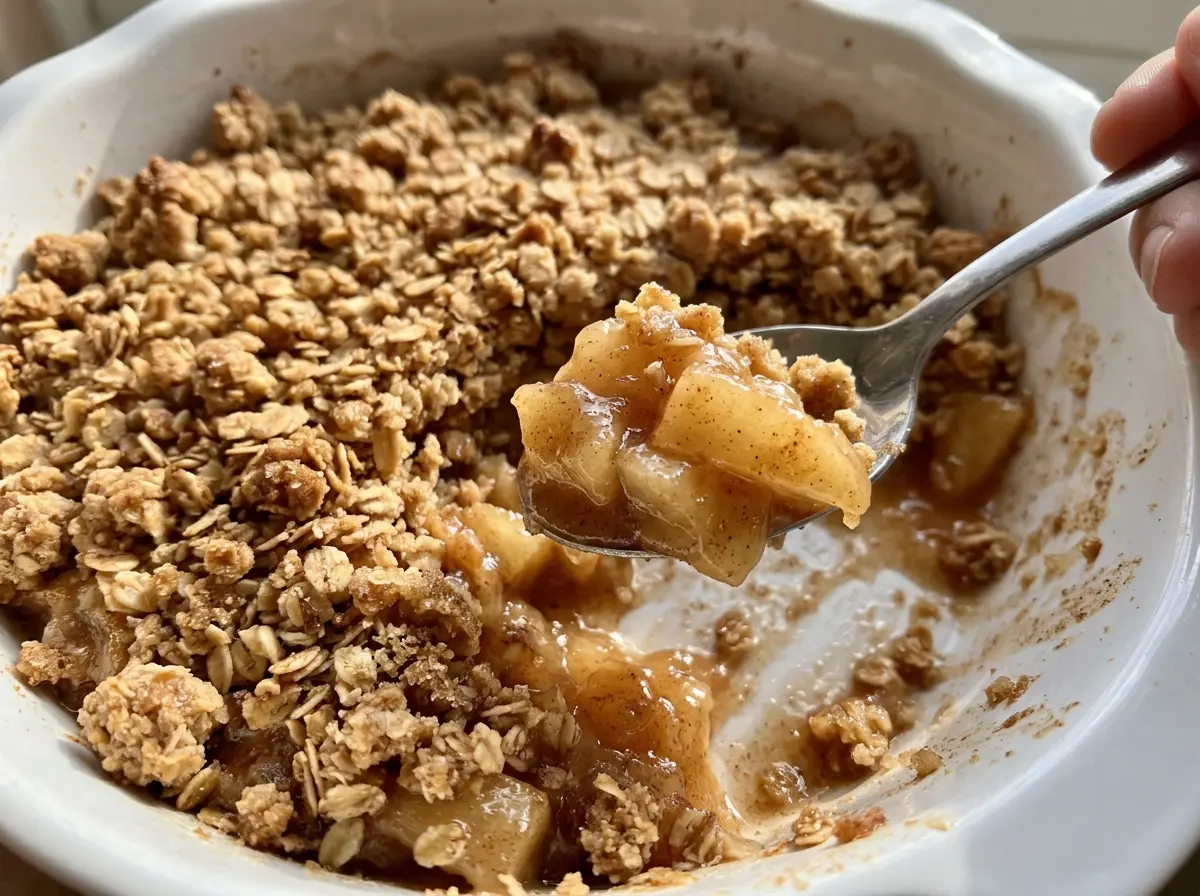
The topping starts to smell buttery and toasted before the apples are ready to come out, and that little difference is part of what makes a good apple crumble. You get soft, cinnamon-coated fruit beneath a layer of oats and buttery crumbs, with no need for the apples to hold a perfect shape once they’re spooned into a bowl. This version is straightforward, but the textures still matter: the topping should stay crumbly, and the filling should be tender rather than crunchy.
I use cold butter for the topping so it breaks into coarse crumbs instead of blending into a paste. The apples go straight into the baking dish with sugar, lemon juice, cornstarch, and cinnamon, so there’s no separate pan to wash. Once baked, the fruit is soft and warmly spiced, and the golden oat topping gives each serving a little crunch.
Kitchen Note
Butter the corners of the 9-inch square dish, not just the flat bottom. The bubbling fruit can cling along the edges, and a thin coat of butter makes it easier to serve clean portions.
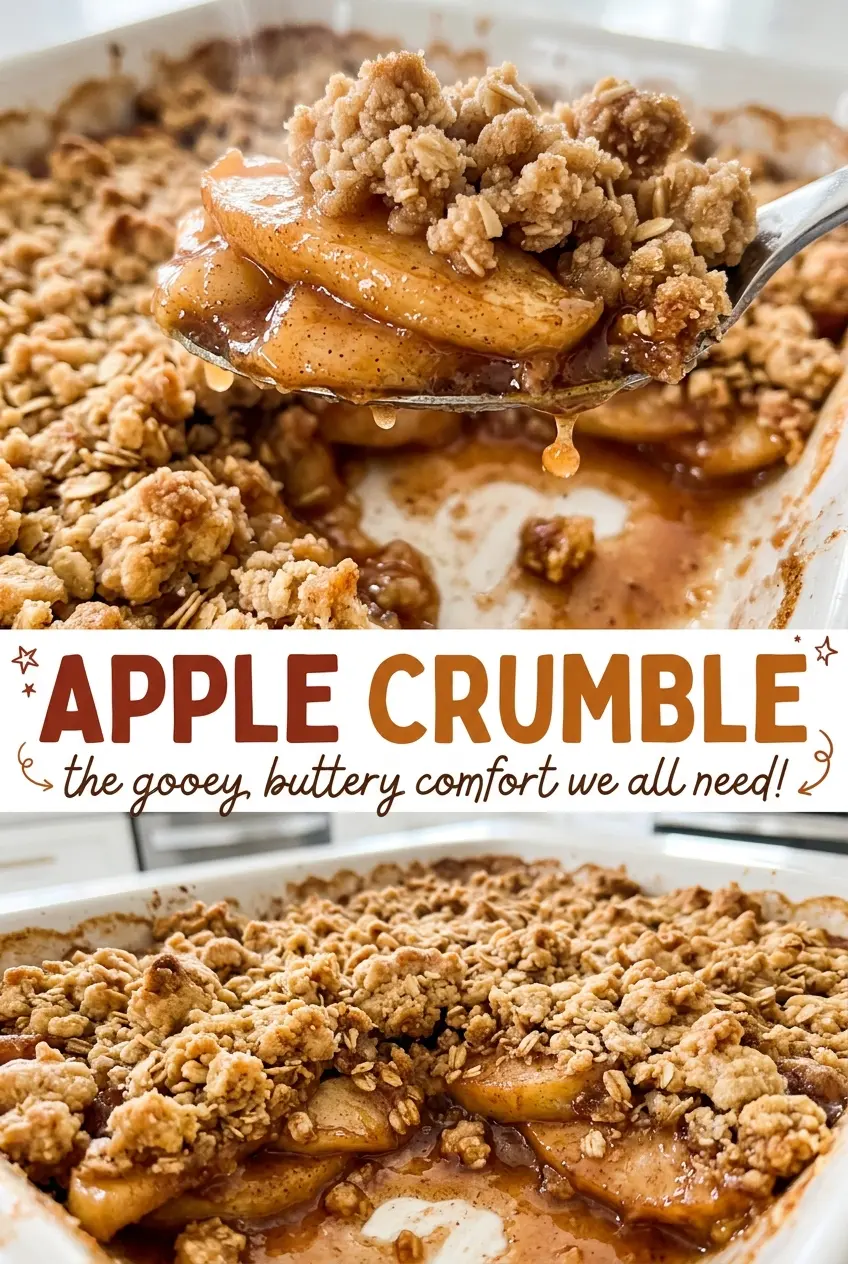
Save this Apple Crumble for its tender cinnamon apples and buttery oat topping—the kind of simple dessert that’s easy to portion and share.
Why Apple Crumble Uses Two Sugars Instead of One
The granulated sugar and light brown sugar have different jobs here. Granulated sugar goes with the apples, where it sweetens the fruit without adding the deeper molasses note of brown sugar. It also draws out some apple juice as the filling bakes, giving the cornstarch something to thicken.
Light brown sugar belongs in the topping. Its soft, slightly moist texture mixes into the flour and oats and gives the crumbs a mellow caramel-like taste. Using one sugar throughout would still make a sweet dessert, but you’d lose that contrast between clean, cinnamon-sweet apples and a richer, toasted topping. Keeping each sugar in its own layer lets both parts taste like themselves.
That division also helps you judge the finished crumble: the fruit tastes bright and familiar, while the topping has a rounder, deeper sweetness. Neither layer needs extra spice or a heavy hand with sugar to stand out.
What the Apples, Starch, and Oats Each Bring to This Crumble
- Apples — They’re the main source of sweetness, tartness, and the soft fruit texture underneath the crumb. Choose firm apples without bruised or shriveled spots; an expensive variety isn’t necessary. Cut the peeled, cored apples into even slices so they soften at a similar pace. For a different balance of tart and sweet, see the apple variation below.
- Lemon juice — A little acidity keeps the filling from tasting flat next to the sweet topping. Fresh juice has a brighter taste, but bottled lemon juice works as a direct substitute using the same amount. Toss it with the apples rather than pouring it into one spot.
- Cornstarch — This thickens the apple juices into a spoonable filling instead of leaving them thin at the bottom of the dish. Arrowroot starch can replace it measure for measure; toss the starch thoroughly through the fruit so it doesn’t gather in dry pockets.
- Ground cinnamon — Cinnamon gives the apples their familiar warmth. A fresh, fragrant jar makes a noticeable difference, while a standard grocery-store brand is fine. Apple pie spice can stand in for the cinnamon in the same amount, though its additional spices will make the filling taste more layered.
- All-purpose flour — Flour gives the butter and oats enough body to form crumbs rather than a loose pile of flakes. Store-brand flour works well. If you need a gluten-free crumble, use a cup-for-cup gluten-free baking flour blend and follow the oat guidance in the variation below.
- Old-fashioned rolled oats — These give the topping distinct oat pieces and a pleasantly hearty bite. Check that the oats are fresh and dry; there’s no need to seek out a specialty brand. Quick oats work in a pinch, but the topping will be finer and softer.
- Cold unsalted butter — Butter brings the topping together and gives it its rich, toasted flavor. Unsalted butter lets the salt in the topping stay controlled, and a basic store brand is perfectly suitable. Keep it cold until you work it into the dry ingredients; soft butter is harder to cut into distinct crumbs.
Build the Crumble in Three Stages
Coat the Apples Evenly
Heat the oven to 375°F and butter a 9-inch square baking dish. Toss the apple slices with the granulated sugar, lemon juice, cornstarch, and cinnamon in a large bowl, turning them until the coating looks evenly distributed. Spread the fruit in the prepared dish in an even layer rather than leaving a tall mound in the middle. Any dry starch left at the bottom of the bowl should be tossed through the apples before they go into the pan.
Cut the Butter into Coarse Crumbs
Stir the flour, oats, brown sugar, and salt together in a medium bowl before adding the cold butter cubes. Work the butter in with a pastry cutter or your fingertips until the mixture looks like coarse crumbs, with small pieces of butter still visible. Stop before it turns into a smooth dough; a paste-like topping won’t scatter as easily or bake into the same crumbly texture. If your hands run warm, use the pastry cutter so the butter stays firm.
Bake Until the Fruit Is Tender and Bubbling
Scatter the crumble mixture evenly over the apples, letting some larger crumbs remain instead of pressing the surface down. Bake at 375°F for 45–55 minutes, until the topping is golden brown, a knife slides into the apples easily, and the filling bubbles around the edges. If the top looks browned but the apples still resist the knife, give the dish more time in the oven. Let the crumble rest for 20 minutes before serving so the filling can settle.
Ways to Change the Apples or Adapt the Topping
Use tart apples for a sharper filling
Choose a tart, firm baking apple such as Granny Smith if you prefer a brighter contrast with the sweet topping. A sweeter firm variety makes the filling taste rounder and less tangy. Keep the apples sliced as directed so the change is about flavor, not uneven cooking.
Make the crumble gluten-free
Replace the all-purpose flour with the same amount of cup-for-cup gluten-free baking flour, and use certified gluten-free rolled oats. The topping may be a little more delicate, so scatter it gently over the fruit rather than pressing it into a solid layer.
Add pecans for a nutty crunch
Fold chopped pecans into the finished crumble mixture before scattering it over the apples. They add a toasted crunch and make the topping a little heartier, but the crumbs will be less uniform. Skip this change if you’re serving anyone with a tree-nut allergy.
Storage and Reheating
- Refrigerator: Refrigerate leftovers within 2 hours. Cover and keep for 3 to 4 days; the topping softens as it sits.
- Freezer: Freeze cooled portions in an airtight container for up to 3 months. Thaw in the refrigerator before reheating.
- Reheating: Reheat an oven-safe portion uncovered until hot throughout for a crisper topping. The microwave works for a quick serving, but it softens the crumbs; avoid heating a portion for too long, since the apple filling can become piping hot before the topping does.
Questions That Come Up While Making Apple Crumble
Apple Crumble
Ingredients
Equipment
Method
- Heat the oven to 375°F.
- Butter a 9-inch square baking dish.
- Toss the apples with the granulated sugar, lemon juice, cornstarch, and cinnamon in a large bowl.
- Spread the apple mixture evenly in the prepared dish.
- Stir the flour, oats, brown sugar, and salt together in a medium bowl.
- Cut in the cold butter with a pastry cutter or your fingertips until the mixture forms coarse crumbs.
- Scatter the crumble topping evenly over the apples.
- Bake for 45–55 minutes, until the topping is golden brown, the apples are tender when pierced with a knife, and the filling is bubbling around the edges.
- Let the crumble rest for 20 minutes before serving.