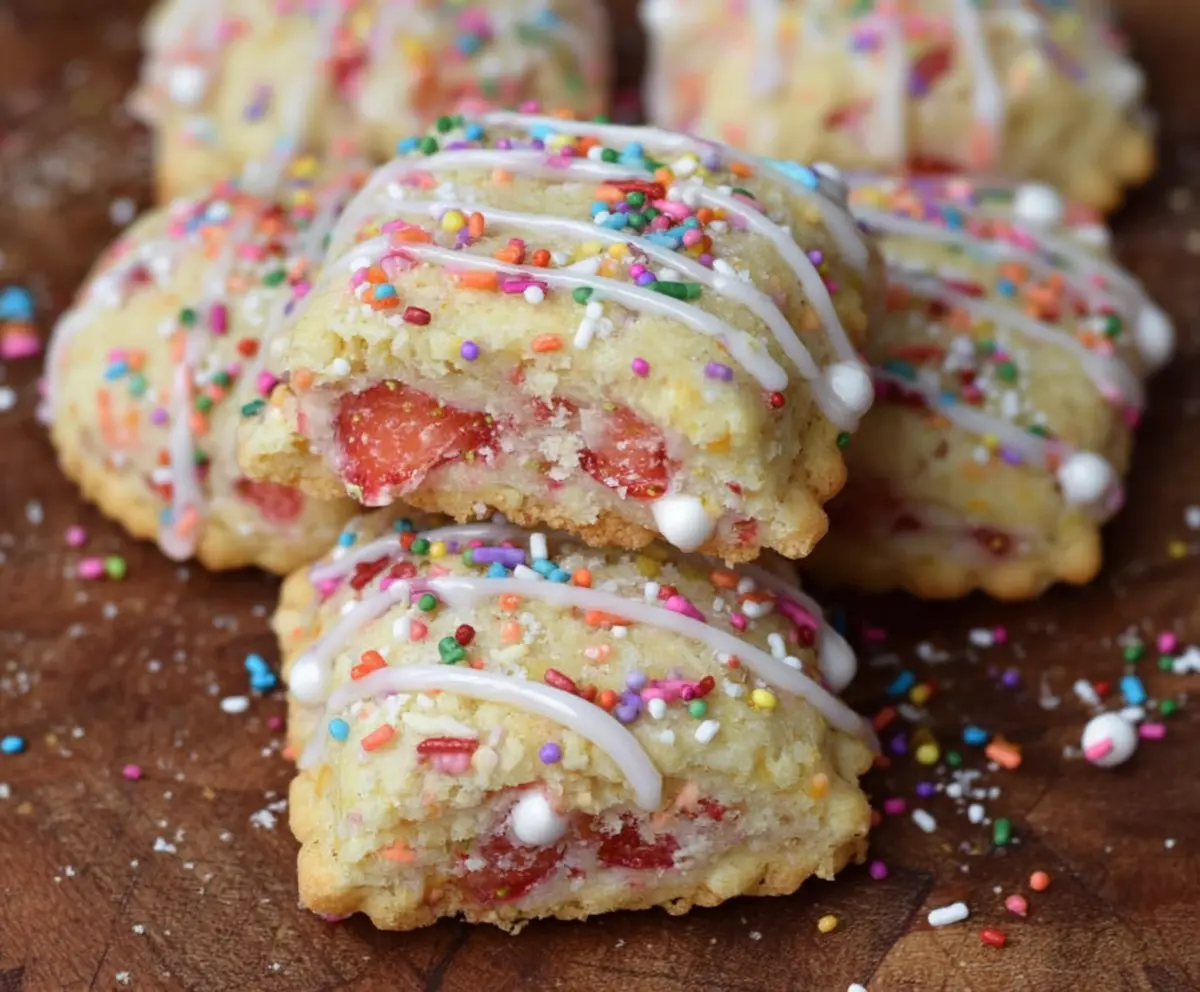
These Strawberry Pop Tart Cookies are a fun twist on a classic treat! They combine soft, chewy cookie goodness with a sweet strawberry filling that’s just delightful.
Honestly, I love how colorful and tasty these cookies are! They remind me of my childhood snacks but are even better. Plus, they’re perfect for sharing or hiding away for yourself! 😄
Key Ingredients & Substitutions
Unsalted Butter: Softened butter gives the cookies a rich flavor. If you need a dairy-free option, use coconut oil or a plant-based butter instead. I also like to use unsalted butter to control the saltiness of my cookies.
Freeze-Dried Strawberries: These add concentrated strawberry flavor. You can use chopped fresh strawberries, but be sure to drain them well, so the dough doesn’t get too wet. I love using freeze-dried ones for their crunch and vibrant color!
Granulated Sugar: This sweetener makes the cookies chewy. You can swap it for brown sugar for a deeper flavor, or use a sugar substitute if you’re looking to cut down on sugar.
Rainbow Sprinkles: They are not just for looks! If you want to avoid artificial colors, look for natural sprinkles or leave them out altogether. I find that sprinkles make everything cheerful and fun!
What’s the Trick to Achieving the Perfect Cookie Texture?
The texture of your cookies can make all the difference! Here’s how to nail it:
- Make sure your butter is softened but not melted. This helps with the creaming process for a light and airy dough.
- Don’t overmix the dough after adding the dry ingredients. Mix just until combined to avoid tough cookies.
- Chill the rolled-out dough for about 10 minutes between cutting. This helps keep the shapes defined while baking!
- Keep an eye on the baking time; ovens can vary. The edges should be light golden, and they’ll continue to firm up as they cool.
Following these steps will give you cookies with the perfect chew and softness!

Strawberry Pop Tart Cookies
Ingredients You’ll Need:
For the Cookie Dough:
- 1 cup unsalted butter, softened
- 1 cup granulated sugar
- 1 large egg
- 1 teaspoon pure vanilla extract
- 2 3/4 cups all-purpose flour
- 1/2 teaspoon baking powder
- 1/4 teaspoon salt
- 1 cup freeze-dried strawberries, crushed (or finely chopped fresh strawberries, drained)
- 1/2 cup rainbow sprinkles
For the Filling:
- 1 cup strawberry jam or preserves
For the Glaze:
- 1 cup powdered sugar
- 2 tablespoons milk
- 1/2 teaspoon vanilla extract
For Decoration:
- Additional sprinkles for topping
How Much Time Will You Need?
This recipe takes about 20 minutes of prep time, plus 12-15 minutes of baking time. It’s best to let the cookies cool completely before adding the glaze, which will take an additional 10 minutes. Overall, you’ll need around 45 minutes before you can enjoy these tasty snacks!
Step-by-Step Instructions:
1. Preheat the Oven:
First, preheat your oven to 350°F (175°C). While it’s heating up, line your baking sheets with parchment paper so the cookies don’t stick.
2. Creaming the Butter and Sugar:
In a large mixing bowl, take your softened butter and granulated sugar. Cream them together using a hand mixer or stand mixer until the mixture becomes light and fluffy. This should take about 2-3 minutes.
3. Adding the Egg and Vanilla:
Next, beat in the egg and the vanilla extract. Mix until everything is well combined and smooth.
4. Mixing the Dry Ingredients:
In a separate bowl, whisk together the all-purpose flour, baking powder, and salt. This helps to evenly distribute the baking powder throughout the flour.
5. Combining Wet and Dry Ingredients:
Slowly add the dry ingredients to the wet ingredients, mixing just until everything is combined. Be careful not to overmix—that’s the secret to soft cookies!
6. Adding Strawberries and Sprinkles:
Now, gently fold in the crushed freeze-dried strawberries and 1/2 cup of rainbow sprinkles into the dough. This adds lots of flavor and color!
7. Rolling Out the Dough:
Divide the dough into two equal portions. Roll out each portion on a lightly floured surface to about 1/4-inch thickness, forming rectangles.
8. Cutting the Cookies:
Using a rectangular cookie cutter (about 2″x3″), cut out cookies from both rolled-out dough sheets. You should have even amounts of cookie bases and tops.
9. Assembling the Cookies:
Place half of the cutouts on your prepared baking sheets. Spoon about 1 teaspoon of strawberry jam onto each cookie base, leaving a small border around the edges.
10. Sealing the Cookies:
Top each jam-filled cookie base with another cutout. Press the edges together gently, using a fork or crimper to seal them tight.
11. Decorating:
Sprinkle some additional rainbow sprinkles on top of each cookie to make them even more festive!
12. Baking Time:
Finally, bake in the preheated oven for about 12-15 minutes or until the edges are lightly golden. Keep an eye on them to avoid overbaking.
13. Cooling:
Once baked, remove the cookies from the oven and let them cool completely on the baking sheets.
14. Preparing the Glaze:
To make the glaze, whisk together the powdered sugar, milk, and vanilla extract until smooth and free of lumps.
15. Glazing the Cookies:
Drizzle the glaze over your cooled cookies and add more sprinkles while the glaze is still wet for a fun look.
16. Setting Time:
Let the glaze set for about 10 minutes before diving in, so it can firm up just a bit.
Enjoy your colorful, soft, and strawberry-filled Strawberry Pop Tart Cookies with a sweet sprinkle glaze!
Can I Use Fresh Strawberries Instead of Freeze-Dried?
Yes, you can use finely chopped fresh strawberries! Just make sure to drain them well to avoid excess moisture in the dough. This will help keep your cookies from getting soggy.
How Can I Make These Cookies Dairy-Free?
You can easily substitute the unsalted butter with a dairy-free butter or coconut oil. Just ensure it’s softened for the best mixing results!
What’s the Best Way to Store Leftover Cookies?
Store any leftover cookies in an airtight container at room temperature for up to 3 days. If you want them to last longer, consider refrigerating them, but they might lose a bit of their texture.
Can I Make the Dough Ahead of Time?
Absolutely! You can prepare the cookie dough, wrap it tightly in plastic wrap, and refrigerate it for up to 3 days. When you’re ready to bake, just roll it out and follow the rest of the steps!