
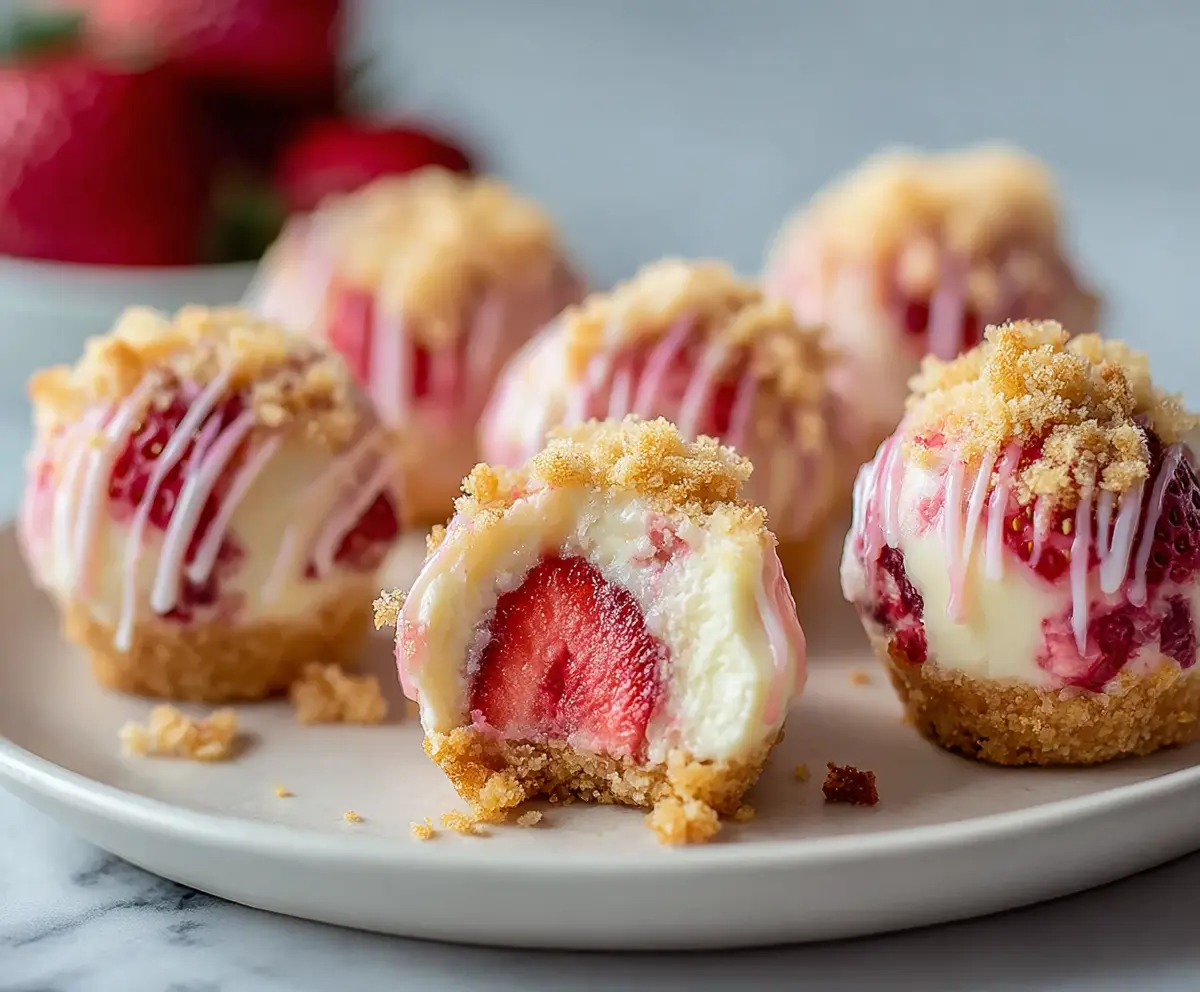
These Strawberry Crunch Cheesecake Bites are a little treat packed with flavor! With creamy cheesecake and a crunchy topping, they are perfect for any occasion.
Honestly, they’re like little nuggets of happiness! I love making a batch and sharing them, but I might just keep a few for myself. Who can resist their cuteness? 😋
Key Ingredients & Substitutions
Cream Cheese: This is the star ingredient that gives the cheesecake its rich, creamy texture. If you’re looking for a lighter option, consider using Neufchâtel cheese, which has lower fat content.
Strawberries: Fresh strawberries are ideal for this recipe, but you can substitute with other berries like raspberries or blueberries if you prefer. Just make sure to adjust the sweetness level accordingly!
Panko Breadcrumbs: These provide a light, crispy finish. If you can’t find panko, regular breadcrumbs will work too, but the texture might be slightly denser.
Graham Crackers: Using crushed graham crackers adds a nice sweetness and flavor. Digestive biscuits give a similar taste, so feel free to use those instead!
Vegetable Oil: For frying, any neutral oil works great. Alternatively, you can use coconut oil for a slightly different flavor if you enjoy that.
How Do I Get the Perfect Fry on My Cheesecake Bites?
Frying these bites can feel tricky, but here’s the scoop! The goal is to have a golden-brown crust while keeping the creamy filling intact.
- Make sure your oil is preheated to 350°F (175°C) before adding the bites. This helps them crisp up quickly.
- Don’t overcrowd the pan! Fry in batches to avoid lowering the oil temperature.
- Keep a close eye on the cooking time. Fry until they are golden, roughly 2-3 minutes. Let them cool a bit on paper towels afterward.
This technique will give you that perfect crunch without losing the delicious cheesecake inside!
How to Make Strawberry Crunch Cheesecake Bites
Ingredients You’ll Need:
For the Cheesecake Filling:
- 8 oz (225 g) cream cheese, softened
- 1/4 cup granulated sugar
- 1 tsp vanilla extract
For the Strawberries:
- 12 fresh strawberries, hulled
For the Coating:
- 1 cup all-purpose flour
- 2 large eggs
- 1 cup panko breadcrumbs
- 1/2 cup crushed graham crackers or digestive biscuits (for extra crunch)
For Frying and Topping:
- Vegetable oil, for frying
- Strawberry sauce or puree, for drizzling
- Sweetened condensed milk or icing glaze, for drizzling
- Fresh herb sprigs (like dill or mint), for garnish (optional)
How Much Time Will You Need?
This delightful treat will take about 20 minutes of prep time and around 30 minutes for frying. Plus, you’ll need about an hour for the cheesecake bites to set in the freezer before frying. In total, plan for about 1 hour and 50 minutes before you’re enjoying these tasty little bites!
Step-by-Step Instructions:
1. Prepare the Cream Cheese Filling:
In a mixing bowl, combine the softened cream cheese, granulated sugar, and vanilla extract. Use a hand mixer or spatula to beat everything together until the mixture is smooth and creamy. This is the delicious filling that will surround your strawberries!
2. Coat the Strawberries:
Take the hulled strawberries and carefully spoon or pipe the cream cheese mixture around each one, making sure they are coated evenly. Once you’ve done that, place the cheesecake-coated strawberries on a baking tray lined with parchment paper and pop them in the freezer for at least 1 hour, so they get nice and firm.
3. Set Up Your Breading Station:
Prepare three shallow bowls: one with all-purpose flour, one with the beaten eggs, and another with the panko breadcrumbs mixed with crushed graham crackers. This will help you create that crispy crust!
4. Bread the Cheesecake Bites:
Once the cheesecake-coated strawberries are ready, remove them from the freezer. Roll each strawberry in the flour first, then dip it into the beaten egg, and finally, coat it thoroughly in the breadcrumb mixture to get a complete layer of crunch!
5. Heat the Oil for Frying:
In a deep skillet or fryer, heat vegetable oil to 350°F (175°C). Fry the cheesecake bites in small batches to avoid overcrowding. Cook until they are golden brown and crispy, about 2-3 minutes, keeping a close eye to make sure the filling doesn’t overflow.
6. Drain and Serve:
Once fried, remove the bites and let them drain on paper towels to absorb any excess oil. Then, plate your beautiful bites!
7. Drizzle and Garnish:
Drizzle the strawberry sauce and sweetened condensed milk or icing glaze over the fries for that extra treat factor. If you like, add small herb sprigs for decoration—this will make your dessert look even more appealing!
8. Serve and Enjoy!
Serve these little bites warm and enjoy the delightful combination of creamy cheesecake with the fresh flavor of strawberries and the crunch of the coating! They’ll be a hit at any gathering!
Can I Use Other Fruits Instead of Strawberries?
Absolutely! While strawberries are the star of this recipe, you can use other fruits like raspberries, blueberries, or even peaches. Just make sure the fruit you choose is firm enough to hold the cheesecake mixture.
Can I Make These Cheesecake Bites in Advance?
Yes, you can prepare the cheesecake-filled strawberries a day ahead. Just keep them tightly covered in the refrigerator before breading, and then proceed with the coating and frying when you’re ready to serve.
What Should I Do If I Don’t Have Panko Breadcrumbs?
If you don’t have panko, regular breadcrumbs will work just fine, although they may not provide the same light, crispy texture. If possible, try to lightly toast the regular breadcrumbs in a dry skillet for added crunch before using them in the recipe.
How Can I Store Leftovers?
Store any leftover cheesecake bites in an airtight container in the refrigerator for up to 2 days. To reheat, pop them in the oven at 350°F (175°C) for a few minutes to restore their crispiness—microwaving may make them soggy.