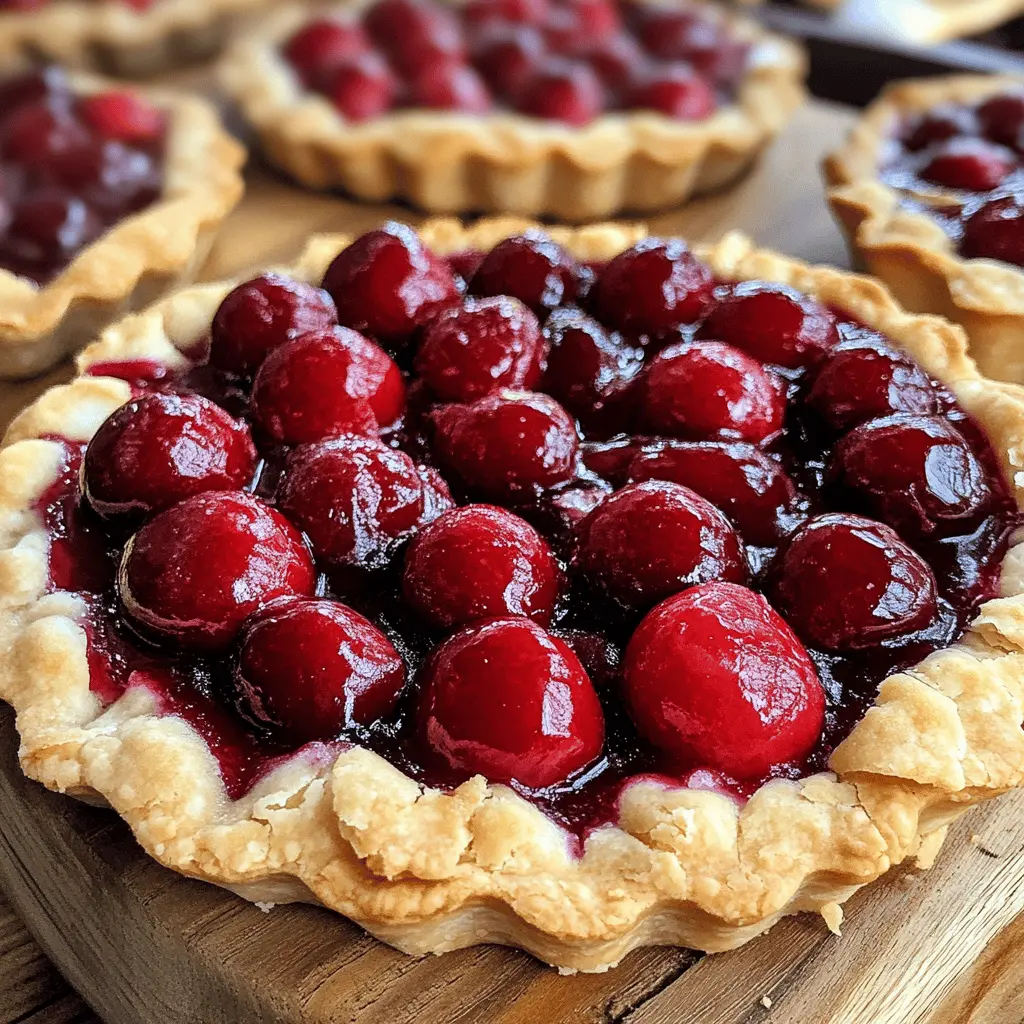
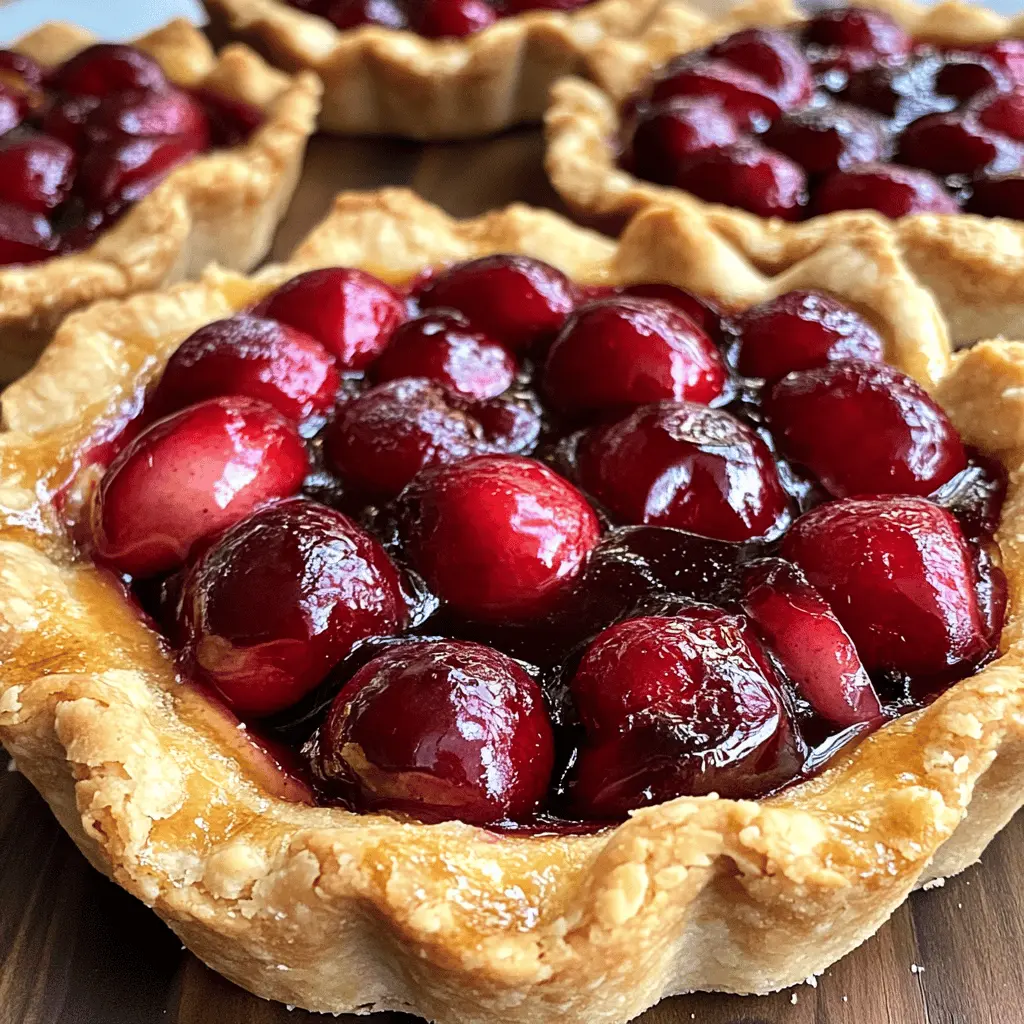
These Rustic Cherry Tarts are a treat with their flaky crust and juicy cherry filling. Perfect for dessert or a sweet snack, they bring a bit of charm to your table.
Every time I bake these, my kitchen smells like a cherry orchard! 🍒 I love serving them warm with a scoop of ice cream. Such a simple yet delightful way to enjoy cherries!
Key Ingredients & Substitutions
Cherries: You can use fresh or frozen pitted cherries. I often go for frozen when fresh isn’t in season; they’re just as tasty and save time. If you’re looking for a twist, try using raspberries or blueberries as an alternative.
Sugar: This recipe uses granulated sugar, but you can swap in brown sugar for a hint of richness. You could also use coconut sugar for a more natural option, but adjust the amount since it’s often less sweet.
Cornstarch: It’s crucial for thickening the cherry filling. If you don’t have cornstarch, try all-purpose flour or arrowroot powder in a pinch, but remember it may change the texture slightly.
Almond Extract: This is optional, but it adds a lovely depth to the flavor. If you’re not keen on almond, a splash of extra vanilla or even a bit of lemon zest can brighten the filling instead.
How Do You Create a Beautiful Rustic Tart Crust?
Making a rustic tart is all about the simple folding technique. Here’s how to get that beautiful look without fussing too much:
- Roll out your pie crust on a floured surface until it’s about 12 inches wide.
- Transfer it onto the parchment-lined baking sheet gently to avoid tearing.
- Spoon your cherry filling into the center, leaving a 2-inch border. This space is crucial for folding.
- Start folding the edges over the cherries, creating pleats. It doesn’t have to be perfect—embrace the rustic style!
- Lastly, brush the crust with egg wash. It gives a nice shiny finish.
Remember, the key is patience and to enjoy the process; the tart will turn out delicious regardless of the look!
How to Make Rustic Cherry Tarts
Ingredients You’ll Need:
For the Cherry Filling:
- 2 cups fresh or frozen pitted cherries
- 1/2 cup granulated sugar, divided
- 1 tablespoon cornstarch
- 1 tablespoon lemon juice
- 1 teaspoon vanilla extract
- 1/2 teaspoon almond extract (optional)
- 1 tablespoon unsalted butter, cut into small pieces
For the Pastry:
- 1 pre-made pie crust or homemade pastry dough
- 1 egg (for egg wash)
- Coarse sugar, for sprinkling
- Fresh cherries, for garnish (optional)
How Much Time Will You Need?
This recipe will take about 15 minutes to prepare and 30-35 minutes to bake. You’ll need a total of about 50 minutes, plus a little time to let the tart cool before you slice it up. Perfect for a delightful dessert!
Step-by-Step Instructions:
1. Preheat the Oven:
Start by setting your oven to 400°F (200°C). This will make sure it’s nice and hot when your tart goes in, giving you a perfectly golden crust.
2. Prepare the Cherry Filling:
In a mixing bowl, combine the pitted cherries, 1/4 cup of sugar, cornstarch, lemon juice, vanilla extract, and almond extract (if you’re using it). Gently toss everything together until the cherries are well-coated. Set the mixture aside so the flavors can blend.
3. Roll Out the Dough:
On a lightly floured surface, roll out your pie crust into a rough circle of about 12 inches in diameter. Then, carefully transfer it onto a baking sheet lined with parchment paper. This will help the tart bake evenly and make cleanup easier!
4. Assemble the Tart:
Spoon your cherry mixture into the center of the crust, leaving about a 2-inch border all around. Dot the top of your cherries with little pieces of butter for that extra richness.
5. Fold the Crust:
Now, start folding the edges of the pie crust over the cherries, making some pleats as you go. This gives it a lovely rustic appearance and keeps the juicy cherries safe inside!
6. Brush and Sweeten the Crust:
Beat the egg in a small bowl and brush it over the exposed crust. This will give it a beautiful shine. Next, sprinkle the remaining 1/4 cup of sugar and some coarse sugar on top for a sweet, crunchy finish.
7. Bake the Tart:
Pop the tart into your preheated oven and bake for about 30-35 minutes. You’ll know it’s ready when the crust is golden brown and you can see the cherries bubbling inside.
8. Cool and Serve:
Once it’s out of the oven, let your tart cool for a few minutes before slicing it up. If you like, garnish it with fresh cherries before serving. Enjoy your warm or room temperature rustic cherry tart!
Can I Use Frozen Cherries for This Recipe?
Absolutely! Frozen pitted cherries work perfectly in this recipe. Just make sure to thaw them completely in the fridge and drain off any excess liquid before mixing them with the other ingredients. This will prevent your tart from becoming too watery.
Can I Substitute the Sugar?
Yes, you can substitute granulated sugar with alternatives like coconut sugar, honey, or maple syrup. If using liquid sweeteners like honey, you’ll need to adjust the amount of cornstarch to maintain the tart’s consistency. Reduce the cornstarch slightly, as liquid sweeteners add moisture.
How to Store Leftovers
Store any leftover tarts in an airtight container in the fridge for up to 3 days. To reheat, simply place pieces in the oven at 350°F (175°C) for about 10 minutes until warmed through. This helps to crisp the crust again!
Can I Make This Tart Ahead of Time?
Yes, you can prepare the cherry filling a day in advance and store it in the fridge. You can also assemble the tart and freeze it unbaked. When ready to bake, thaw in the fridge overnight and then bake as directed. This can be a great time-saver for gatherings!