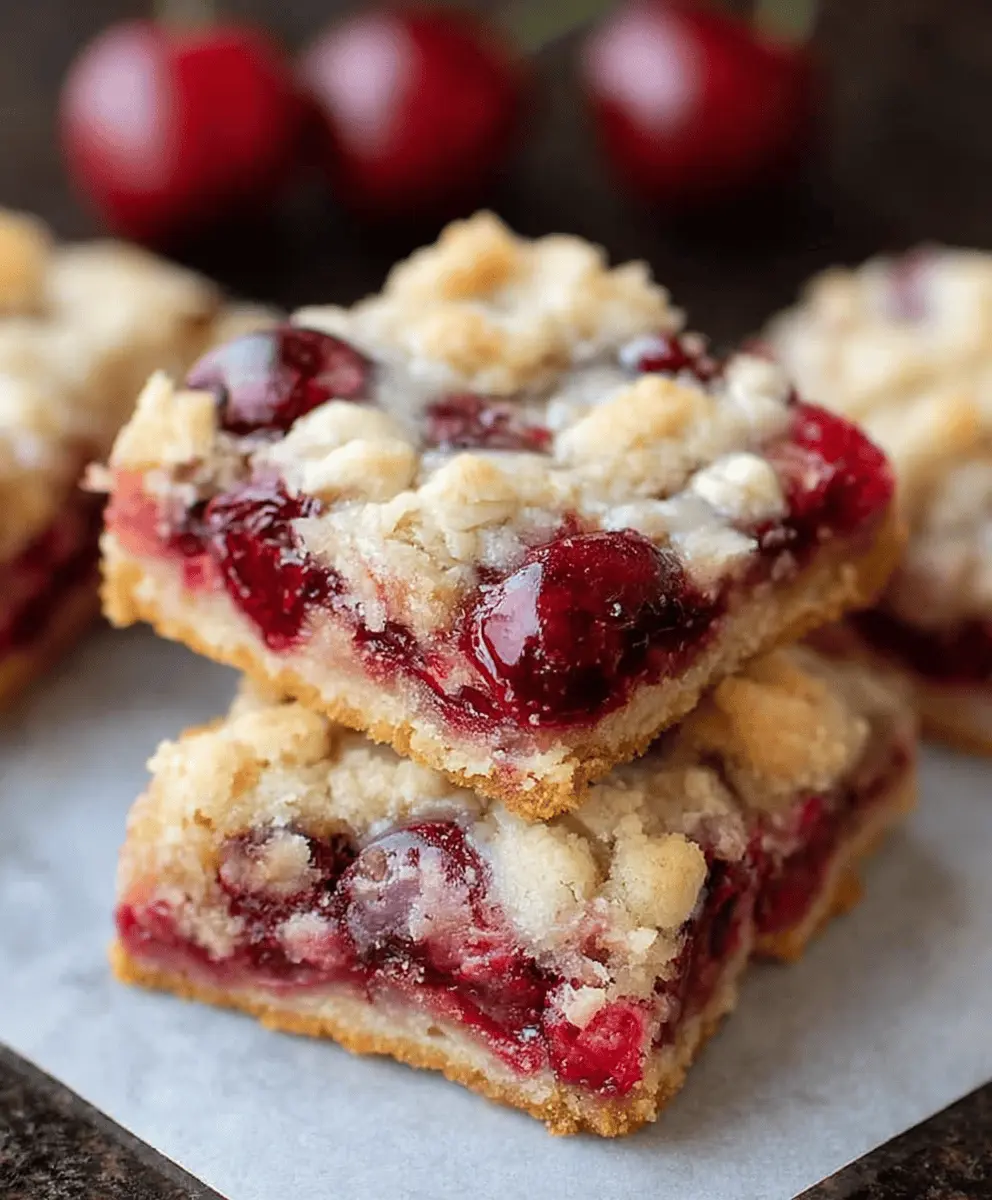
These easy cherry pie bars are the perfect summer treat! With a flaky crust and sweet cherry filling, they’re sure to make everyone smile. It’s like having a slice of pie in every bite!
Honestly, who can resist that cherry goodness? I often steal a bar (or two) right out of the pan! 😄 Just bake, cool, and enjoy—perfect for picnics or a sunny day at home!
Key Ingredients & Substitutions
All-purpose flour: This is the base for your crust. If you want a gluten-free option, you can try using a gluten-free 1:1 baking flour. It works surprisingly well and allows everyone to enjoy them!
Unsalted butter: Using cold butter helps create a flaky texture. If you’re dairy-free, you can substitute with a plant-based butter or coconut oil, but the taste might change slightly, so keep that in mind.
Granulated sugar: Just regular white sugar works here, but you can swap it for brown sugar for a deeper flavor. Keep in mind that this might change the texture a bit – brown sugar can make things softer.
Cherry pie filling: If you’re feeling adventurous, you could make homemade cherry filling using fresh or frozen cherries, sugar, and cornstarch. Just reduce the sugar if using sweet cherries.
Powdered sugar: This is for dusting, which adds a nice touch. You can skip it altogether if you prefer less sweetness or want to keep it simple!
How Can I Get a Flaky Crust for My Cherry Pie Bars?
Making a flaky crust is all about how you handle the butter. Cold butter is crucial because it creates steam while baking, which helps the layers develop that perfect flaky texture.
- Keep your butter cold and cut it into the flour quickly to minimize heat exposure.
- Avoid overmixing once the wet ingredients are added; leaving some lumps in the dough is okay.
- Press the dough firmly into the pan, but don’t compact it too much. A gentle touch helps maintain a lightness in the crust.
Remember to let the bars cool completely before cutting, as this helps them hold their shape better and makes for cleaner slices!
Easy Cherry Pie Bars
Ingredients You’ll Need:
- 2 1/2 cups all-purpose flour
- 1 cup (2 sticks) unsalted butter, cold and cut into cubes
- 1 cup granulated sugar
- 1/2 teaspoon salt
- 1 teaspoon vanilla extract
- 1 large egg
- 1 can (21 oz) cherry pie filling
- Optional: powdered sugar for dusting
How Much Time Will You Need?
This recipe takes about 15 minutes to prep and around 40-45 minutes to bake, followed by cooling time. So overall, you’ll be looking at around 1 hour for baking and cooling, making this a quick treat to whip up!
Step-by-Step Instructions:
1. Preheat the Oven:
Start by preheating your oven to 350°F (175°C). This step is crucial to ensure your cherry pie bars bake evenly. While the oven is heating, grab your baking pan!
2. Prepare the Baking Pan:
Grease a 9×13-inch baking pan or line it with parchment paper. Lining the pan makes it easier to lift the bars out once they are cool. Prepping your pan ahead saves you a sticky situation later!
3. Mix the Dry Ingredients:
In a large bowl, combine the flour, granulated sugar, and salt. Stir these dry ingredients together until they are well mixed. This step ensures that every bite of your pie bars will be equally delicious!
4. Cut in the Butter:
Next, it’s time to cut in the cold butter. Use a pastry cutter, fork, or your fingers to mix the butter into the flour mixture until it resembles coarse crumbs. Don’t stress about perfection; some small clumps are fine!
5. Add the Wet Ingredients:
In a separate small bowl, beat the egg and add the vanilla extract. Then, add this mixture to your dry ingredients and mix just until combined. The dough should still be crumbly and not too wet.
6. Form the Crust:
Press about two-thirds of the dough into the bottom of the prepared baking pan. This will be your lovely crust that holds all the cherry goodness. Make sure it’s even and covers the entire base.
7. Add the Cherry Filling:
Spread the cherry pie filling evenly over the crust layer. Make sure to cover it well—cherry pie bars without filling is like summer without sunshine!
8. Crumble the Dough Topping:
Now, take the remaining dough and crumble it over the cherry filling. This will provide a delicious topping that gets nice and crispy in the oven.
9. Bake the Bars:
Place the pan in your preheated oven and bake for 40-45 minutes, or until the top is golden brown. Your kitchen is about to smell divine!
10. Cool and Cut:
Once baked, remove the pan from the oven and let the bars cool completely in the pan. This step is important to help them set and makes it easier to cut into squares.
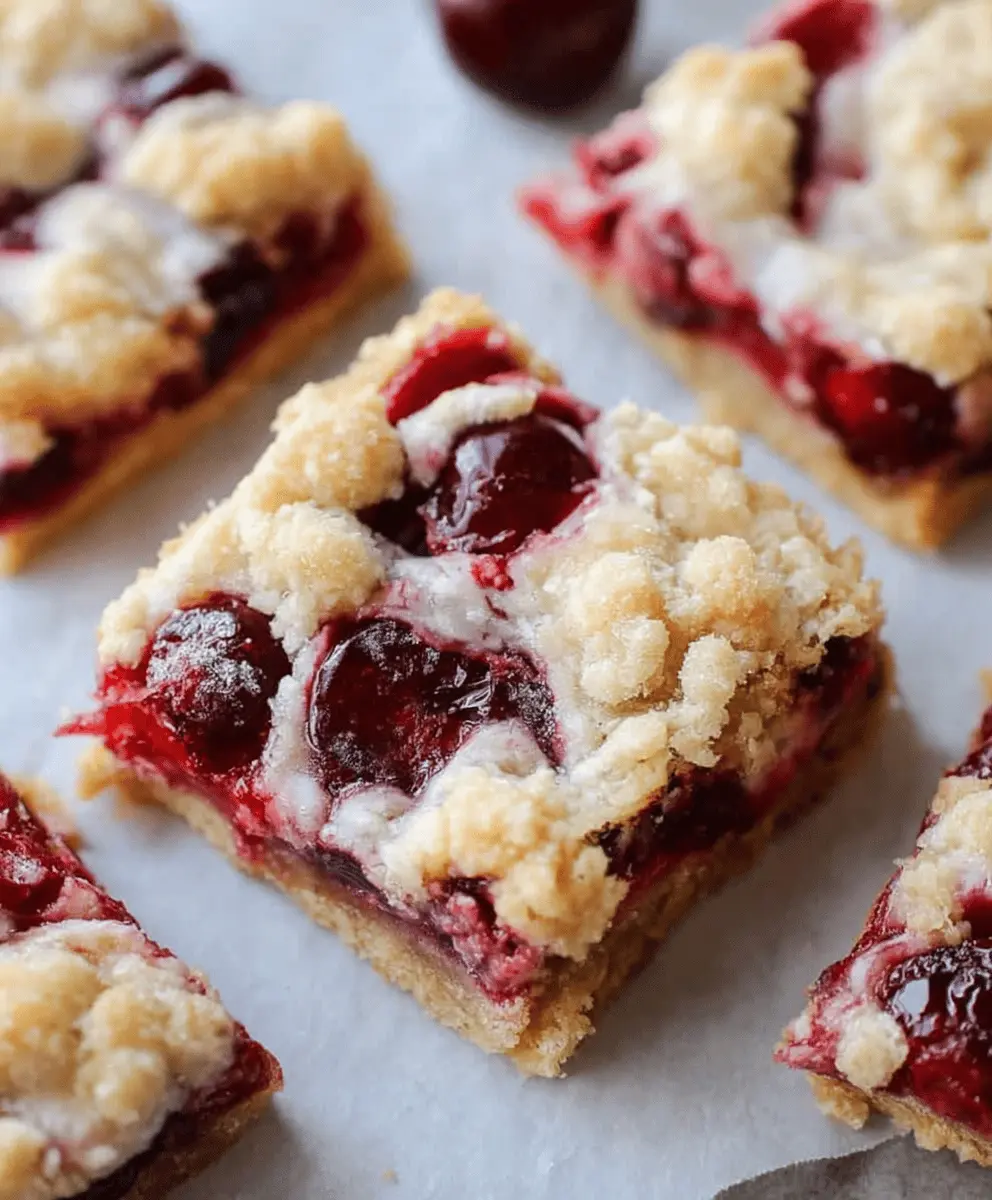
11. Serve and Enjoy:
If you’d like, dust the bars with powdered sugar before serving for a lovely finishing touch. Now it’s time to enjoy your delicious cherry pie bars—perfect for a summer treat with friends or family!
Enjoy!
FAQ: Easy Cherry Pie Bars
Can I Use Fresh Cherries Instead of Canned Pie Filling?
Absolutely! If you want to use fresh cherries, pit and halve about 4 cups of cherries, then toss them in a mixture of 1/2 cup sugar and 2 tablespoons cornstarch before spreading them over the crust. This will give you a delightful homemade cherry filling!
How Can I Store Leftover Cherry Pie Bars?
Store any leftovers in an airtight container in the fridge for up to 5 days. If you want to keep them fresh for longer, you can freeze them for up to 3 months. Just thaw them in the fridge before serving!
Can I Make These Cherry Pie Bars Vegan?
You can! Substitute the butter with a plant-based butter and the egg with a flax egg (1 tablespoon of flaxseed meal mixed with 2.5 tablespoons of water, let it sit until it thickens). Just make sure that your cherry pie filling is also vegan-friendly.
What Can I Serve with Cherry Pie Bars?
These bars are delicious on their own, but you can serve them with a scoop of vanilla ice cream or a dollop of whipped cream for extra indulgence. A sprinkle of fresh mint on top can also add a nice touch!