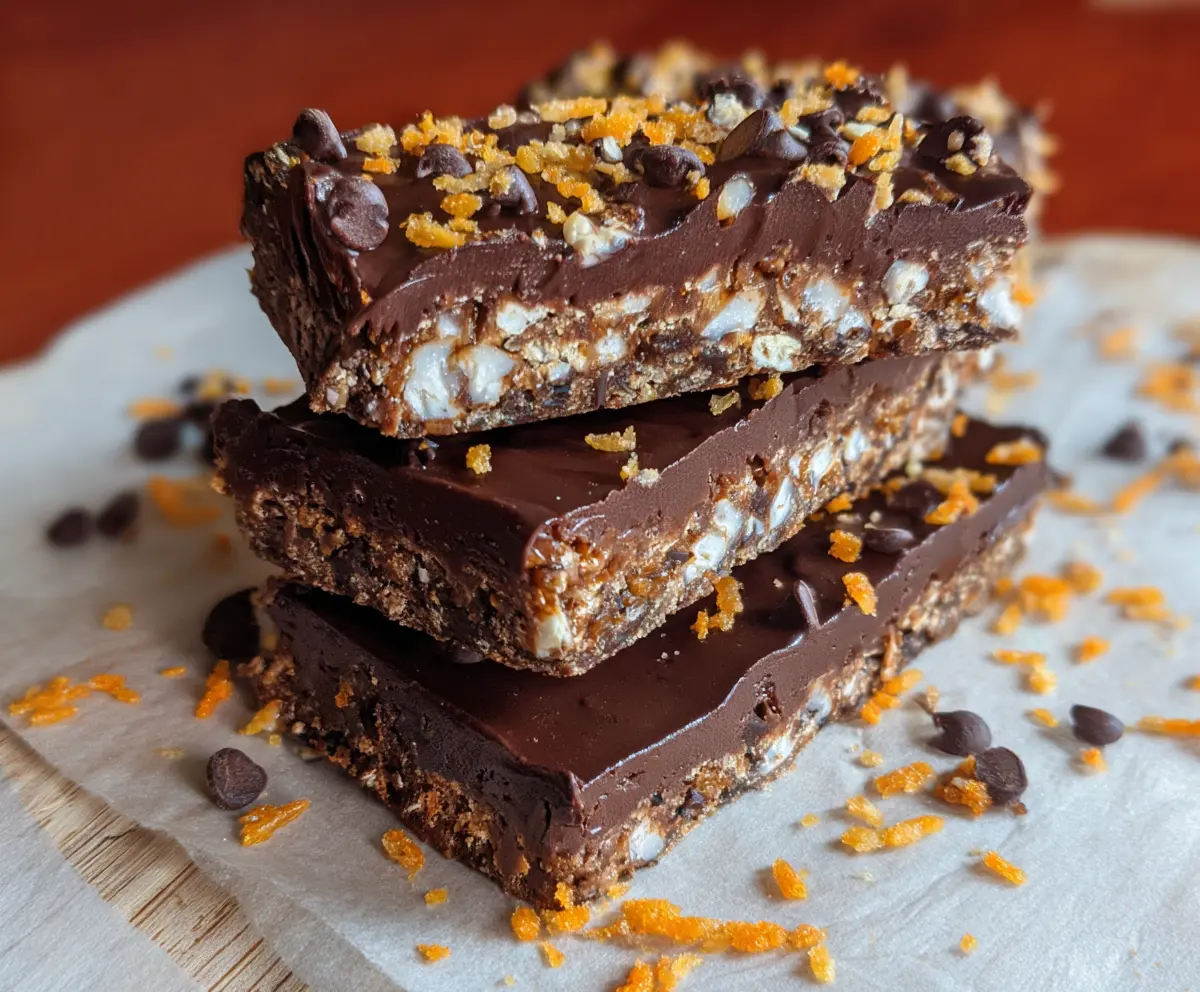
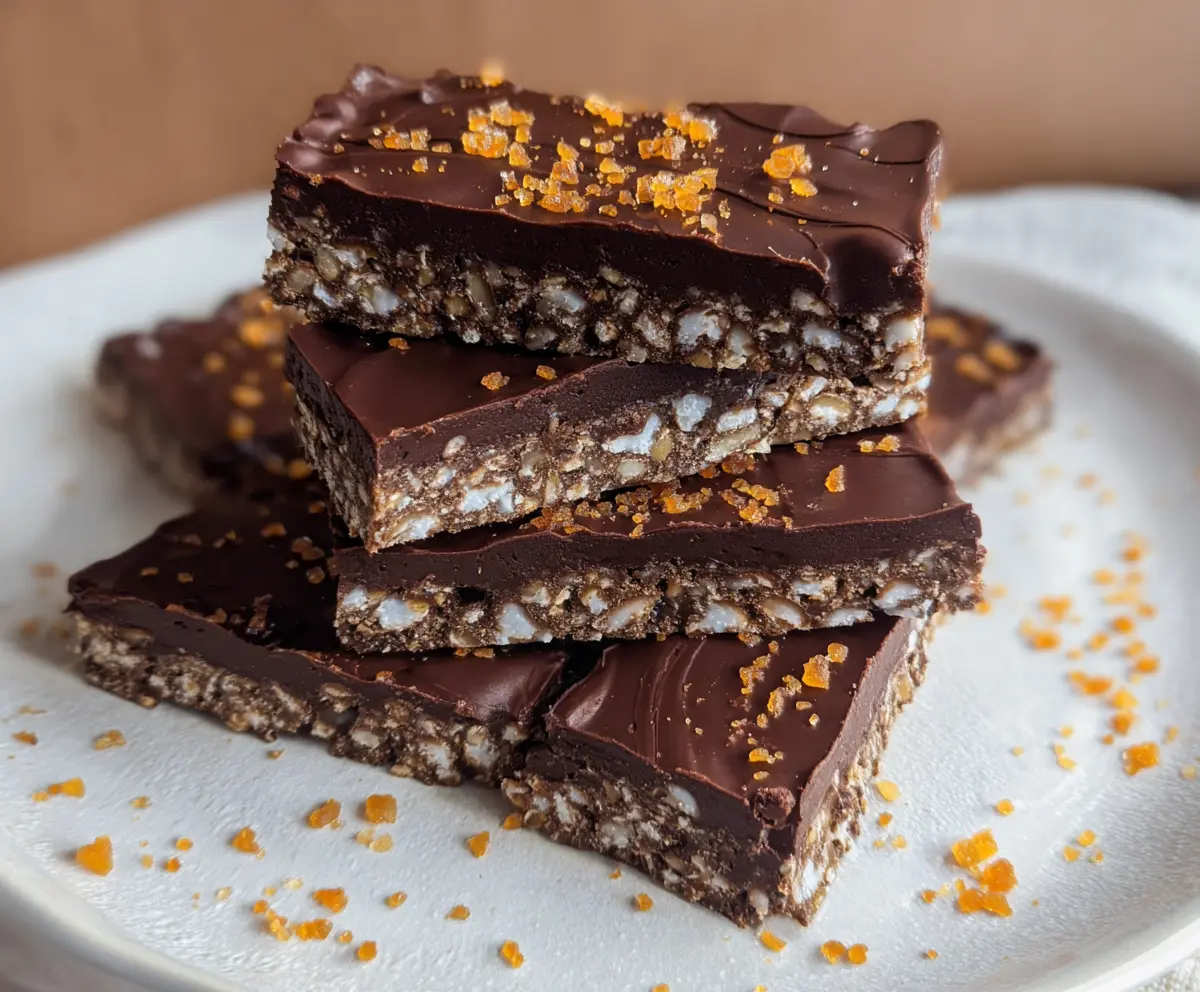
These Chocolate Fudge Crunch Bars are a sweet treat that everyone loves! With layers of rich chocolate fudge and a crispy crunch, they’re heavenly and oh-so-easy to make.
I can’t resist a good chocolate bar, especially when it’s packed with crunch! Whenever I’m having a rough day, I just whip up a batch. They work wonders! 😄
Key Ingredients & Substitutions
Miniature Marshmallows or Puffed Rice Cereal: Both add a nice crunch. If you want a low-sugar option, try using unsweetened puffed quinoa for a healthier alternative!
Chocolate Chips: I love using semi-sweet chocolate for balance, but dark chocolate is fantastic too! If you’re dairy-free, check out dairy-free chocolate chips as a great substitute.
Unsalted Butter: This is key for richness. You can swap it with coconut oil for a dairy-free option; just keep in mind it will add a subtle coconut flavor.
Cocoa Powder: Unsweetened cocoa is important for depth of flavor. You could use dark cocoa for a more intense chocolate taste, or carob powder if you want to avoid caffeine.
Light Corn Syrup or Honey: Both help bind everything together. If avoiding sugar is your goal, agave syrup or maple syrup could work too!
How Do I Ensure My Fudge Sets Perfectly?
Getting the fudge layer just right can be tricky. Follow these tips to help your bars set beautifully:
- Melt the butter and combine the sugar and cocoa over medium heat while stirring—this prevents burning.
- Boil the mixture gently for 2-3 minutes until it’s smooth and shiny. Don’t skip this step; it helps the fudge to firm up!
- Let the mixture cool slightly before pouring it over your crunch base. This way, the marshmallows won’t melt entirely.
- Chill in the refrigerator until fully set, at least 2 hours. The longer, the better for a firmer texture!
By following these tips, you’ll get those fudge crunch bars to set perfectly every time! Enjoy making and sharing them!
How to Make Chocolate Fudge Crunch Bars
Ingredients You’ll Need:
For The Crunch Base:
- 2 cups miniature marshmallows or puffed rice cereal
For The Fudge Layer:
- 1 cup chocolate chips (semi-sweet or dark)
- 1/2 cup unsalted butter
- 1/4 cup unsweetened cocoa powder
- 1 cup granulated sugar
- 1/4 cup light corn syrup or honey
- 1/2 tsp vanilla extract
- Pinch of salt
For The Topping:
- Orange zest (for a fresh flavor)
- Additional chocolate chips (optional for decoration)
How Much Time Will You Need?
This recipe will take about 15 minutes to prepare, plus an additional 2 hours to chill in the refrigerator. Simply mix, layer, and chill for a delicious homemade treat!
Step-by-Step Instructions:
1. Prepare the Baking Pan:
Start by lining an 8×8 inch baking pan with parchment paper. Leave some overhang on the sides; this will help you lift the bars out later. Set it aside.
2. Make the Crunch Base:
In a large mixing bowl, add the miniature marshmallows or puffed rice cereal. This will give your bars a delightful crunch. Mix them together lightly in the bowl.
3. Prepare the Fudge Layer:
In a medium saucepan, melt the unsalted butter over medium heat. Add the granulated sugar, cocoa powder, and corn syrup (or honey). Stir constantly until the mixture begins to boil gently. Keep stirring for about 2-3 minutes until it looks smooth and glossy. Remove from heat.
4. Combine with Vanilla and Salt:
Now quickly stir in the vanilla extract and a pinch of salt to flavor the fudge. Mix until everything is combined.
5. Mix the Fudge with Crunch Base:
Pour this warm fudge mixture over the bowl of marshmallows or puffed rice and gently fold to coat them evenly. Make sure everything is well combined without breaking the marshmallows.
6. Transfer to Pan:
Carefully transfer the fudge-crunch mixture to your prepared baking pan. Spread it out evenly using a spatula, and press down gently to compact it.
7. Melt the Chocolate Chips:
In a microwave or double boiler, melt the chocolate chips until smooth. Be sure to stir occasionally to avoid burning!
8. Add the Chocolate Top Layer:
Pour the melted chocolate over the fudge crunch layer and use a spatula to spread it out evenly. It should cover the entire top beautifully!
9. Garnish:
Sprinkle some orange zest and, if you like, additional chocolate chips on top for a lovely finish and added texture.
10. Chill the Bars:
Refrigerate the bars for at least 2 hours, allowing them to set properly. Patience will pay off with delicious, firm bars!
11. Cut and Serve:
Once the bars are firm, use the parchment overhang to lift them out of the pan. Cut them into your desired sizes—perfect for sharing (or keeping all to yourself!).
12. Storage:
Store the Chocolate Fudge Crunch Bars in an airtight container in the refrigerator for up to a week. Though, they probably won’t last that long!
Enjoy these creamy, crunchy bars that are sure to be a hit for any occasion! Happy snacking! 😊
Can I Use Different Types of Crunch Elements?
Absolutely! While miniature marshmallows and puffed rice cereal work great, you can also use crushed nuts or granola for a different texture. Just make sure whatever you use is light enough to mix well with the fudge!
Can I Make These Bars Gluten-Free?
Yes! Just ensure that any cereals or additional ingredients you use are labeled gluten-free. Most brands of chocolate chips and marshmallows are naturally gluten-free as well!
How Do I Know When the Fudge Has Set Properly?
The fudge should be firm to the touch after chilling in the refrigerator for at least 2 hours. If it feels too soft, give it more time! It should slice cleanly without sticking when it’s set just right.
Can I Substitute the Corn Syrup or Honey?
Yes! You can use maple syrup, agave syrup, or even brown rice syrup as alternatives. These substitutes might slightly alter the final texture, but they’ll still work well to bind the bars together!