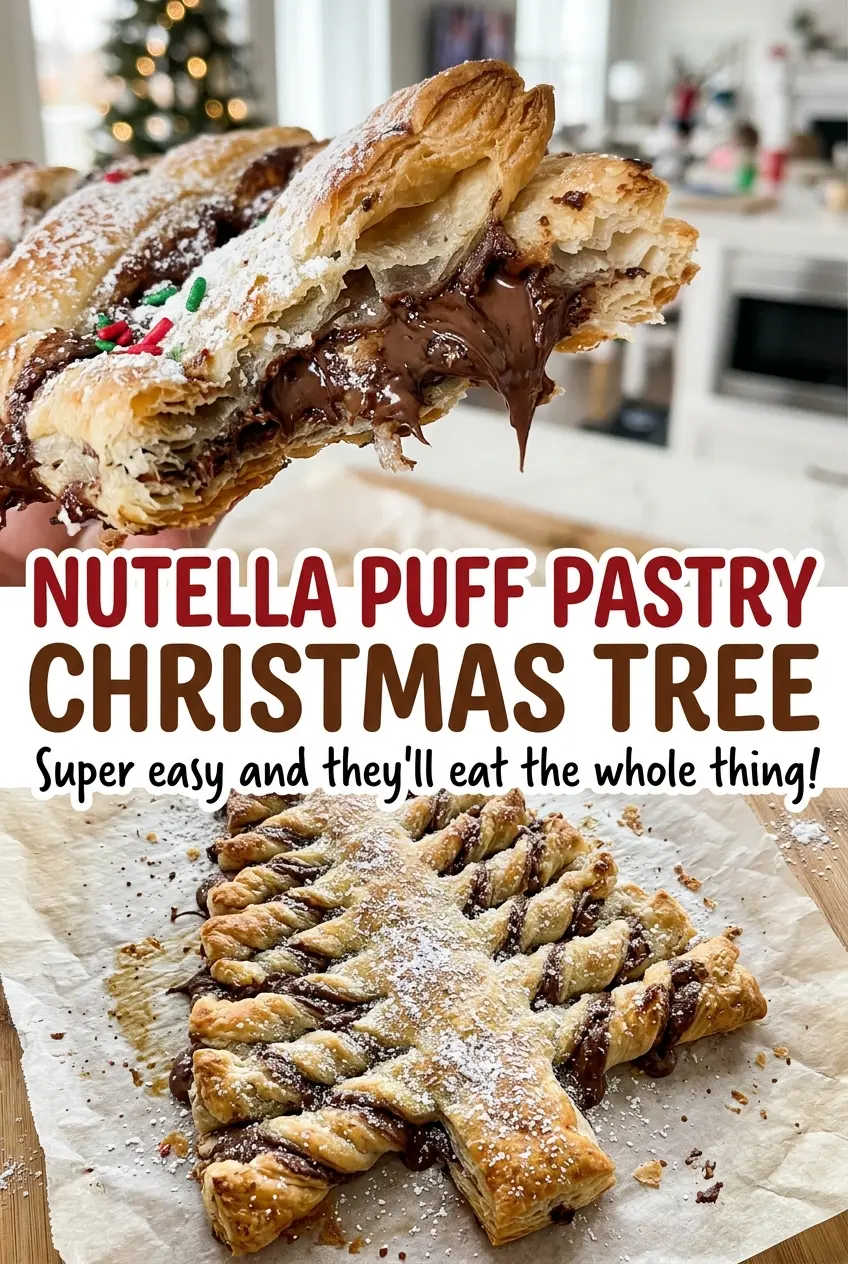
The knife has just cut the pastry into a tree, and the little strips on either side suddenly look like they might fall apart. They won’t, as long as the middle stays connected. I like this Nutella Puff Pastry Christmas Tree because it turns two sheets of store-bought puff pastry into a pull-apart centerpiece without complicated shaping or a long list of ingredients.
The part that makes it work is keeping the filling between the pastry sheets instead of letting it reach the edges. A narrow border gives the layers room to seal together, while the cuts stop short of the center so the branches stay attached. Twist each one twice, brush the top with egg wash, and the oven does the rest: the pastry rises into crisp, golden layers around the warm chocolate-hazelnut filling.
Kitchen Note
Beat the egg and water until the mixture looks uniform, with no streaks of white or yolk. A well-mixed wash gives the whole tree a more even golden finish.
Save this Nutella Puff Pastry Christmas Tree for a festive bake with crisp, twisted branches and a soft chocolate-hazelnut center.
Why the Center Spine Matters More Than the Tree Outline
The outline makes the pastry recognizable, but the center spine is what makes it hold together. Each side branch needs a connected strip of pastry running up the middle; that strip supports the twists as the layers puff in the oven. Cut all the way across, and you turn one pull-apart pastry into separate pieces that can shift around on the baking sheet.
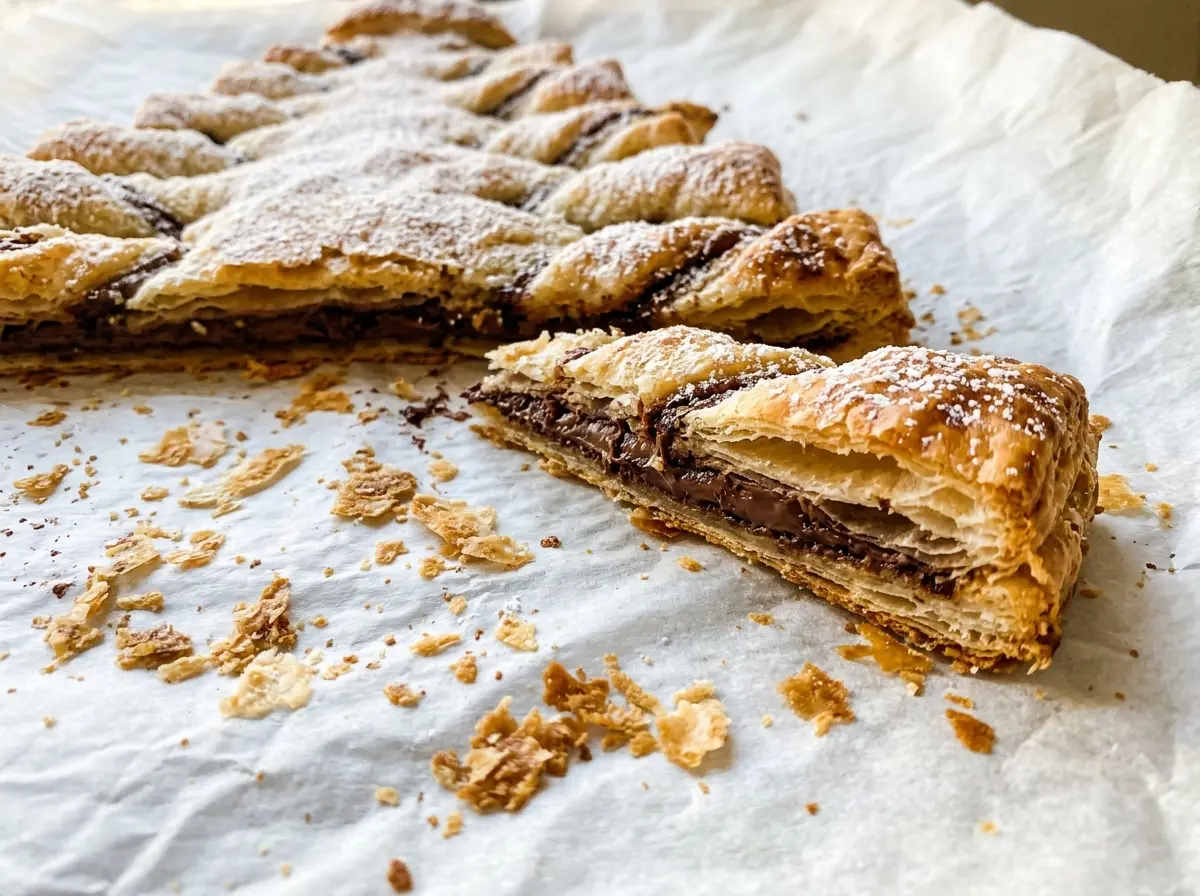
Think of the filling as a layer, not a topping. Nutella spread close to the edge has nowhere to go when the pastry is covered, cut, and twisted, so it can work its way out along the seams. The slim border gives the top and bottom sheets a cleaner edge to meet at. When the branches are lifted or pulled apart after baking, you get distinct pastry layers with chocolate-hazelnut filling tucked inside rather than a sticky sheet of spread across the pan.
What the Pastry, Nutella, and Egg Wash Each Bring
- Puff pastry — The frozen package supplies two sheets, which create the filled top-and-bottom layers. Thaw them before shaping so they can unfold and cut without cracking; pastry that’s too firm fights the knife, while pastry that’s gone limp is harder to handle cleanly. The layered texture is what gives the finished branches their crisp, airy bite.
- Nutella — Its smooth texture spreads across the pastry in an even layer and brings the familiar chocolate-hazelnut filling. Spread it gently so you don’t drag or tear the pastry underneath. The recipe is built around Nutella’s consistency, so a runnier or thicker spread can behave differently between the layers.
- Large egg — Beaten into the wash, the egg helps the exposed pastry turn golden in the oven. Use the whole egg rather than separating it; the yolk and white together make a brushable coating for the tree’s uneven surface.
- Water — A little water loosens the beaten egg so it brushes across the pastry more easily. It belongs in the wash, not in the filling; the Nutella layer should stay thick enough to sit between the sheets.
How to Layer, Twist, and Bake the Pastry Tree
Set up the pastry while the oven heats
Heat the oven to 400°F and line a large baking sheet with parchment paper. Have both thawed pastry sheets ready before you begin shaping, so the first sheet doesn’t sit uncovered while you finish the second. The pastry should unfold without cracking and lie flat on the parchment. If it is still stiff, it will be harder to shape neatly.
Spread the filling without crowding the edges
Set one sheet on the lined baking sheet and spread Nutella evenly across it. Stop about 1/2 inch from every edge, leaving a clear border all the way around. Lay the second pastry sheet on top, aligning the edges as closely as you can. A steady, even layer makes the finished tree easier to cut and keeps the filling distributed from the trunk to the branches.
Cut a tree with a connected center
Use a sharp knife to cut the pastry into a tree shape, with a centered trunk and a triangle about 8 inches wide at the base. Cut branches about 1 inch wide from both sides toward the middle, stopping about 1 inch short so the center spine remains intact. Keep the cuts clear and deliberate; ragged edges can make the narrow branches harder to twist. Twist each branch twice, working up both sides of the tree.
Brush on the egg wash
Beat the egg with the water in a small bowl, then brush the mixture over the pastry. Cover the exposed top evenly, including the branches, so the tree colors as it bakes. Use a light hand around the cut edges rather than letting the wash pool in the openings. The pastry is ready for the oven once the surface has a thin, even sheen.
Bake until puffed and golden
Bake for 18 to 22 minutes, until the pastry is puffed and golden brown. Check the color across the center and the outer branches; the whole tree should look risen, not pale and flat. Let it rest on the baking sheet for 5 minutes before serving. That short rest gives the hot pastry a chance to settle before you move or pull apart the branches.
Small Shape Changes for a Tree That Suits Your Table
Give the branches a more dramatic outline
Keep the same layered pastry and filling, but angle the outer cuts more sharply as you shape the tree. The pointed silhouette reads clearly as a tree, while the center spine still holds the twisted branches together.
Make the outline softer and rounder
For a less angular look, round the outer corners as you cut the tree shape instead of leaving sharp points at each branch tip. Keep the cuts on both sides balanced so the pastry still bakes into an even tree, with the same filling and twisted-branch format.
Storage and Reheating
- Refrigerator: Once completely cool, store covered in an airtight container for up to 3 days. The pastry softens as it sits.
- Freezer: Freeze cooled leftovers in an airtight container for up to 1 month. The pastry may lose some crispness after thawing.
- Reheating: Warm in a 400°F oven until heated through and crisp again. Skip the microwave, which softens the pastry layers.
Questions That Come Up When Making This Pastry Tree
Nutella Puff Pastry Christmas Tree
Ingredients
Equipment
Method
- Heat the oven to 400°F and line a large baking sheet with parchment paper.
- Place one pastry sheet on the prepared baking sheet.
- Spread the Nutella evenly over the pastry sheet, leaving a 1/2-inch border.
- Top with the second sheet.
- With a sharp knife, cut the pastry into a tree shape with a centered trunk and a triangle about 8 inches wide at the base.
- Cut 1-inch-wide branches from each side toward the center, stopping about 1 inch short to leave a central spine.
- Twist each branch twice.
- Beat the egg with the water in a small bowl.
- Brush the mixture over the pastry.
- Bake for 18 to 22 minutes, until puffed and golden brown.
- Let the pastry tree rest on the baking sheet for 5 minutes before serving.