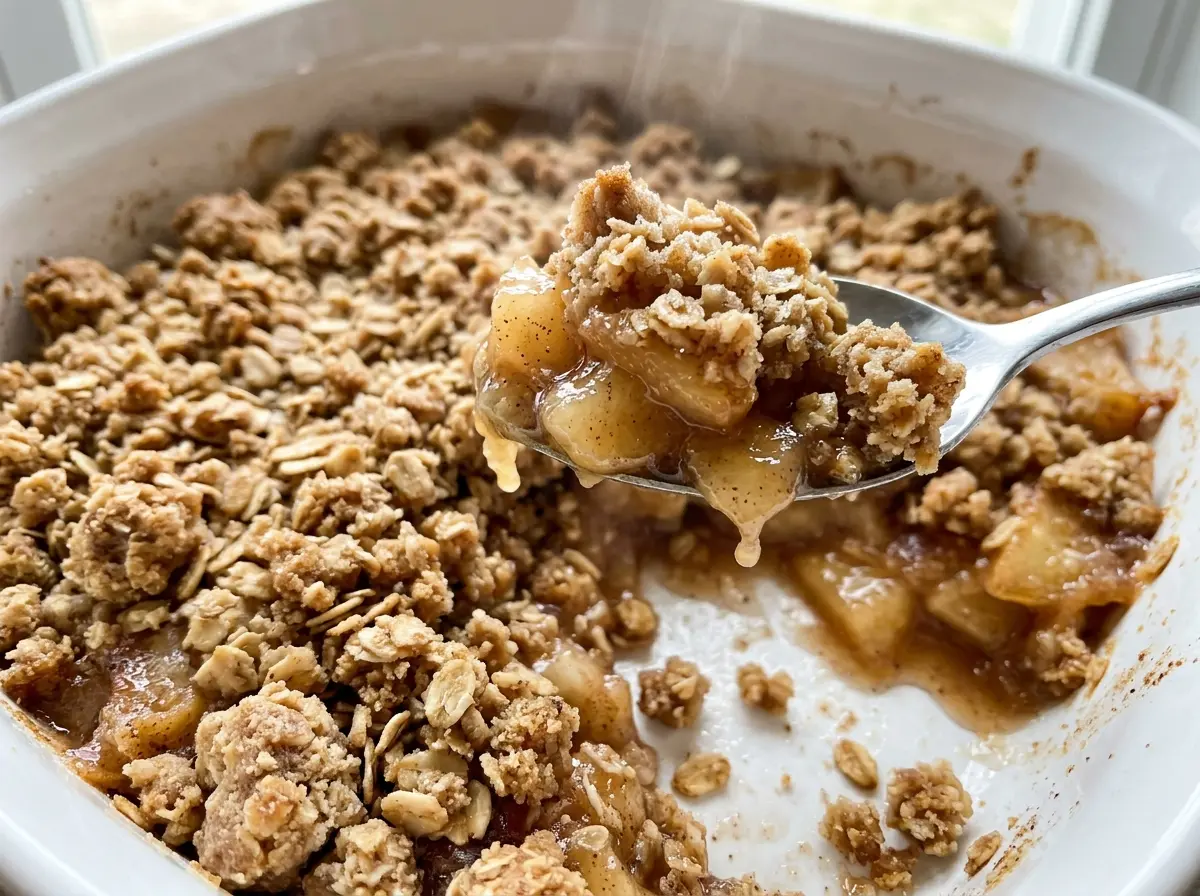
The apples soften underneath while the oat topping turns golden, and the first spoonful shows why the contrast matters: tender fruit with crisp, buttery crumbs on top. I used to worry when the filling bubbled around the edges before the center felt soft, but the knife test is more useful than the bubbles. This apple crisp with oatmeal is built for a 9×13-inch baking dish, so the fruit has room to cook in an even layer.
Firm apples keep their shape as they bake, while a little flour in the filling thickens the juices they release. The topping is a separate mixture, and cold butter worked into the oats and flour leaves coarse crumbs rather than a smooth paste. Keep some pieces pea-size; those larger bits bake into the crispest bites.
After baking, give the crisp a short rest before serving. The apples settle beneath the brown-sugar oat topping, and each scoop brings up a little of both: soft, cinnamon-scented fruit and a crumbly top.
Kitchen Note
When the crisp comes out of the oven, the fruit is still bubbling and the topping can feel delicate. Let it rest for the full 15 minutes before serving; the juices settle and the crumb topping firms up enough to scoop cleanly.
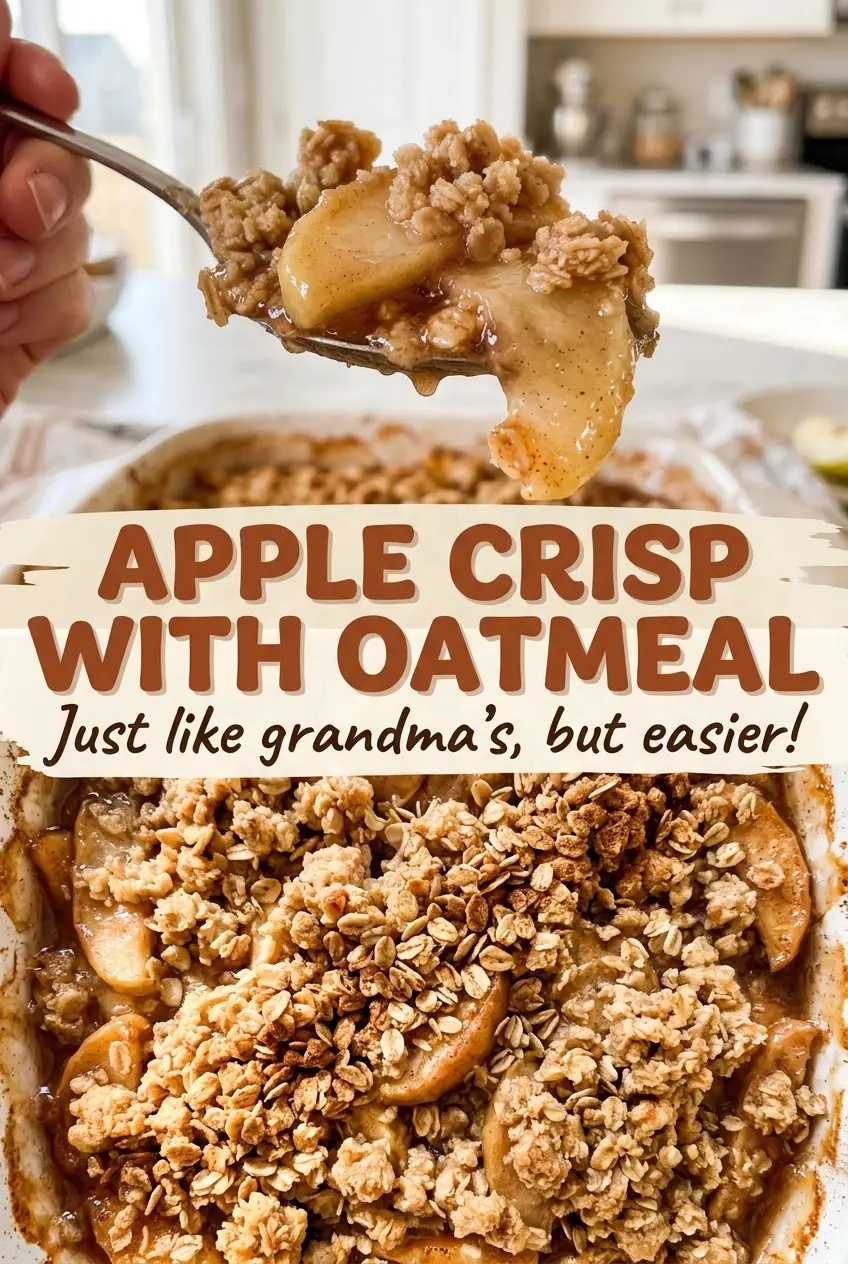
Save this apple crisp with oatmeal for its tender cinnamon apples and golden, buttery oat topping.
Why a Quarter-Inch Slice Matters Under an Oat Topping
Apples need to soften at roughly the same pace, and cutting them to a consistent 1/4-inch thickness helps prevent a mix of mushy edges and stubborn, firm pieces. Thicker slices take longer to become tender; very thin ones can lose their shape while the topping bakes. A sharp knife and an even cut do more for the filling than choosing a particular apple color or size.
As the fruit heats, it releases juice. The flour tossed with the apples catches that liquid and helps the filling thicken, while lemon juice adds a bright note alongside the sugar and cinnamon. Spread the coated slices in the prepared dish instead of piling them into a mound. An even layer gives the heat a more consistent path through the fruit, so you can check the center with a knife rather than guessing from the bubbling edges.
The topping stays separate until assembly. That means it can brown on the surface while the apples cook underneath, but the fruit still needs to pass the knife test before the dish comes out of the oven.
What Firm Apples and Old-Fashioned Oats Bring to This Crisp
- Firm apples — Granny Smith apples hold their shape and bring a tart edge that balances the sweet topping. Any firm baking apple works; choose fruit that feels solid rather than soft, and use the same 1/4-inch slices for even baking. A less tart apple will make the finished filling taste sweeter, but you don’t need a specialty variety for good results.
- Old-fashioned rolled oats — Their broad flakes give the topping distinct oat texture instead of a fine, sandy crumb. A store-brand container is fine; keep the old-fashioned style for the texture this topping is meant to have. Quick oats make a finer, less substantial topping, so they aren’t my first choice here.
- All-purpose flour — Flour in the filling thickens the apple juices, while the flour in the topping helps the butter and sugar form crumbs. Standard all-purpose flour works well without a premium brand. For a gluten-free version, use a cup-for-cup gluten-free baking blend in both places; the texture may be a little different from the original.
- Light brown sugar and granulated sugar — The granulated sugar sweetens the fruit without adding much moisture, while packed brown sugar gives the topping a softer, richer crumb. Ordinary store-brand sugars are fine. Keep the two types in their separate mixtures rather than swapping one for the other.
- Cold unsalted butter — Cold butter creates little pockets in the oat mixture that bake into crisp crumbs. The brand matters less than keeping it cold and cutting it into small pieces. For a dairy-free version, use cold dairy-free baking sticks in the same amount; the topping may be a little less rich.
- Lemon juice and cinnamon — Lemon juice lifts the sweetness of the filling; bottled lemon juice can stand in for fresh juice. Ground cinnamon seasons both layers, so use the same spice in each mixture rather than leaving one layer plain.
Building an Even Apple Layer and a Crumbly Oat Top
Coating the Apple Slices
Heat the oven to 350°F and coat a 9×13-inch baking dish with cooking spray. Toss the peeled, cored, 1/4-inch apple slices with the granulated sugar, filling flour, lemon juice, cinnamon, and salt in a large bowl. Turn the slices until the flour and spice are distributed instead of sitting in patches at the bottom. Spread the apples in the dish in an even layer; a tall pile in the middle will cook less evenly.
Making Coarse Oat Crumbs
Stir the oats, topping flour, brown sugar, cinnamon, and salt together in a medium bowl. Add the cold butter pieces, then work them in with your fingertips or a pastry cutter. Stop when you have coarse crumbs with some pea-size pieces; a uniform powder means the butter has been worked too far. Keep the mixture crumbly so it scatters over the apples instead of pressing into a solid layer.
Baking Until the Apples Give
Scatter the topping evenly across the fruit, covering the surface without packing it down. Bake for 45 to 55 minutes, watching for a golden-brown top and apples that feel tender when pierced with a knife. If the surface is golden but the fruit still resists the knife, give it more time and check again. Let the finished crisp rest for 15 minutes before serving.
How to Adapt the Crisp Without Losing Its Texture
Use a different firm apple
Swap Granny Smith for another firm baking apple, keeping the same total amount and slice thickness. A sweeter apple makes the filling taste less tart, while a tart variety keeps the contrast with the brown-sugar topping. Skip soft apples, which are more likely to break down as they bake.
Make it gluten-free
Replace both portions of all-purpose flour with the same amounts of a cup-for-cup gluten-free baking blend, and use oats labeled gluten-free. The fruit will still bake beneath a crumb topping, though the topping’s texture depends somewhat on the flour blend you choose.
Make it dairy-free
Use cold dairy-free baking sticks in place of the unsalted butter, keeping the same amount and cutting them into small pieces. Choose a firm stick-style product rather than a soft spread from a tub; a soft spread can make the topping greasy and difficult to crumble.
Storage and Reheating
- Refrigerator: Cover leftovers and refrigerate for 3 to 4 days. The topping softens as it sits against the fruit.
- Freezer: Freeze the cooled crisp, whole or in portions, tightly wrapped for up to 3 months. Thaw in the refrigerator; expect a softer topping than when freshly baked.
- Reheating: Warm portions uncovered in a 350°F oven until heated through. The microwave is convenient, but it softens the topping instead of restoring its crisp edges.
Questions That Come Up When the Crisp Is in the Oven
Apple Crisp With Oatmeal
Ingredients
Equipment
Method
- Heat the oven to 350°F.
- Coat a 9x13-inch baking dish with cooking spray.
- Toss the apples with the granulated sugar, 2 tablespoons all-purpose flour, lemon juice, 1 teaspoon ground cinnamon, and 1/4 teaspoon salt.
- Spread the apple mixture in the prepared dish.
- Stir together the oats, 3/4 cup all-purpose flour, brown sugar, 1/2 teaspoon ground cinnamon, and 1/4 teaspoon salt.
- Add the cold butter and work it into the oat mixture with your fingertips or a pastry cutter until coarse crumbs form, with some pea-size pieces.
- Scatter the topping evenly over the apples and bake for 45 to 55 minutes, until the topping is golden brown and the apples are tender when pierced with a knife.
- Let the crisp rest for 15 minutes before serving.