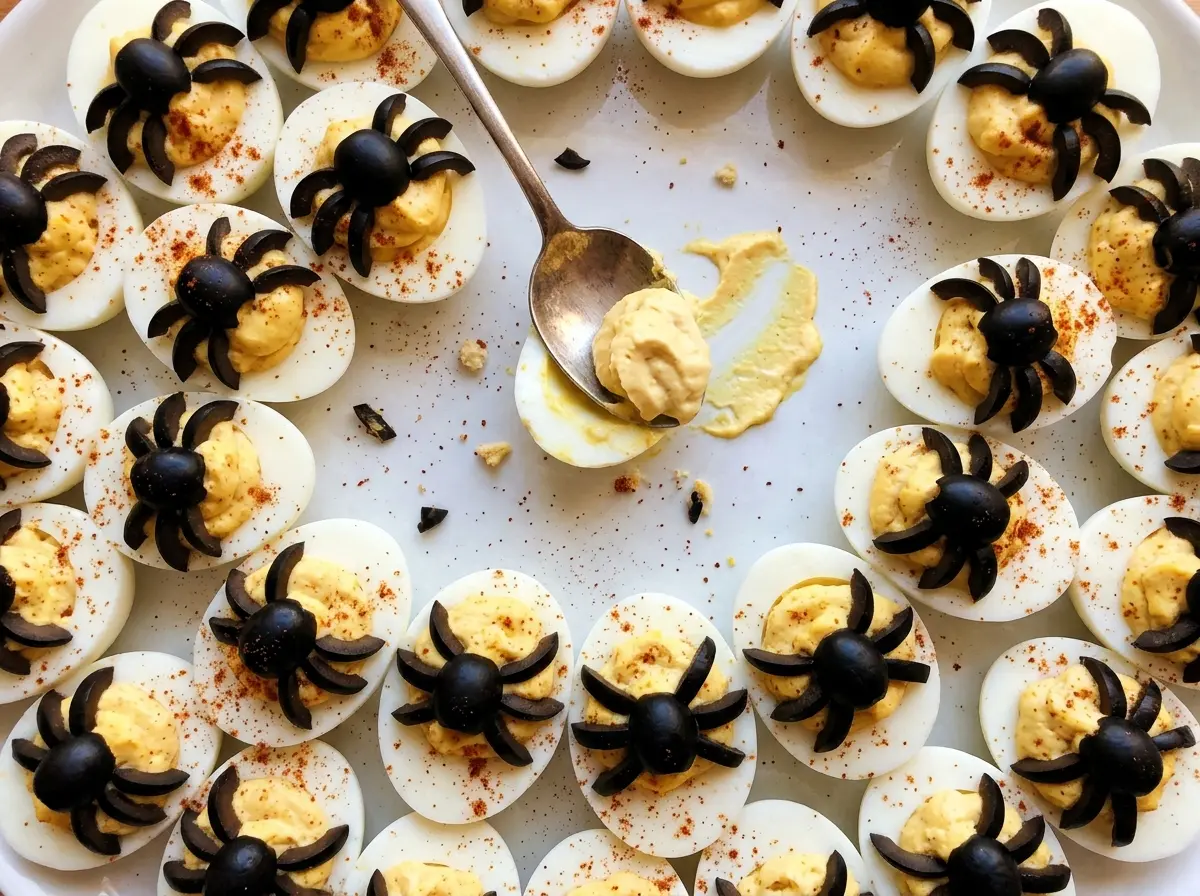
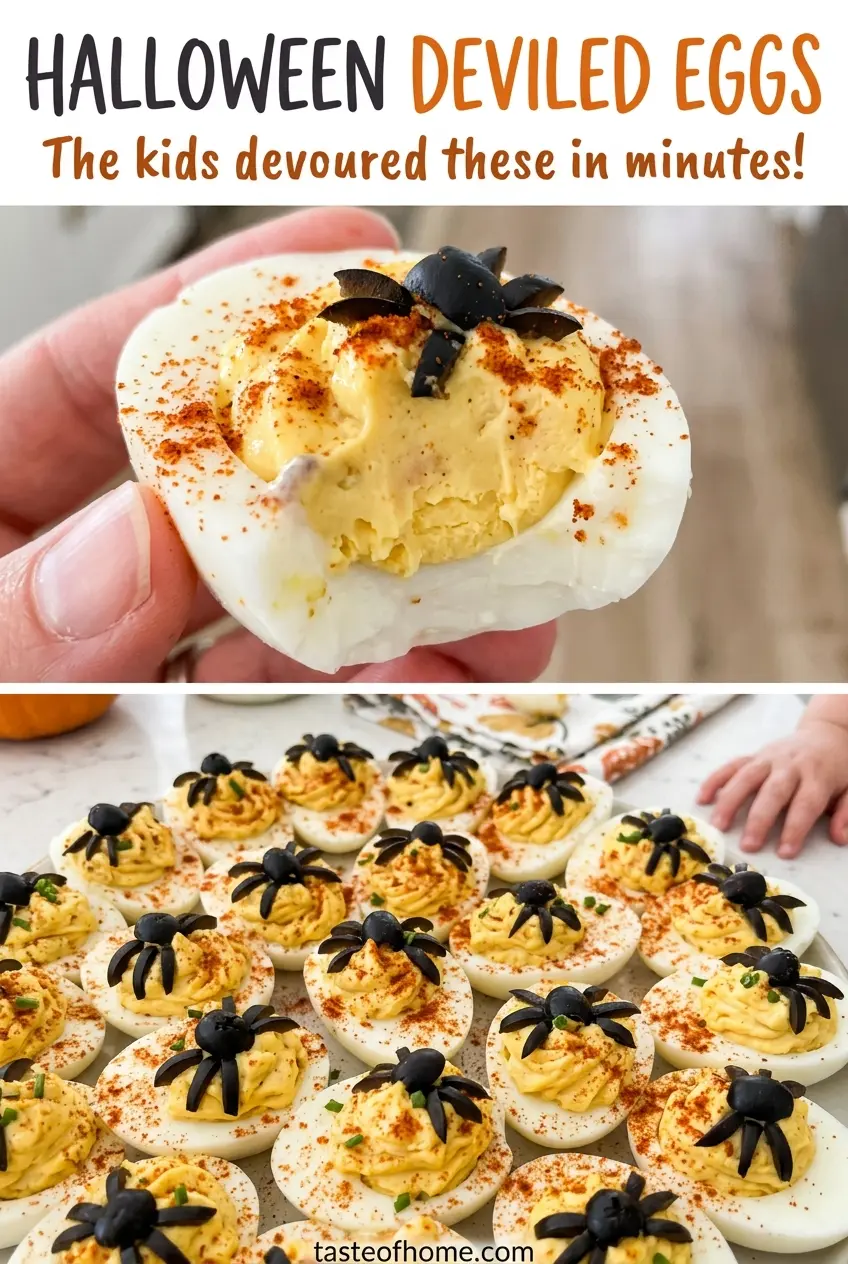
One black olive half looks like a spider body the moment it lands on a mound of yolk filling. Getting the legs to read clearly is what turns a plate of deviled eggs into Halloween Deviled Eggs instead of just deviled eggs with olives on top. I like this design because each spider is built from the same large pitted black olive, so the garnish stays simple and the familiar filling still gets to shine.
The eggs need a gentle, predictable cook before you halve them: bring them to a full boil, cover the pan, turn off the heat, and let them stand. After an ice-water chill, the whites are easier to handle while you fill and decorate them. I mash the yolks with mayonnaise, yellow mustard, white vinegar, salt, and pepper until the mixture is smooth, then spoon or pipe it into the whites. Each olive half becomes a body, and thin strips from the remaining halves make the legs. The finished plate has creamy centers and unmistakable little olive spiders.
Kitchen Note
Give the eggs the full 10 minutes in the ice water before peeling. The chill makes them easier to handle, and warm whites are much more likely to tear when you halve them.
Save these Halloween Deviled Eggs for a party platter with creamy centers and olive spiders you can build with just one garnish.
Why the Olive Spider Needs a Good Landing Spot
The olive decoration is small, but placement determines whether the spider looks intentional. The filling gives the olive body a soft base, while the strips need room around it to read as legs. If the filling is spread flat to the edge of the white, the garnish has nowhere distinct to sit; a neat mound in the center makes the body easy to see and leaves a clear border for the legs.
Think of the olive half as the center of the design, not a topping to scatter wherever it lands. Set it on the filling first, then arrange the thin strips around that body. The pieces don’t need to be identical, but keeping them narrow helps them look like legs rather than extra olive chunks. Because the olives are cut from the same halves, you can use the remaining pieces for the legs without adding another garnish or changing the filling.
This also makes assembly easier to pace. Fill all the egg whites, place each body, and then add the legs around each one. A little open space around the olive lets the black shape stand out against the pale filling. The result is a clear spider design on every half without covering up the deviled egg underneath.
What the Yolks, Mustard, and Olives Each Bring
- Large eggs — Large eggs give you substantial whites to fill and yolks in the right proportion for this batch. Keep the size consistent; smaller eggs leave less room for filling and change the balance between the white and center. The eggs don’t need special treatment beyond being intact and clean before cooking.
- Mayonnaise — Mayonnaise brings moisture and helps the mashed yolks turn into a cohesive filling. Since it makes up much of the filling’s creamy texture, use a mayonnaise whose taste you like; there isn’t a substitute in this version that gives the same result without changing the mixture.
- Yellow mustard and white vinegar — Yellow mustard gives the filling its familiar gentle mustard note, while vinegar adds a bright edge that keeps the yolks from tasting heavy. Both are used in small amounts, so measure them rather than pouring by eye. Swapping either one changes the balance of the filling.
- Fine salt and black pepper — These season the yolk mixture without competing with the olive garnish. Fine salt disperses evenly through the smooth filling, and ordinary ground black pepper works well here; there is no need to use a specialty pepper.
- Large pitted black olives — The olives supply both the spider bodies and the legs, and pitted olives make the garnish straightforward to cut and arrange. Choose olives that are large enough to give each egg half a distinct body. Their appearance matters more than choosing a premium variety, since they’re being used as a shaped garnish.
From Covered Pan to Olive-Spider Platter
Let the Covered Eggs Finish Cooking
Arrange the eggs in a single layer in a 3-quart saucepan and cover them with cold water by 1 inch. Bring the water to a full boil over medium-high heat, then cover the pan and turn off the heat. Let the eggs stand for 12 minutes; don’t keep the burner on during that standing time. This gives the eggs time to cook without an active simmer.
Chill Before Peeling and Halving
Transfer the eggs to a bowl of ice water and chill them for 10 minutes. Once they’re chilled, peel them and cut each egg lengthwise. If you rush the chill, the whites are warmer and more awkward to handle, so give the full cooling time before peeling. Transfer the yolks to a medium bowl and keep the white halves ready for filling.
Mash the Filling Until It Is Smooth
Mash the yolks with the mayonnaise, yellow mustard, white vinegar, fine salt, and black pepper. Keep working until the mixture looks smooth rather than grainy, breaking up the yolk pieces as you go. If you stop while larger bits remain, they can make the filling harder to spoon or pipe evenly. The finished mixture should be cohesive enough to mound inside the whites.
Build Each Spider with Olive Pieces
Spoon or pipe the filling into the egg white halves. Cut the olives in half lengthwise, then place one half on each egg for the body. Cut the remaining olive halves into thin strips and arrange those strips around each body as legs. Keep the legs visible around the central olive so the spider shape doesn’t disappear into the filling.
Two Ways to Change the Spider-Egg Presentation
Make a mixed platter with plain deviled eggs
Leave the olive garnish off some filled halves and decorate the rest as spiders. The filling stays the same, while the platter has two looks and the plain halves give the olive design a little breathing room.
Use olive bodies without the legs
Place an olive half on each egg and skip cutting the remaining pieces into legs. You keep the black-and-white spider-like look with less detailed assembly, though the garnish reads more like an olive-topped deviled egg than a full spider.
Storage and Reheating
- Refrigerator: Keep the eggs covered and refrigerated at 40°F or below; eat within 3 days. Refrigerate them within 2 hours of making or serving. The whites may soften a little as they sit.
- Freezer: Freezing isn’t recommended. The cooked whites and mayonnaise-based filling can become watery or grainy after thawing.
- Reheating: These are served cold, so don’t reheat them. Set out only the portion you’re serving and return the rest to the refrigerator promptly.
Questions That Come Up While Making Halloween Deviled Eggs
Halloween Deviled Eggs
Ingredients
Method
- Place the eggs in a single layer in a 3-quart saucepan.
- Cover the eggs with cold water by 1 inch.
- Bring to a full boil over medium-high heat.
- Cover the pan and turn off the heat.
- Let the eggs stand for 12 minutes.
- Transfer the eggs to a bowl of ice water.
- Chill for 10 minutes, then peel the eggs.
- Halve the eggs lengthwise and transfer the yolks to a medium bowl.
- Mash the yolks with the mayonnaise, yellow mustard, white vinegar, fine salt, and black pepper until smooth.
- Spoon or pipe the filling into the egg white halves.
- Cut the olives in half lengthwise.
- Place one half on each egg for the spider body.
- Cut the remaining halves into thin strips.
- Arrange the strips around each body as legs.