A knife can turn a neat fan of potato slices into loose rounds with one cut that goes a little too deep. Hasselback potatoes avoid that by keeping the bottom intact, so the slices open as they bake but stay attached. You get crisp edges and a tender center in every potato.
I use medium russets here because their fluffy interior suits the long bake, while the thin cuts give the butter plenty of places to reach. Two chopsticks or wooden spoon handles make a simple cutting guide; they stop the knife before it goes through the base.
The first brush of butter and olive oil seasons the potatoes, and another brush halfway through adds richness as the slices spread. Give them time to brown, then let them rest for five minutes. The edges should be crisp, the centers soft, and each potato still easy to lift in one piece.
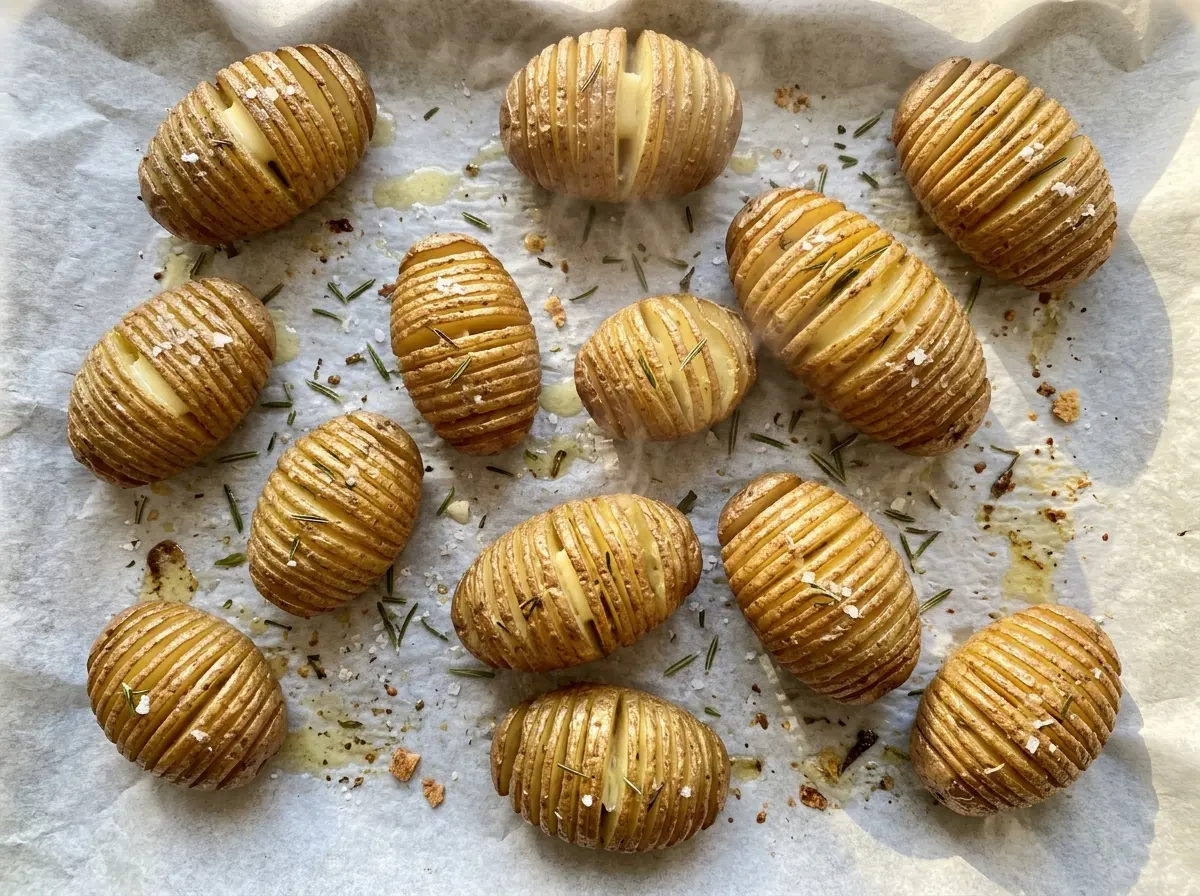
Kitchen Note
The butter for the second brush may firm up while the potatoes bake. If it no longer spreads easily at the halfway point, warm it briefly before brushing so you can coat the slices without dragging them.
Save these Hasselback potatoes for their crisp, buttery edges and tender russet centers.
Why the 1/8-Inch Cuts Matter More Than Fancy Knife Work
Hasselback potatoes get their signature shape from evenly spaced slices, not from any special knife skill. At 1/8-inch intervals, the cuts are close enough to create lots of edges that can brown, but the potato still holds together when the base stays uncut. The result is a potato that fans open as it softens instead of breaking apart into separate pieces.
A pair of chopsticks or wooden spoon handles gives you a reliable stop for the blade. Set one on each side of a potato, then slice crosswise until the knife meets the guides. Don’t rush the cuts: uneven gaps can bake at different rates, and a through-cut makes that potato harder to lift intact.
- Keep the base connected: Stop each slice just before the knife reaches the bottom.
- Keep the cuts consistent: Aim for 1/8-inch intervals along the potato.
- Let the potatoes stay whole: The connected base helps each potato hold its fan shape on the baking sheet.
Russets, Butter, and Oil: What Each One Contributes
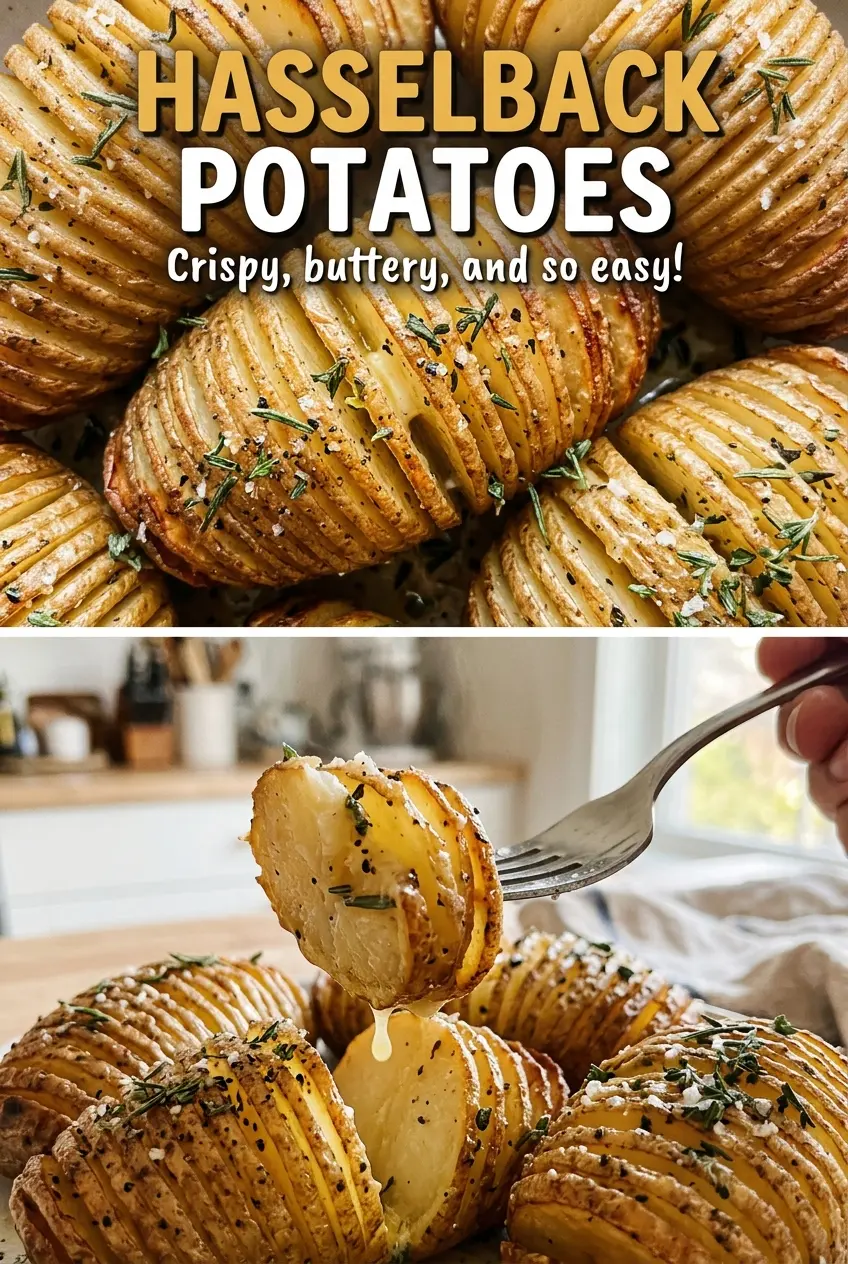
- Russet potatoes — Their fluffy, starchy centers make a good contrast with the browned edges. Choose medium potatoes that are close to 8 ounces each so they bake at a similar pace. Scrub them and dry them well before cutting; a dry surface takes the butter mixture more evenly.
- Unsalted butter — Butter brings a rich, rounded taste to the cut surfaces and helps the edges brown. Unsalted butter gives you control over the seasoning because the potatoes are also salted. The butter doesn’t need to be a specialty brand; use one you like the taste of.
- Olive oil — Mixed with the first portion of butter, oil helps coat the outside of each potato. A standard olive oil works well here; there’s no need to use an expensive finishing oil since the potatoes bake in a hot oven.
- Kosher salt and black pepper — Salt seasons the potato throughout its cuts, while black pepper adds a gentle bite. Distribute them across the tops rather than leaving all the seasoning in one spot.
How to Get the Accordion Cut and Bake It Through
Set Up the Pan and Cut the Potatoes
Heat the oven to 425°F and line a rimmed 13×18-inch baking sheet with parchment paper. Set each scrubbed, dried potato between two chopsticks or wooden spoon handles. Cut crosswise at 1/8-inch intervals, letting the handles stop the knife before it reaches the bottom. Transfer the potatoes to the prepared sheet with their uncut bases intact.
Brush and Season the First Layer
Stir two tablespoons of melted butter with the olive oil. Brush this mixture over the potatoes and work it into the cuts so the exposed surfaces are coated. Season with kosher salt and black pepper. If the cuts are close together, brush gently rather than forcing the slices apart.
Give the Potatoes Their First Bake
Bake for 30 minutes. The heat softens the potatoes and begins to open the slices, giving the next layer of butter room to reach the edges. At the halfway point, brush the potatoes with the remaining two tablespoons of butter. Rewarm it if it has firmed up and won’t brush easily.
Bake Until the Centers Are Tender
Return the potatoes to the oven for 20 to 30 minutes more. Look for browned, crisp edges, and check the center with a knife; it should slide in easily. If the outside looks ready before the center is tender, keep baking until that knife test is easy. Rest the potatoes for five minutes before serving.
Two Ingredient Swaps and a Smaller Batch
Make Them Dairy-Free With Olive Oil
Replace the melted butter with an equal amount of olive oil, keeping the olive oil already in the recipe. The potatoes will still brown and crisp, but they’ll lose the buttery flavor and won’t have butter’s milk solids on the edges.
Use Yukon Gold Potatoes for a Firmer Center
Yukon Gold potatoes work if that’s what you have, though their centers will be creamier and less fluffy than russets. Keep the potatoes medium in size and use the browned-edge and easy-knife cues to judge doneness, since a different potato may bake at a different pace.
Make a Two-Potato Batch
For two servings, use two potatoes and half of each remaining ingredient. Keep the oven temperature and baking sheet size the same; potatoes of the same size should follow a similar bake, but use the visual and knife cues to decide when they’re ready.
Storage and Reheating
- Refrigerator: Store leftovers covered for up to 4 days. The slices soften in the fridge, so they won’t keep their just-baked crispness.
- Freezer: Freezing isn’t recommended; thawed potatoes tend to turn mealy, and the crisp edges lose their texture.
- Reheating: Reheat uncovered on a baking sheet at 400°F until the center reaches 165°F. Skip the microwave if you want the edges to crisp back up.
Questions That Come Up With Hasselback Potatoes
Hasselback Potatoes
Ingredients
Equipment
Method
- Heat the oven to 425°F.
- Line a rimmed 13x18-inch baking sheet with parchment paper.
- Set each potato between two chopsticks or wooden spoon handles and cut crosswise at 1/8-inch intervals, stopping before you cut through the bottom; place the potatoes on the baking sheet.
- Stir 2 tablespoons of the melted butter with the olive oil, then brush the mixture over the potatoes and into the cuts.
- Season the potatoes with the salt and pepper.
- Bake for 30 minutes, then brush the potatoes with the remaining 2 tablespoons butter, rewarming it if needed.
- Bake for 20 to 30 minutes more, until the potatoes are browned and crisp at the edges and a knife slides easily into the centers.
- Rest for 5 minutes before serving.