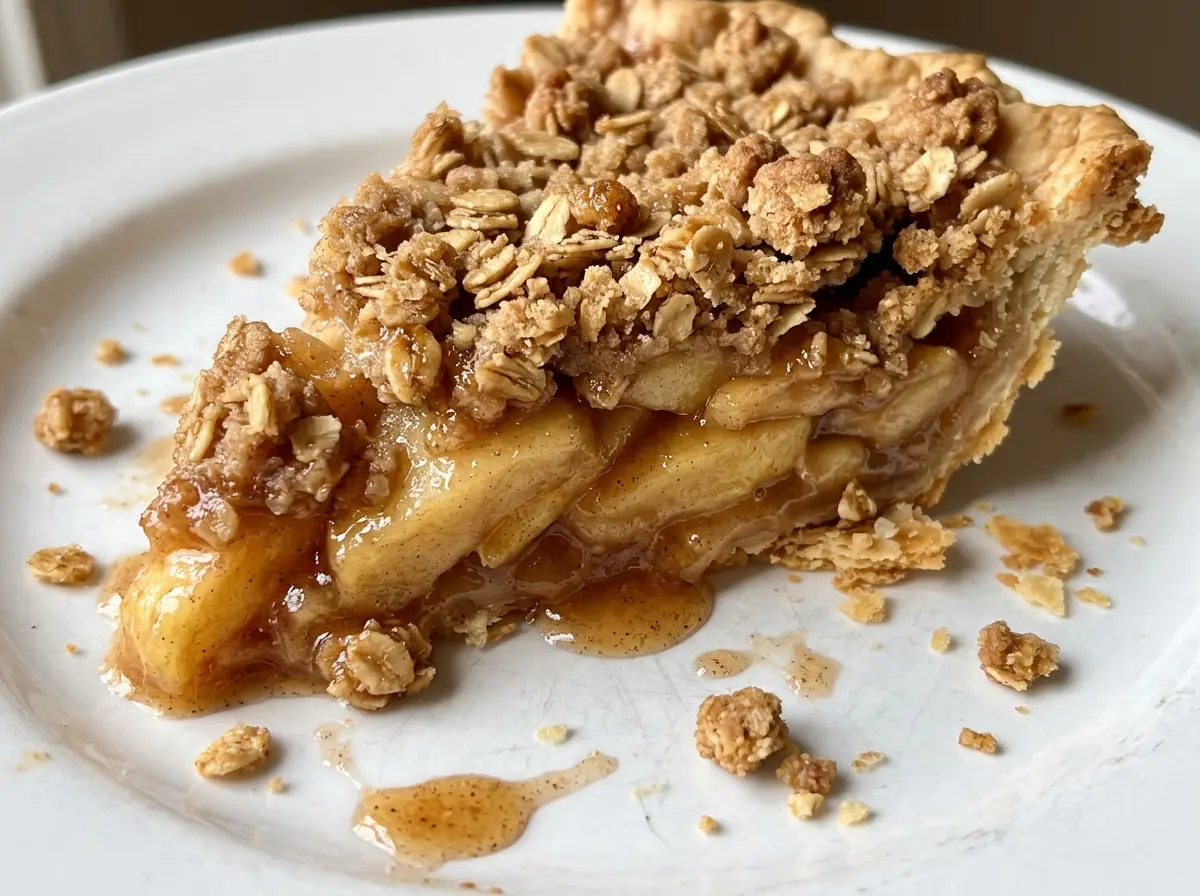
As the pie bakes, the topping turns golden before the apples are ready, and the filling starts bubbling underneath. That contrast is what I watch for with this apple crisp pie: a browned, crumbly top, tender fruit, and enough time to let the juices settle before the first slice.
The apples get tossed with flour before they go into the crust, which helps thicken the juices they release in the oven. I use firm apples and slice them evenly so they soften at about the same pace. The cold-butter topping comes together in coarse crumbs, then bakes over the fruit rather than covering it in a second layer of pastry. Give the pie a full three hours to cool, and the filling will hold together much better when you cut it.
Kitchen Note
Keep the butter cold while you work it into the oats, sugar, and flour. Stop when the topping looks like coarse crumbs; if you keep mixing until it forms a smooth dough, you lose that crisp, crumbly finish.
Save this Apple Crisp Pie for the day you want tender cinnamon apples under a golden oat topping and a flaky pie crust.
Why the Center Has to Bubble Before This Pie Comes Out
A golden top is an appealing cue, but it doesn’t tell you whether the apples in the middle are tender or the filling has thickened. The two visual checks matter together: pierce the apples to check their softness, and look for bubbling in the center. The flour tossed with the fruit helps thicken the juices, but it needs the filling to get hot enough to do its job.
That bubbling is also why I bake the pie on a rimmed baking sheet. It gives the pie a steady place to sit while the fruit cooks, and catches any juices that escape over the edge. Once the apples are tender and the center is bubbling, cooling is part of the finish, not a pause you can skip. The filling continues to settle as the pie cools on a wire rack, so a slice cut too early is more likely to slump than hold its shape.
Give it at least three hours before slicing. The wait is what separates a spoonable, loose filling from neat wedges with visible apple slices. If you need to plan ahead, build that cooling time into your schedule instead of trying to rush the pie at the end.
What Each Ingredient Brings to the Apple-and-Oat Layers
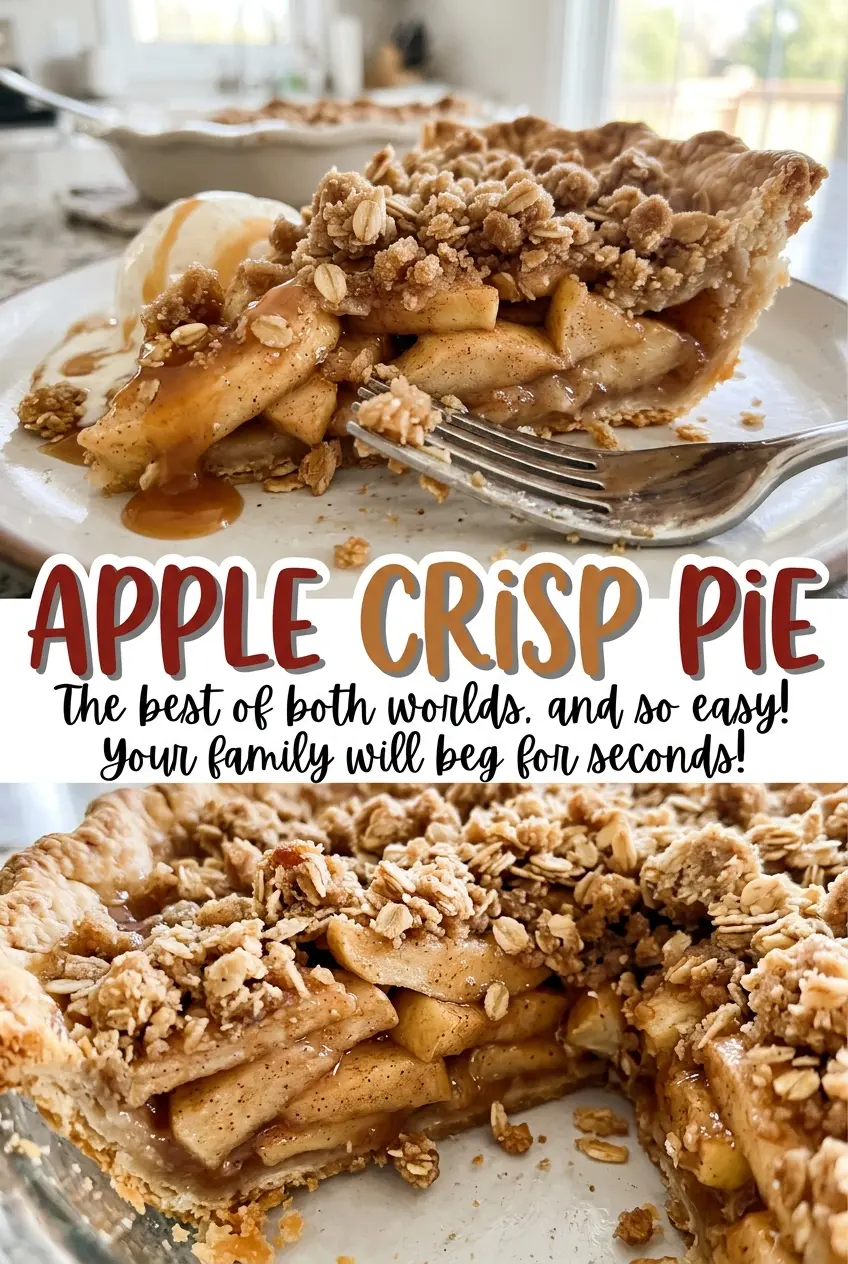
- Firm apples — The fruit needs to hold its shape through a long bake, so choose firm apples such as Granny Smith or a mix of Granny Smith and Honeycrisp. Granny Smith gives the filling a tart edge; including Honeycrisp softens that sharpness with a sweeter apple. Peeling and slicing the apples evenly helps them cook at a similar rate.
- Refrigerated pie crust — A ready-made 9-inch crust keeps the focus on the fruit and crisp topping. Let it stand at room temperature before fitting it into the pie plate; a cold crust straight from the refrigerator is less pliable and more likely to crack as you shape it.
- All-purpose flour — This ingredient does two different jobs here. In the filling, it thickens the juices from the apples; in the topping, it helps bind the oats, brown sugar, and butter into crumbs. Keep the portions separate so the filling gets its share and the topping stays crumbly.
- Lemon juice — Its brightness keeps the sweet filling from tasting flat and helps slow browning as the apples are coated. Fresh or bottled lemon juice works in this role; the important thing is to toss it evenly through the fruit.
- Ground cinnamon and nutmeg — Cinnamon gives the apples their familiar warmth, while a little nutmeg adds a deeper note in the background. Both spices should smell fragrant from the jar; spices that have been open for a long time lose some of their aroma.
- Old-fashioned rolled oats — Their thicker flakes give the topping noticeable texture. Quick oats soften more readily and won’t give the same coarse, distinct oat crumb, so stick with old-fashioned rolled oats for this topping.
- Light brown sugar — The molasses in brown sugar brings a toasty sweetness to the crisp layer that pairs well with the fruit. Pack it when measuring so the topping has the intended sweetness and binds properly with the flour and butter.
- Unsalted butter — Cold butter cut into small cubes makes the topping’s coarse crumbs possible. Unsalted butter also lets the recipe’s measured table salt control the seasoning without adding extra saltiness.
From Chilled Crust to a Set, Sliceable Pie
Fit the Crust While It Is Pliable
Heat the oven to 400°F, then let the refrigerated crust stand at room temperature for 15 minutes. Fit it into a 9-inch pie plate and crimp the edge, easing it into place rather than stretching it. Refrigerate the crust while you prepare the apples and topping. That short rest keeps the shaped crust cold as you assemble the pie.
Coat the Apples Evenly
Toss the peeled, cored, quarter-inch apple slices in a large bowl with the granulated sugar, the portion of flour for the filling, lemon juice, cinnamon, nutmeg, and salt. Turn the slices until you no longer see pockets of dry flour or spice sitting at the bottom of the bowl. Even coating spreads the thickener and seasoning throughout the filling. If the slices are much thicker than a quarter inch, they may not soften at the same pace as the thinner pieces.
Make Coarse Crumbs, Not a Dough
In a medium bowl, mix the oats, brown sugar, and remaining flour. Work in the cold butter with your fingertips or a pastry cutter until you see coarse crumbs throughout. A few larger pieces are fine, but there shouldn’t be a smooth, uniform paste. Keeping the butter in small cold pieces is what lets the topping bake up crumbly over the apples.
Bake Until the Fruit and Center Are Ready
Spoon the apples into the chilled crust, scatter the topping evenly over them, and set the pie on a rimmed baking sheet. Bake for 20 minutes at 400°F, then reduce the oven to 350°F and bake for 40 to 50 minutes more. If the crust edge browns too quickly, cover that edge with foil; check for tender apples, a golden topping, and bubbling in the center before taking the pie out. Cool it on a wire rack for at least three hours before slicing.
Two Apple Choices for a Slightly Different Filling
Use All Granny Smith for a Tart Filling
Choose Granny Smith for all of the apples if you prefer a brighter, more tart contrast with the brown sugar topping. Keep the same peeling, coring, and quarter-inch slicing prep so the fruit cooks evenly.
Mix Granny Smith with Honeycrisp
A mix of the two firm apples gives you both Granny Smith’s tartness and Honeycrisp’s sweeter character. Use the same total amount of apples and slice both varieties to the same thickness; the mix changes the balance of the filling without changing how you assemble the pie.
Storage and Reheating
- Refrigerator: Cover cooled pie and refrigerate for 3 to 4 days. The crust and oat topping soften as they sit.
- Freezer: Freeze fully cooled slices wrapped tightly for up to 3 months. Thaw in the refrigerator; the topping may be softer than when freshly baked.
- Reheating: Warm individual slices in the oven until heated through. A microwave works for a quick warm-up, but it softens the crisp topping more.
Questions That Come Up While Baking Apple Crisp Pie
Apple Crisp Pie
Ingredients
Equipment
Method
- Heat the oven to 400°F.
- Let the refrigerated pie crust stand at room temperature for 15 minutes.
- Fit the crust into a 9-inch pie plate.
- Crimp the edge.
- Refrigerate the crust while you prepare the filling and topping.
- In a large bowl, toss the apples with the granulated sugar, 1/4 cup flour, lemon juice, cinnamon, nutmeg, and salt until evenly coated.
- In a medium bowl, mix the oats, brown sugar, and remaining 3/4 cup flour.
- Cut in the cold butter with your fingertips or a pastry cutter until the mixture forms coarse crumbs.
- Spoon the apple mixture into the crust.
- Scatter the topping evenly over the apples.
- Set the pie on a rimmed baking sheet.
- Bake for 20 minutes at 400°F, then reduce the oven to 350°F and bake for 40 to 50 minutes more.
- Cover the crust edge with foil if it browns too quickly, and bake until the topping is golden, the apples are tender when pierced, and the filling bubbles in the center.
- Cool the pie on a wire rack for at least 3 hours before slicing so the filling can set.