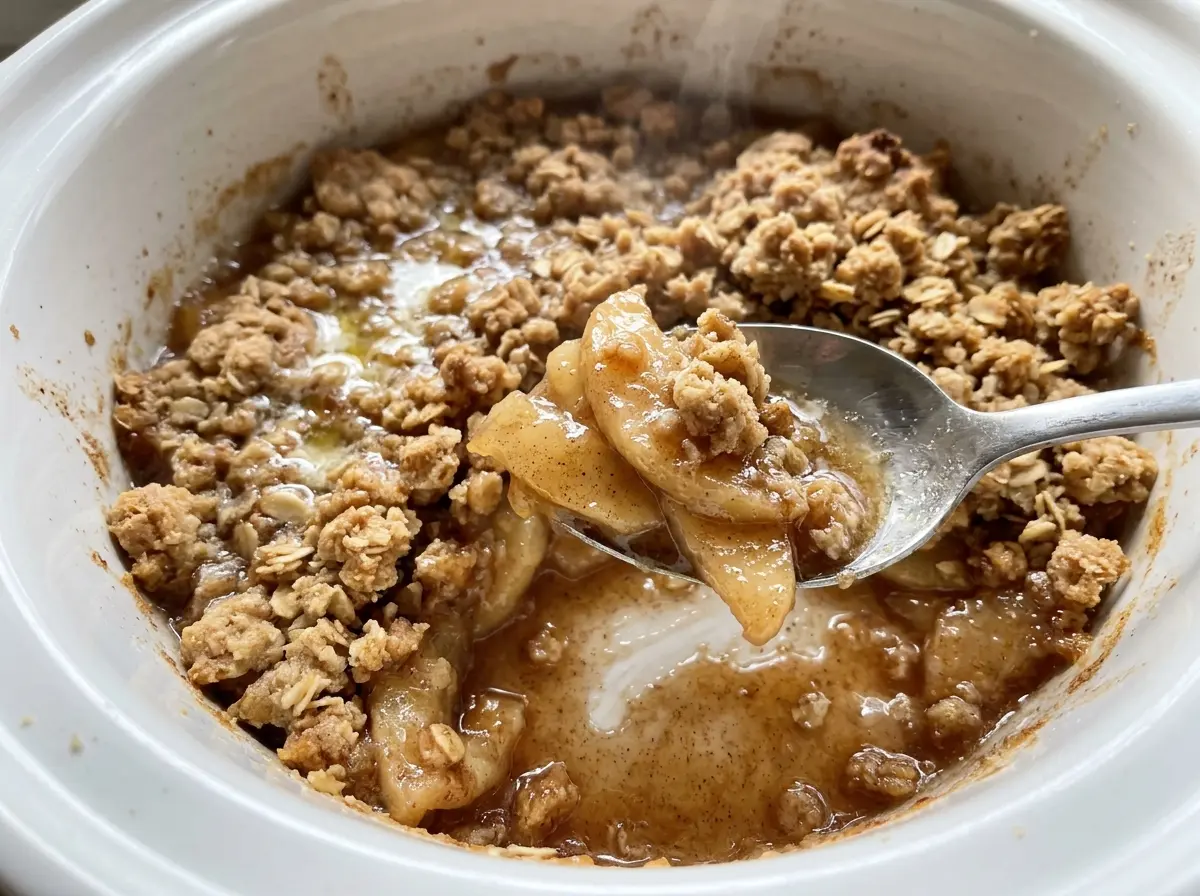
When I lift the lid on this Crock Pot Apple Crisp, the apples are tender at the edges but still hold their shape, and the oat topping has settled into a loose, crumbly layer. That’s exactly what I want from a slow cooker dessert: warm cinnamon apples without watching a pan in the oven. The first detail that makes a difference is the thickness of the slices. Cut them evenly, and they soften at a similar pace instead of turning into a mix of firm chunks and applesauce.
I toss the fruit with sugar, lemon juice, cornstarch, and cinnamon right in the slow cooker, then scatter the topping over it without pressing it down. The covered cooker keeps the apples moist as they cook, so the topping sets differently from one baked in a dry oven. Give it a short rest after cooking, and you’ll have spoonfuls of soft apple, cinnamon-scented juices, and buttery oat crumbs.
Kitchen Note
I keep the lid on for the full cook rather than checking the apples every half hour. Each time you lift it, heat escapes, and that makes the timing less predictable.
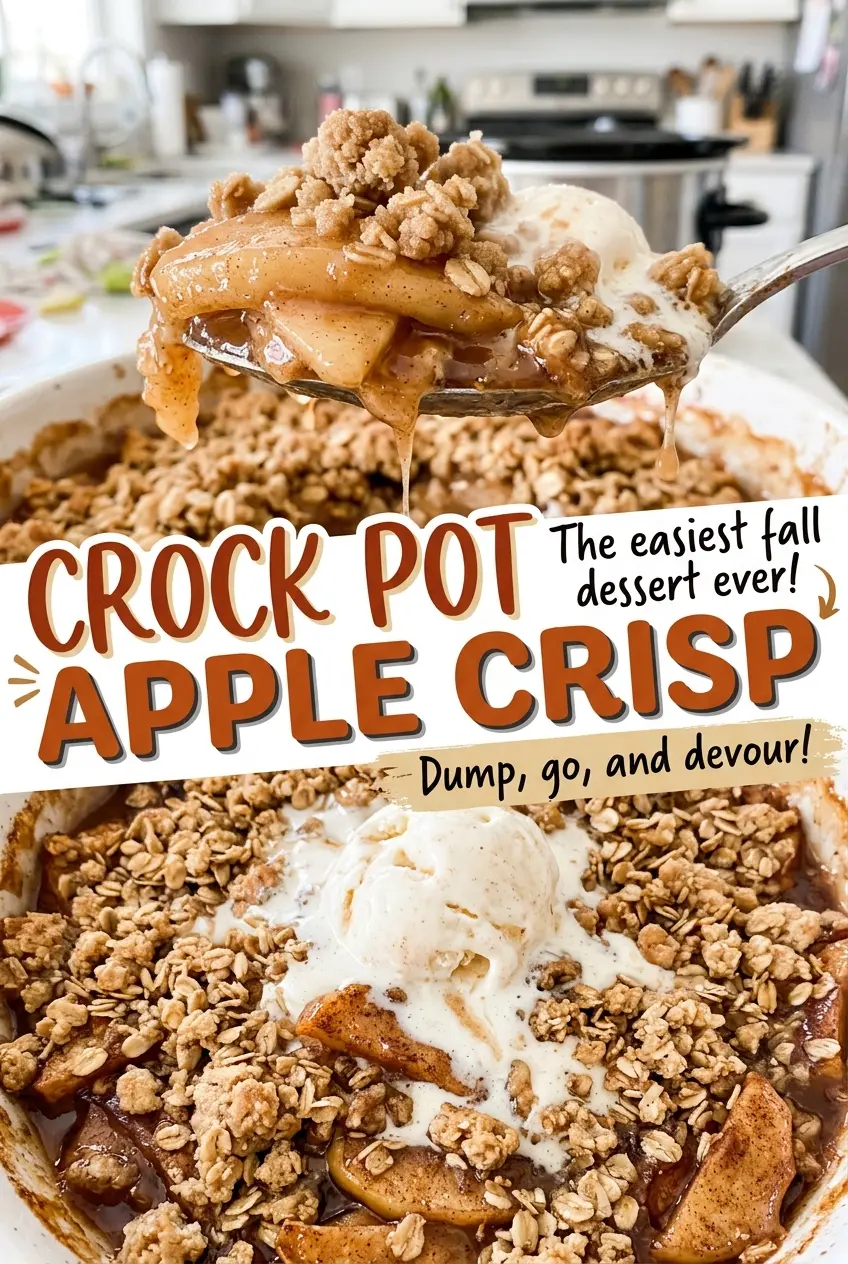
Save this Crock Pot Apple Crisp for tender cinnamon apples and a buttery oat topping that cooks while you get on with your day.
Why Slow Cooker Apple Crisp Has a Different Kind of Topping
A slow cooker is a moist cooking environment. With the lid on, the apples soften in their own juices, while the topping sets over the fruit instead of baking in dry, circulating oven heat. That difference is part of the appeal, but it’s worth knowing what to expect: this topping is buttery and crumbly, not a crisp, browned crust.
That’s also why the topping goes on in an even, loose layer. Pressing it down would make it denser, and the covered cooker won’t dry it out the way an oven can. The apples should be fork-tender but still recognizable as slices, so the goal isn’t to cook them until they collapse. When you serve it, you’ll get a spoonful with fruit and topping together rather than a firm slice with a crisp top.
The timing range accounts for the two heat settings and normal differences between slow cookers. Go by both cues at the end: the apples should yield to a fork and keep their shape, and the topping should look set. That combination gives the filling time to soften without losing all of its texture.
What the Apples and Cold Butter Bring to This Crisp
- Firm apples — They need to hold their shape through several hours of slow cooking. Granny Smith apples bring a tart edge; firm, sweeter varieties make a gentler filling. Choose fruit that feels solid rather than soft or mealy, and peel, core, and slice it evenly before it goes into the cooker.
- Lemon juice and cornstarch — Lemon juice brightens the sweet apple filling, while cornstarch thickens the juices as they cook. Toss both with the fruit until you can’t see dry patches of starch or clumps of cinnamon. Skipping the toss leaves some slices less coated than others.
- Old-fashioned rolled oats — Their larger flakes give the topping its distinct oat texture. Quick oats are a workable same-measure swap, but they make a finer, more compact crumb. For a topping with clear oat flakes, stick with old-fashioned oats.
- All-purpose flour — Flour helps the butter and dry ingredients form coarse crumbs that sit over the apples. It’s a practical pantry choice here; a specialty flour isn’t needed for the standard version. For a gluten-free adaptation, see the variation below.
- Cold unsalted butter — Cold pieces stay distinct as you work them into the dry mixture, creating coarse crumbs instead of a smooth paste. Cut the butter into small pieces before mixing so it distributes without needing to warm it in your hands for long.
- Granulated and light brown sugar — Granulated sugar sweetens the fruit, while packed light brown sugar gives the topping a deeper, mellow sweetness. Fresh brown sugar is easier to break up evenly; if yours has hardened, crumble it thoroughly before adding the butter.
Building the Apple Layer and Oat Crumbs in the Slow Cooker
Coat the Cooker and Slice the Apples
Lightly coat the inside of a 6-quart slow cooker with nonstick cooking spray. Peel and core the apples, then cut them into 1/4-inch slices so they cook at a similar rate. Keep the slices reasonably consistent from end to end; thin tips soften faster than thick middles. Set the prepared fruit in the cooker.
Toss the Fruit Until Evenly Coated
Add the granulated sugar, lemon juice, cornstarch, and ground cinnamon to the apples. Toss until the slices are evenly coated and the cinnamon is spread through the fruit. Check the bottom of the cooker as you mix, since dry cornstarch can settle there instead of clinging to the apples. Spread the filling into an even layer.
Work the Butter Into Coarse Crumbs
In a medium bowl, mix the oats, flour, packed light brown sugar, and salt. Add the cold butter pieces, then work them in with your fingers until the mixture forms coarse crumbs. Stop when you see a mix of small crumbs and larger buttery bits; rubbing it until uniform can make the topping dense. If the butter starts to feel soft, pause briefly and let it chill before continuing.
Scatter the Topping Over the Fruit
Distribute the crumb mixture evenly over the apples. Leave the layer loose rather than packing it into a solid cap. An even scatter helps the topping set across the surface, while thicker piles may stay softer where they overlap. Keep the topping on top of the fruit rather than stirring it into the filling.
Cook Until the Apples Hold Their Shape
Cover and cook on LOW for 3 to 4 hours or on HIGH for 2 to 2 1/2 hours. The apples are ready when a fork slips into them but the slices still hold together, and the topping looks set. Slow cookers vary, so use those texture cues along with the timing range. Turn off the cooker, uncover it, and let the crisp rest for 15 minutes before serving.
Simple Ways to Change the Apples or Topping
Choose a tart apple for a sharper filling
Use firm Granny Smith apples for a more tart contrast with the sweet oat topping. They keep the filling lively, though the finished fruit will taste less mellow than a version made with sweeter apples.
Make the topping gluten-free
Replace the all-purpose flour with the same measure of cup-for-cup gluten-free baking flour, and use certified gluten-free rolled oats. The topping may be a little more delicate, so work the butter in only until coarse crumbs form.
Give the crumb a deeper brown-sugar note
Use dark brown sugar in place of light brown sugar, measure for measure. It brings a more pronounced molasses taste to the topping, with a slightly richer sweetness alongside the cinnamon apples.
Storage and Reheating
- Refrigerator: Let the crisp cool, then store it covered in the refrigerator for 3 to 4 days. The topping softens as it sits against the fruit.
- Freezer: Freeze portions or the remaining crisp in an airtight container for up to 3 months for best quality. Thaw in the refrigerator; the topping will be softer after freezing.
- Reheating: Warm individual portions in the microwave or reheat a larger portion covered in a 350°F oven until it reaches 165°F. The topping won’t return to its freshly cooked texture, so avoid overheating the apples in an attempt to crisp it.
Questions That Come Up When Making Crock Pot Apple Crisp
Crock Pot Apple Crisp
Ingredients
Equipment
Method
- Lightly coat the inside of a 6-quart slow cooker with nonstick cooking spray.
- Add the apples, granulated sugar, lemon juice, cornstarch, and cinnamon to the slow cooker and toss until the apples are evenly coated.
- In a medium bowl, mix the oats, flour, brown sugar, and salt, then work in the cold butter with your fingers until the mixture forms coarse crumbs.
- Scatter the topping evenly over the apples without packing it down.
- Cover and cook on LOW for 3 to 4 hours or HIGH for 2 to 2 1/2 hours, until the apples are fork-tender but still hold their shape and the topping is set.
- Turn off the slow cooker, uncover, and let the crisp rest for 15 minutes before serving.