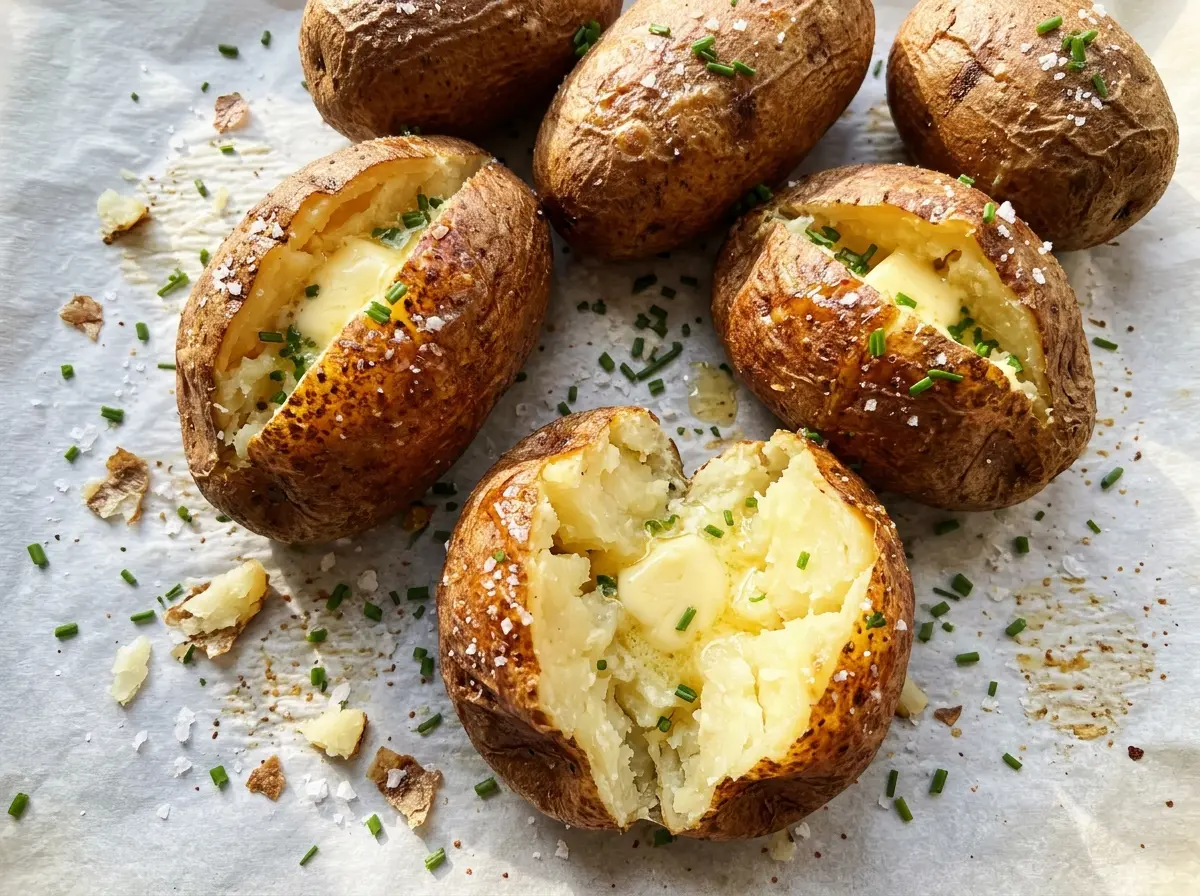
The outside of a baked potato can look ready long before the middle is soft. I check the center with a knife instead of trusting the skin: it should slide in easily, with no firm spot holding it back. That simple check is what makes these air fryer baked potatoes dependable, even when one potato is a little larger than another.
Russets are a good fit here because they bake up with a tender, fluffy middle, while a little olive oil and kosher salt give the skin more character. I dry the potatoes thoroughly before coating them; water left on the surface works against a nicely browned skin. In a 6-quart air fryer, they cook in a single layer at 400°F, with a turn halfway through. The result is a soft, steaming center wrapped in a savory skin.
Kitchen Note
I pick potatoes that are close in size so they finish around the same time. A potato near the 8-ounce mark gives you a useful timing guide, but the knife test—not the clock—tells you when the center is tender.
Save these air fryer baked potatoes for an easy side with a crisp, salty skin and a tender russet center.
Why Wet Potato Skins Don’t Brown the Way You Want
Water on the outside of a potato has to evaporate before the skin can brown well. If you rub oil over a potato that’s still damp from washing, the oil won’t coat the surface as evenly, and the skin can come out soft rather than pleasantly firm. Drying each potato well is a small prep detail, but it gives the air fryer a better starting point.
There’s no need to peel or wrap the potatoes. The skin stays exposed to the hot air, and the light coating of oil helps it brown while the inside cooks through. Pricking the potatoes several times with a fork is part of the prep, too; it gives steam inside the potato a way to escape as it heats. Keep the potatoes in one layer rather than crowding or stacking them, so air can move around the skin.
Once they’re in the basket, the texture takes care of itself while they cook. What matters most is not chasing a dark color or pulling them as soon as the timer reaches the low end. The center should be tender all the way through, and the skin should feel dry rather than damp when you lift a potato from the basket.
Russets, Olive Oil, and Salt: What Each One Brings

- Russet potatoes — Their starchy texture gives the center that classic fluffy baked-potato feel. Standard grocery-store russets work well; you don’t need a specialty variety. Choose medium potatoes that are similar in size so they’re more likely to finish within the same window. Another potato type won’t give you quite the same tender, fluffy middle, so russets are the best choice for this result.
- Olive oil — A thin coating helps the outside brown and gives the salt something to cling to. A regular olive oil from the pantry is fine; there’s no need for a premium bottle when it’s being used to coat the potato skin. If you leave it off, expect a drier, less browned skin rather than the same finish.
- Kosher salt — The salt seasons the outside, so each bite of skin has a little savory lift. Kosher salt is easy to scatter evenly over the oiled surface. If you’re watching sodium, leaving it off is a straightforward adjustment; the potatoes will still cook properly, though the skin will taste less seasoned.
From Dry Skins to Tender Centers: The Air Fryer Method
Preheat and Prep the Potatoes
Preheat a 6-quart air fryer to 400°F for 5 minutes. While it heats, scrub the potatoes under running water and dry them well with a clean towel. Prick each one several times with a fork, spreading the holes around the potato rather than making one cluster. Don’t skip drying; a wet surface makes it harder to get the skin browned.
Coat and Arrange in One Layer
Rub the potatoes with the olive oil so the skin has a light, even coating, then sprinkle them with kosher salt. Arrange them in the air fryer basket in a single layer. They shouldn’t be stacked or packed tightly together, because the air needs room to circulate around them. If they don’t fit with space between them, cook them in batches.
Cook, Turn, and Check the Centers
Cook at 400°F for 40 to 50 minutes, turning the potatoes halfway through. The turn helps expose the side that rested against the basket to the hot air. To check one, insert a knife into the center; it should slide in easily, without catching on a firm, undercooked spot. If a potato still feels firm in the middle, give it more time and check again rather than relying on skin color alone.
Simple Adjustments for a Smaller Batch or Less Salt
Make a Two-Potato Batch
For two medium russets, use half the olive oil and kosher salt. Keep the same 400°F setting and arrange the potatoes in a single layer; they may finish sooner than a full basket, so use the knife test to judge the centers. This smaller batch keeps the same balance of seasoned skin and fluffy interior without leaving extra baked potatoes.
Leave Off the Salt
For a lower-sodium version, keep the olive oil and omit the kosher salt. The potatoes will still brown and cook through, but the skin will taste more simply potato-forward. This is an easy change when you’d rather season each serving at the table.
Storage and Reheating
- Refrigerator: Store cooled potatoes in a covered container for up to 4 days. The skin softens in the refrigerator, while the center stays tender.
- Freezer: Baked potatoes can be frozen, though the centers may be a little grainier after thawing. Cool them, wrap individually, and freeze for up to 3 months; thaw overnight in the refrigerator for more even reheating.
- Reheating: Warm in a 350°F oven or air fryer until heated through. A microwave is quicker, but it softens the skin, so use it when speed matters more than crispness.
Questions That Come Up When Air Frying Baked Potatoes
Air Fryer Baked Potatoes
Ingredients
Equipment
Method
- Preheat a 6-quart air fryer to 400°F for 5 minutes.
- Scrub the potatoes and dry them well.
- Prick each potato several times with a fork.
- Rub the potatoes with the olive oil and sprinkle with the kosher salt.
- Arrange the potatoes in the air fryer basket in a single layer.
- Cook at 400°F for 40 to 50 minutes, turning halfway through, until a knife slides easily into the centers.