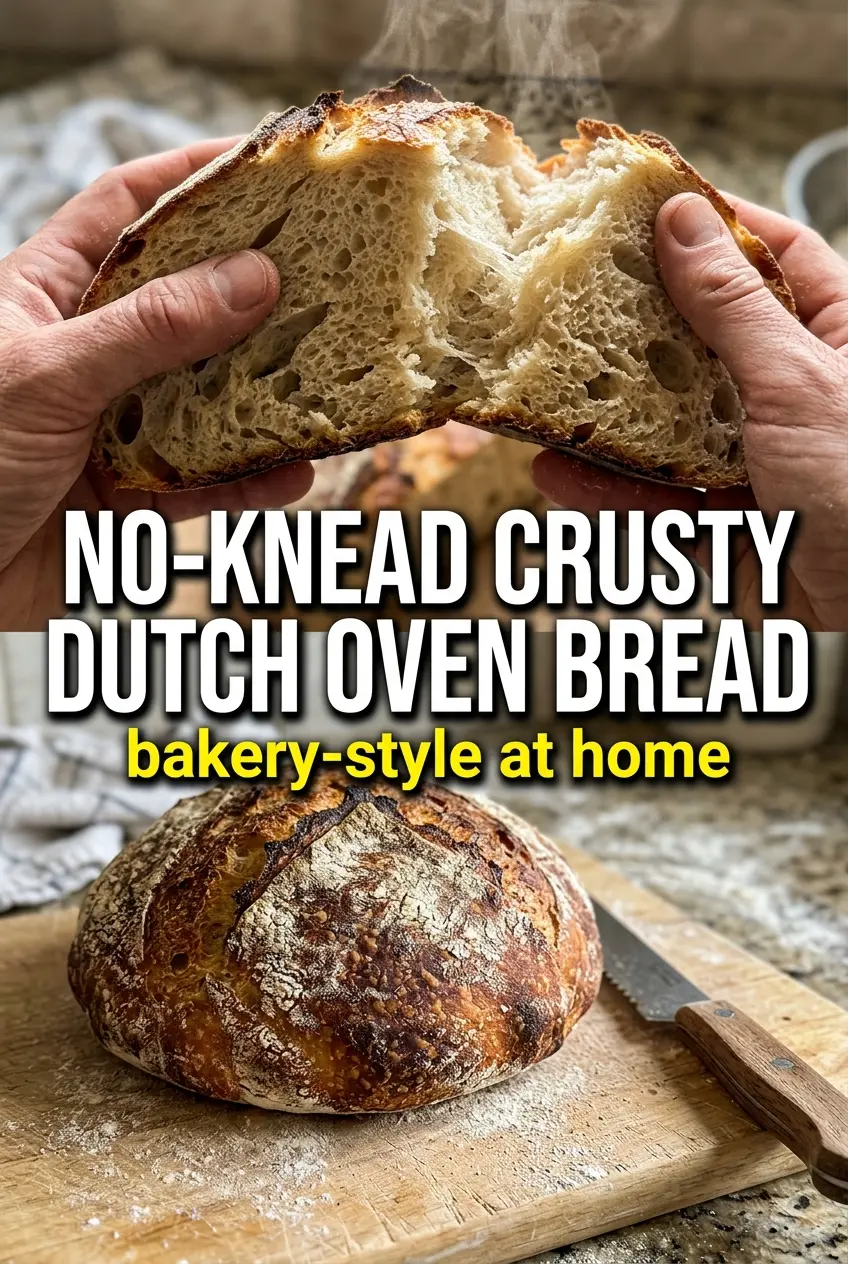
Crackly crust, an airy open crumb, and that deep bakery-style aroma make this loaf the kind of bread people remember. The best part is how little you have to do to get there. A long rest builds flavor and structure while the hot Dutch oven traps steam, which gives you that shiny, blistered crust without any special equipment beyond the pot itself.
This dough is intentionally wet and sticky. That’s not a problem; that’s the point. The yeast works slowly overnight, gluten develops on its own, and the dough bakes up with those irregular holes that make each slice feel handmade in the best way. A quick preheat on the Dutch oven matters more here than any kneading ever would, because heat is what sets the outside fast enough to create lift and a good crackle.
Below you’ll find the few details that matter most: how the dough should look before baking, why the lid stays on for the first part of the bake, and the small handling tricks that keep the loaf from deflating when you turn it out.
The crust came out crackly and deep golden, and the inside had those perfect little holes. I was nervous about the sticky dough, but it rose beautifully overnight and sliced like a bakery loaf.
Crusty no-knead Dutch oven bread with an airy crumb belongs in your weekend baking rotation.
The Part Most No-Knead Breads Get Wrong: Heat and Time
The biggest mistake with this style of bread is rushing the rise or baking it in a lukewarm pot. The dough needs time to ferment until it looks bubbly and loose, not just puffy on top. That long rest gives you flavor, but it also creates the structure that replaces kneading.
The Dutch oven is doing two jobs at once: trapping steam for the first stretch of baking and delivering strong bottom heat for oven spring. If the pot isn’t fully preheated, the loaf can spread before it sets, which leaves you with a flatter, denser bread. The lid stays on for most of the bake because that steam keeps the crust flexible long enough for the loaf to rise fully before it hardens.
- Flour — All-purpose flour gives this loaf enough strength without making it chewy or heavy. Bread flour works too if that’s what you keep on hand, and it will give you a slightly more elastic crumb.
- Active dry yeast — The tiny amount of yeast is what makes the long rest work. You can use instant yeast in the same amount if that’s what you have; the rise may move a little faster, so watch the dough, not the clock.
- Warm water — Warm, not hot, water helps the yeast get started without killing it. If the water feels like a comfortable bath, you’re in the right range.
- Salt — Salt doesn’t just season the bread; it keeps the crumb from tasting flat and helps control the fermentation so the dough doesn’t race ahead and collapse.
Let the Dough Do the Work Before the Oven Takes Over
Mixing Just Until You Have a Shaggy Dough
Stir the flour, salt, yeast, and water until no dry flour remains and the dough looks sticky and rough. Don’t chase smoothness here. If you overmix, you’ll end up fighting a dough that doesn’t need to be developed by hand in the first place.
The Overnight Rest That Builds the Crumb
Cover the bowl and leave it at room temperature for 12 to 18 hours. By the end, the dough should be bubbly, doubled, and loose enough to spread a little when you tip the bowl. If it still looks tight and undergrown, it needs more time; if it’s collapsed and very slack, your room was probably too warm and it went a bit far.
Shaping Without Deflating the Air
Turn the dough onto a floured surface and handle it gently. Use enough flour to keep it from sticking, but don’t work so much flour into the surface that the dough won’t seal into a ball. A rough shape is enough. The goal is to keep the bubbles you already built.
Baking in the Covered Pot
Put the dough into the very hot Dutch oven, cover it, and bake for 30 minutes. This is when the loaf gets its lift and the crust starts setting. If the pot wasn’t fully preheated, the bottom can stay pale and the bread won’t rise as dramatically.
Finishing for Color and Crackle
Take the lid off and bake until the loaf is deeply golden, with a dark crust that sounds hollow when tapped. Those last 10 to 15 minutes are where the color and crunch develop. Pull it too early and the crust stays soft; leave it too long and the outside can get bitter before the center is fully baked.
How to Adapt This No-Knead Bread for Different Kitchens and Menus
Gluten-Free Baking Isn’t a Straight Swap
This recipe depends on gluten for its stretch and structure, so a one-to-one gluten-free flour swap won’t give the same result. If you want a gluten-free loaf, use a bread formula built for that flour blend and expect a tighter crumb and a different crust. This version is best kept as an all-purpose or bread flour loaf.
Using Bread Flour for a Chewier Slice
Bread flour gives the loaf a little more chew and a slightly taller rise because it has more protein than all-purpose flour. The dough may feel a touch stronger and less fragile when shaping. If you like a bakery-style slice that stands up to butter or soup, this is the best upgrade.
Making the Rise Fit Your Schedule
A cooler room slows the dough down, which can be helpful if you want to bake in the morning after mixing at night. A warmer kitchen speeds things up, so check the dough early if your house runs hot. You’re looking for bubbles across the surface and a dough that has clearly relaxed and expanded, not a rigid timetable.
Storage and Reheating
- Refrigerator: Store sliced or unsliced bread in a paper bag or wrapped loosely in a clean towel for 2 to 3 days. The crust softens a bit as it sits.
- Freezer: This bread freezes well. Slice it first, wrap it tightly, and freeze for up to 3 months so you can toast pieces straight from frozen.
- Reheating: Toast slices to bring the crust back, or warm a whole loaf in a 350°F oven for 10 to 15 minutes. The common mistake is microwaving it, which turns the crust leathery and the crumb gummy.
Answers to the Questions Worth Asking
No-Knead Crusty Dutch Oven Bread
Ingredients
Equipment
Method
- Whisk together the all-purpose flour, salt, and active dry yeast in a large bowl until evenly combined, with no dry pockets left behind.
- Stir in the warm water until a shaggy, sticky dough forms, scraping the bowl as needed; there should be no kneading.
- Cover the bowl and let rest at room temperature for 12–18 hours, until the dough is bubbly and doubled in size.
- Preheat the oven to 450°F with the Dutch oven inside for 30 minutes, until the pot is very hot.
- Turn the dough out onto a floured surface, shape it into a ball, and carefully place it into the hot Dutch oven, then cover.
- Bake covered at 450°F for 30 minutes, until the loaf looks set and begins to turn golden at the edges.
- Remove the lid and bake for 10–15 more minutes at 450°F until the crust is deeply golden with a crackly look.
- Cool the loaf completely on a wire rack before slicing so the interior finishes setting and doesn’t turn gummy.