These brownies bake up dense, glossy, and deeply chocolatey, with that shiny crackly top everybody hopes for but doesn’t always get. The centers stay fudgy instead of turning cakey, and the chocolate chips melt into little pockets that keep each bite rich from edge to edge.
What makes this version work is the balance of fat, sugar, and just enough flour to hold everything together without drying it out. Whisking the butter and sugar first helps build the shiny top, and beating in the eggs one at a time gives the batter that thick, smooth base that bakes into a chewy crumb. The batter is mixed in one bowl, which keeps the process simple, but the order still matters if you want the right texture.
Below, I’ve included the small details that keep brownies fudgy instead of dry, plus a few easy swaps and storage notes so you can bake them the way you need them.
The top turned out shiny and crackly, and the brownies were still fudgy after cooling. I baked them 30 minutes and the centers set up perfectly with those moist crumbs everyone wants.
Save these fudgy homemade brownies for the days when you want a shiny top, deep chocolate flavor, and a pan that disappears fast.
The Shiny Top Comes From the Sugar Stage, Not Luck
That crackly brownie top isn’t an accident. It happens when the sugar gets fully whisked into the melted butter and the eggs are beaten in enough to emulsify the batter, which helps create that thin, glossy layer on top as it bakes. Skip that early whisking and you usually end up with brownies that taste fine but look flat.
The other place people go wrong is overmixing once the flour goes in. Brownie batter should look thick and rich, but it doesn’t need a lot of stirring once the dry ingredients are added. Mix just until the cocoa and flour disappear, then stop. Overworking the batter pushes these brownies toward cakey instead of dense and fudgy.
- Melted butter — This gives the brownies their rich base and keeps the texture dense. You can use salted butter in a pinch, but reduce the added salt slightly.
- Cocoa powder — Unsweetened cocoa is the main chocolate flavor here, so use one you like. Dutch-process cocoa will make the brownies darker and a little smoother, while natural cocoa keeps the flavor sharper.
- Chocolate chips — These add little molten pockets throughout the pan. Semi-sweet works best because it balances the sweetness of the batter, but chopped chocolate also works if that’s what you have.
- Eggs — The eggs build structure and contribute to that shiny top. Room-temperature eggs blend more smoothly into the butter-sugar mixture, which helps the batter come together without streaks.
Mix the Batter Just Enough, Then Stop
Build the glossy base first
Whisk the melted butter and sugar until the mixture looks thick, shiny, and a little grainy but not separated. That first mixing step dissolves some of the sugar and helps form the glossy crust later. If the butter is piping hot, let it cool for a minute before adding the eggs or you’ll risk scrambling them.
Work the eggs in one at a time
Add each egg individually and beat well after each one. The batter should turn smoother and slightly lighter in color as you go. If it still looks oily or broken, keep whisking for another few seconds; it should come back together before you move on.
Fold in the dry ingredients gently
Stir in the cocoa powder, flour, and salt just until no dry pockets remain. The batter will be thick, and that’s what you want. Once the flour disappears, stop stirring; a few streaks are better than an overmixed pan of brownies that bake up dry at the edges.
Watch the center, not the clock alone
Bake until a toothpick comes out with a few moist crumbs, not wet batter. The brownies continue to set as they cool, so pulling them when the center still looks just barely underdone is how you keep them fudgy. Let them cool completely before slicing or they’ll collapse into a gooey mess.
What to Change When You Want a Different Kind of Brownie
Dairy-Free Brownies That Still Stay Fudgy
Use a good plant-based butter stick instead of regular butter. The brownies will still be dense and rich, though the flavor will be a little less buttery. Pick one that melts smoothly and has a fat content meant for baking, not a tub-style spread.
Gluten-Free Brownies Without a Gummy Texture
Swap the all-purpose flour for a 1:1 gluten-free baking blend that contains xanthan gum. The texture will stay close to the original, but don’t use almond flour alone or the brownies will turn greasy and fragile instead of sliceable.
Extra-Intense Chocolate Brownies
Replace half of the chocolate chips with chopped dark chocolate and add an extra tablespoon of cocoa powder. That gives you a deeper chocolate hit and more pockets of melted chocolate, but the bars will be a touch richer and less sweet.
Storage and Reheating
- Refrigerator: Store in an airtight container for up to 5 days. The texture firms up in the fridge, which some people like, but the center will be less soft straight from cold.
- Freezer: These freeze well. Wrap individual squares tightly and freeze for up to 3 months, then thaw at room temperature while still wrapped so condensation doesn’t make the tops sticky.
- Reheating: Warm a square in the microwave for 10 to 15 seconds if you want the chips slightly melty again. Don’t overheat them or the edges dry out fast and the fudgy center turns cakier.
Questions I Get Asked About This Recipe
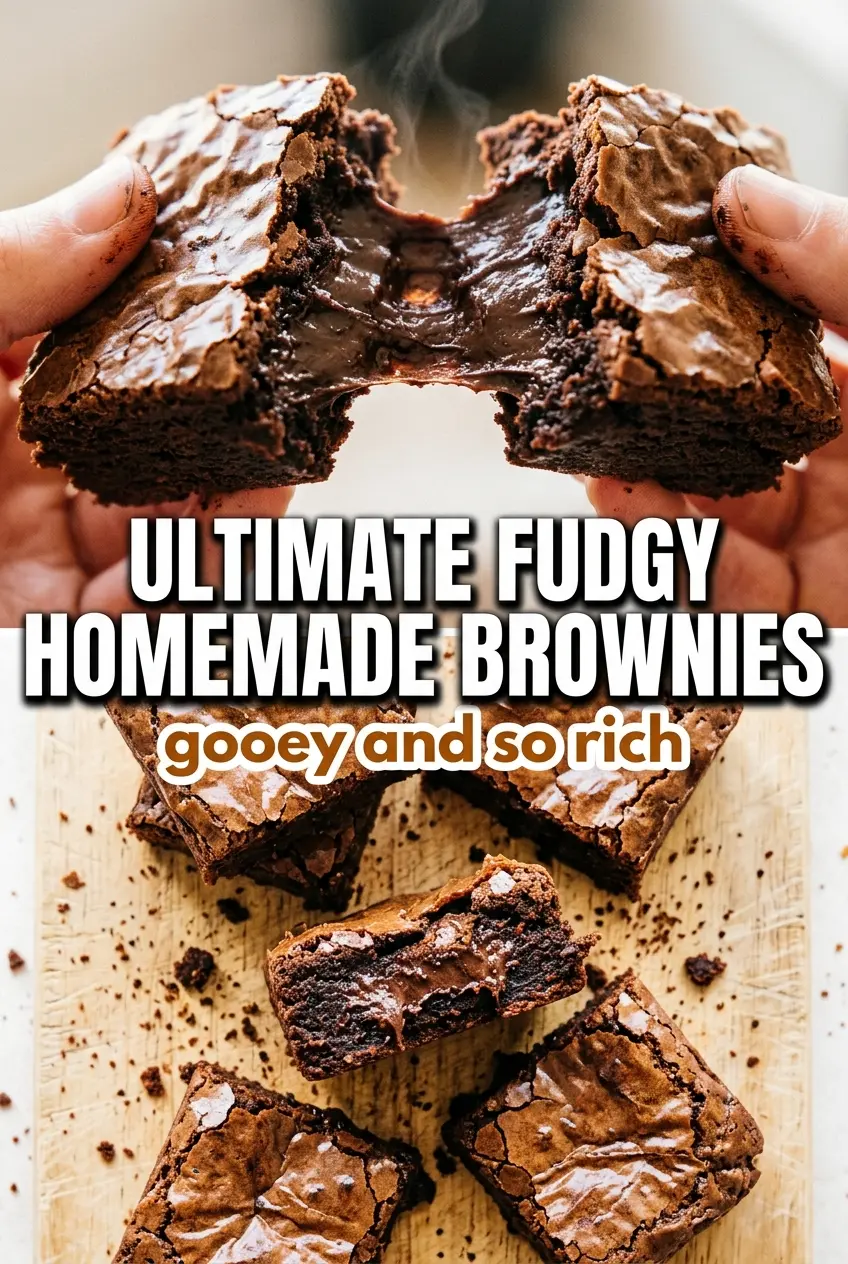
Ultimate Fudgy Homemade Brownies
Ingredients
Equipment
Method
- Preheat the oven to 350°F and line a 9x13-inch pan with parchment paper, leaving overhang for easy lifting.
- Whisk the melted butter and granulated sugar until glossy, then beat in the eggs one at a time and add the vanilla extract.
- Fold in the cocoa powder, all-purpose flour, and salt just until combined, stopping the moment the dry streaks disappear to avoid overmixing.
- Stir in the semi-sweet chocolate chips until evenly distributed through the thick batter.
- Pour the batter into the prepared pan and smooth the top so it bakes evenly.
- Bake at 350°F for 28–32 minutes, until a toothpick comes out with a few moist crumbs and the top looks set with a slight shine.
- Cool completely before slicing so the fudgy centers firm up and the crackly top stays intact.