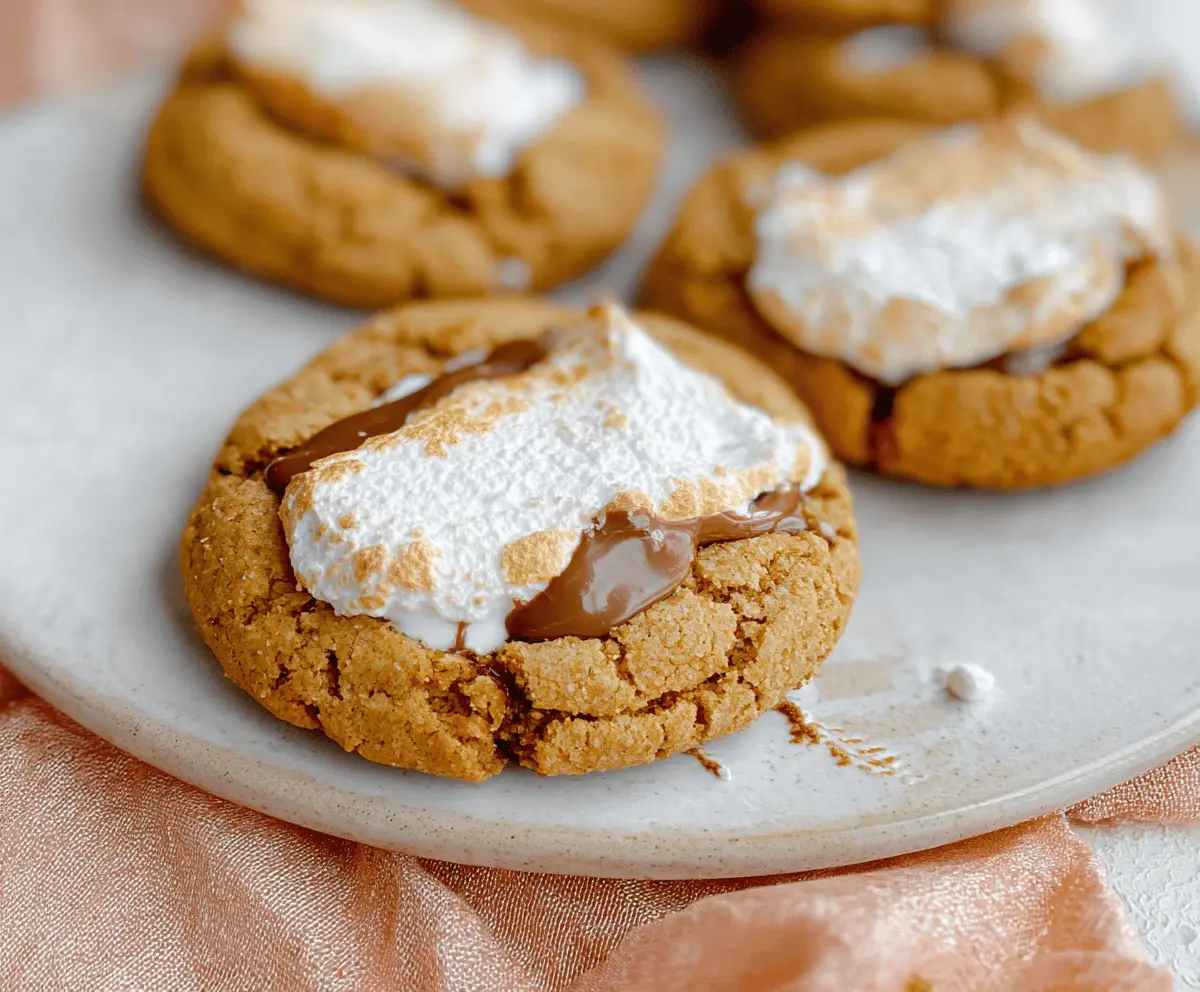
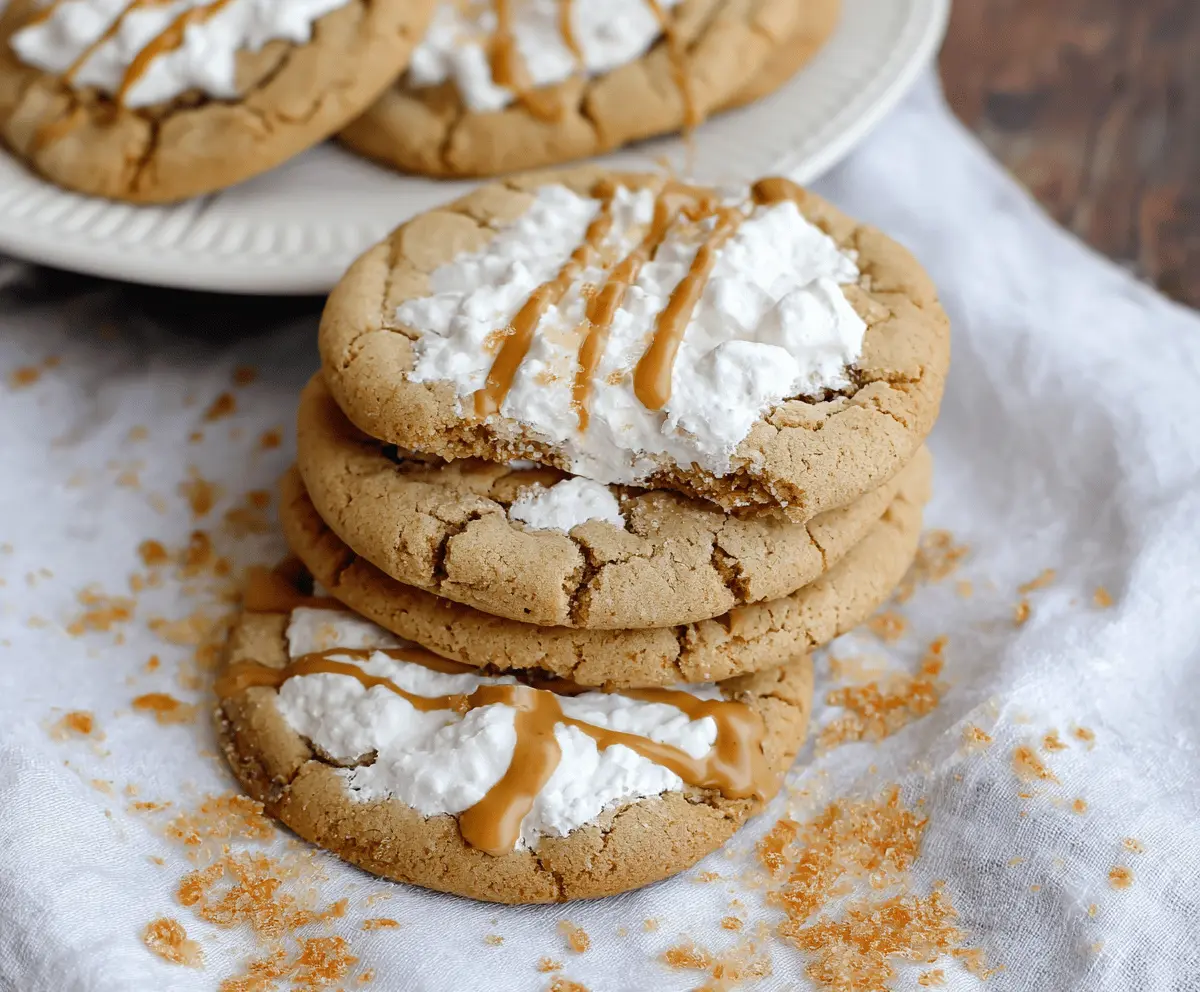
Get ready for a sweet treat with these Easy Fluffernutter Cookies! They’re soft, chewy, and packed with yummy peanut butter and fluffy marshmallow.
These cookies are sure to bring smiles all around, just like a warm hug! I love making them for family get-togethers, and they never last long on the plate. 🥳
Key Ingredients & Substitutions
Peanut Butter: Creamy peanut butter is best for this recipe, giving a smooth texture. If you have a nut allergy, try sunflower butter or wow butter as great alternatives!
Unsalted Butter: I love using unsalted butter to control the saltiness. If you’re short on butter, coconut oil can work in a pinch for a different flavor.
Marshmallows: Large marshmallows are fun and classic! Mini marshmallows are also an option, just adjust the amount. You can also use marshmallow fluff for a different texture!
Chocolate Chips: While optional, I highly recommend adding chocolate chips. If you’re vegan, try dairy-free chocolate chips for a similar taste!
How Do You Get Chewy Cookies with the Right Texture?
The key to chewy cookies is not overbaking them. Remove them from the oven when the edges are set but the center still looks soft. This way, they’ll continue to cook on the baking sheet.
- Measure flour accurately—too much flour can lead to dry cookies.
- Space the cookie dough well on the baking sheet; it helps them bake evenly.
- Pressing the marshmallow right after baking is crucial; this makes it melt slightly and stick to the cookie.
How to Make Easy Fluffernutter Cookies
Ingredients You’ll Need:
- 1/2 cup unsalted butter, softened
- 1/2 cup granulated sugar
- 1/2 cup brown sugar, packed
- 1 cup creamy peanut butter
- 1 large egg
- 1 teaspoon vanilla extract
- 1 cup all-purpose flour
- 1 teaspoon baking soda
- 1/4 teaspoon salt
- 8 large marshmallows, halved (or large marshmallow pieces)
- 1/2 cup chocolate chips or small chunks (optional)
How Much Time Will You Need?
This recipe takes about 15 minutes to prepare and 10-12 minutes to bake. With just a little patience for cooling, you’ll have delicious cookies ready to enjoy in under 30 minutes!
Step-by-Step Instructions:
1. Preheat and Prepare:
First things first, preheat your oven to 350°F (175°C). While the oven heats up, line a baking sheet with parchment paper or a silicone mat to keep your cookies from sticking.
2. Creaming the Mixture:
In a large bowl, combine the softened unsalted butter, granulated sugar, brown sugar, and creamy peanut butter. Using a hand mixer or a sturdy spoon, mix them together until it’s smooth and creamy—this is where the magic begins!
3. Adding the Egg and Vanilla:
Next, beat in the egg and vanilla extract until everything is fully blended. The mixture should be light and fluffy for the best cookie texture!
4. Mixing the Dry Ingredients:
In a separate bowl, whisk together the all-purpose flour, baking soda, and salt. This will help distribute the baking soda evenly, giving the cookies a nice lift!
5. Combining the Mixtures:
Gradually add the dry ingredients to the creamy peanut butter mix, stirring gently until just combined. Be careful not to overmix—it’s okay if there are a few lumps!
6. Scooping the Dough:
Now it’s time to scoop! Use a spoon to drop about 1.5 tablespoons of dough onto the prepared baking sheet. Space them about 2 inches apart to give them room to spread while baking.
7. Baking the Cookies:
Bake your cookies in the preheated oven for 8-10 minutes. You want the edges to be set, but the centers should still look a bit soft. This gives them that chewy texture we love!
8. Adding Marshmallows:
Take the cookies out of the oven, and while they’re still warm, press a halved marshmallow into the center of each cookie. If you’re using chocolate chips, sprinkle them over the marshmallows at this point too!
9. Final Baking:
Pop the baking sheet back in the oven for another 1-2 minutes. You want the marshmallows to puff up a bit and get slightly toasted on top—it makes them ooey-gooey and delicious!
10. Cooling Time:
Remove the cookies from the oven and let them cool on the baking sheet for about 5 minutes. Then, carefully transfer them to a wire rack to cool completely. Patience is key here!
11. Enjoy Your Treat!
Finally, it’s time to dig in! Serve your Fluffernutter Cookies warm, and watch them disappear as everyone enjoys that delightful peanut butter and marshmallow combo. Happy baking!
Can I Use Natural Peanut Butter Instead of Creamy Peanut Butter?
Yes, you can use natural peanut butter, but keep in mind it may alter the texture slightly. Natural peanut butter tends to be a bit more oily, so you might want to reduce the amount of butter slightly or stir it well before using to blend the oils back in.
How Do I Store Leftover Cookies?
Store your leftover cookies in an airtight container at room temperature for up to 3 days. For longer storage, you can freeze them! Just layer them between sheets of parchment in a freezer-safe bag, and they’ll keep for up to 3 months.
Can I Make This Recipe Gluten-Free?
Absolutely! Substitute the all-purpose flour with a gluten-free flour blend, ensuring it contains xanthan gum for the best texture. You can also try almond flour or coconut flour, but you may need to adjust the quantities slightly.
What If I Don’t Have Marshmallows?
If you’re out of marshmallows, you can use marshmallow fluff as a substitute! Just scoop a teaspoon of fluff on top of each cookie right after baking, or try adding crushed up graham crackers to the dough for a similar flavor profile.