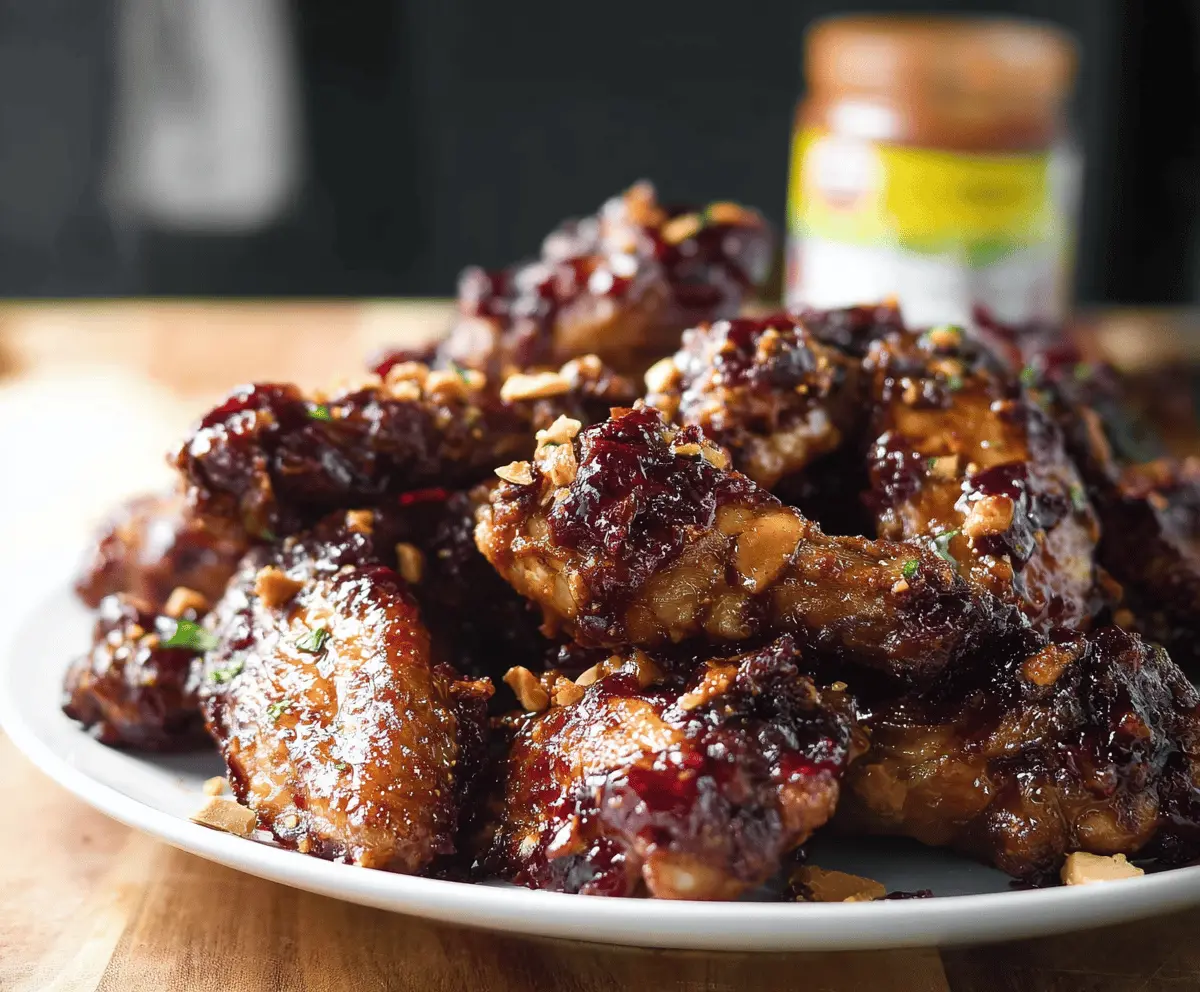
These Baked Peanut Butter and Jelly Chicken Wings are a tasty twist! Imagine crispy wings coated in a sweet and savory peanut butter sauce, paired with your favorite jelly. Yum!
You just won’t believe how good these wings taste! They’re perfect for game night or when you just want something fun and different. Trust me, everyone will ask for seconds!
Key Ingredients & Substitutions
Chicken Wings: Use party-style wings for easier handling. If you can’t find wings, drumsticks can work too! Just adjust the baking time slightly as they may need a few extra minutes.
Peanut Butter: Creamy peanut butter is ideal for a smooth sauce. If you’re looking for a healthier option, try natural peanut butter. Just ensure it’s well stirred as it can be more runny. If allergic to peanuts, sun butter can be an excellent substitute!
Jelly or Jam: Grape and mixed berry jelly are traditional choices, but feel free to experiment with other flavors like strawberry or raspberry. If you’re watching sugar intake, consider using unsweetened fruit preserves or a low-sugar alternative.
Sriracha or Hot Sauce: If you like a little heat, add sriracha! For a milder option, skip this or replace it with a sweet chili sauce for a different flavor kick.
What’s the Best Way to Get Crispy Wings?
Achieving crispy wings is all about the prep and cooking method. Start by drying them well with paper towels before seasoning. This helps remove excess moisture, which can cause steaming instead of crisping. Here’s how to ensure crispy, delicious wings:
- After preparing the wings, pat them dry; moisture is the enemy of crispiness.
- Arrange them in a single layer on a baking sheet with plenty of space to allow even airflow.
- Bake at high heat (400°F) and flip halfway through to crisp both sides. Keep an eye on them to prevent any burning!
With these tips, your wings will turn out perfectly crispy and full of flavor! Enjoy your cooking adventure!
Baked Peanut Butter and Jelly Chicken Wings
Ingredients You’ll Need:
- 3 pounds chicken wings, tips removed and wings separated into flats and drumettes
- 1 teaspoon salt
- 1 teaspoon black pepper
- 1 teaspoon garlic powder
- 1 tablespoon olive oil
- 1/2 cup creamy peanut butter
- 1/4 cup jelly or jam (grape or mixed berry recommended)
- 2 tablespoons soy sauce
- 1 tablespoon honey
- 1 tablespoon rice vinegar or apple cider vinegar
- 1 teaspoon sriracha or hot sauce (optional for mild heat)
- 1/2 teaspoon grated fresh ginger (optional)
- Chopped roasted peanuts for garnish
- Chopped fresh parsley or cilantro for garnish (optional)
How Much Time Will You Need?
This recipe takes about 15 minutes for prep and around 40-45 minutes for baking. Just combine your ingredients and let the oven do its magic! You’ll have delicious wings ready to enjoy in approximately 1 hour.
Step-by-Step Instructions:
1. Preheat the Oven:
First, heat your oven to 400°F (200°C). This will help get those wings nice and crispy! Line a large baking sheet with parchment paper or set a wire rack on top for even better airflow.
2. Prepare the Wings:
Next, grab your chicken wings and pat them dry with paper towels. This step is really important so that they don’t steam in the oven. In a large bowl, toss the wings with salt, black pepper, garlic powder, and olive oil until they are evenly coated.
3. Arrange the Wings:
Now, place your seasoned wings in a single layer on the prepared baking sheet or wire rack. Make sure there’s space between each wing so they can crisp up nicely.
4. Bake the Wings:
Pop them in the oven and bake for 40-45 minutes. Remember to flip them halfway through cooking so both sides get crispy and golden. You want your wings to be cooked through and delicious!
5. Make the Peanut Butter Jelly Sauce:
While the wings are baking, you can prepare the sauce! In a small saucepan over low heat, combine the creamy peanut butter, jelly, soy sauce, honey, vinegar, sriracha (if desired), and grated ginger. Stir continuously until the mixture is smooth and warmed through—this should take about 3-5 minutes. If the sauce seems too thick, add a splash of water to reach your desired consistency.
6. Coat the Wings:
Once your wings are baked, transfer them to a large mixing bowl. Pour the warm peanut butter jelly sauce over the wings and gently toss until they are well-coated with the savory and sweet glaze.
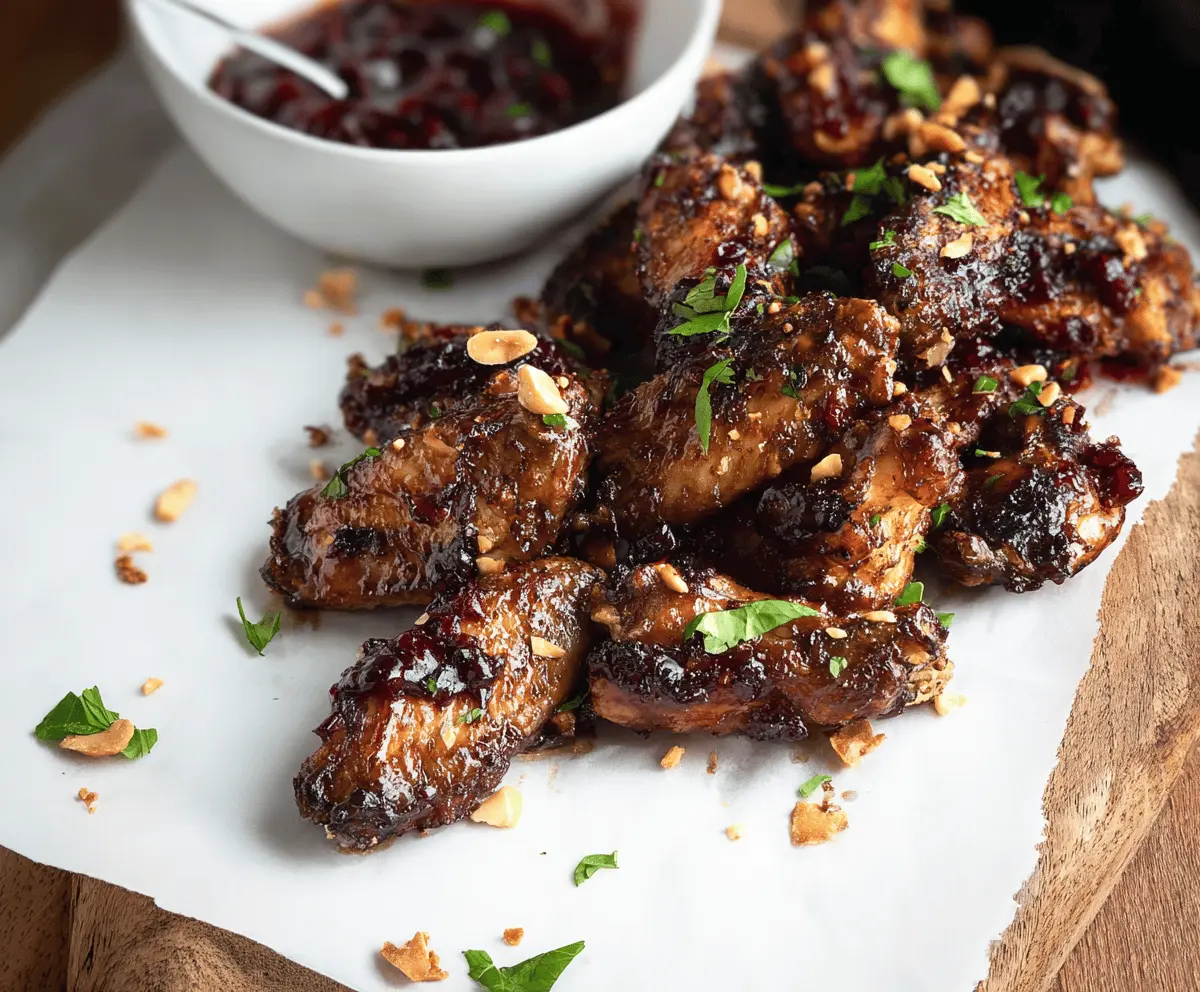
7. Serve and Garnish:
Arrange your deliciously coated wings on a serving platter. For an added crunch and flair, sprinkle chopped roasted peanuts over the top. If you like, garnish with fresh parsley or cilantro to brighten up the dish.
8. Enjoy!
These Baked Peanut Butter and Jelly Chicken Wings are perfect for sharing with friends or devouring solo. They make a fantastic snack or appetizer for any occasion. Dig in and enjoy the sweet and savory goodness!
This recipe brilliantly combines the savory taste of baked chicken wings with the fun flavor of peanut butter and jelly, creating a dish that’s sure to be a hit!
Can I Use Frozen Chicken Wings?
Yes, you can! Just make sure to fully thaw them in the fridge overnight before preparing. Pat them dry to achieve the best crispiness during baking.
What Can I Substitute for Peanut Butter If I’m Allergic?
If you have a peanut allergy, sunflower seed butter is a great alternative that will give you a similar texture and taste. Just make sure to choose a brand that’s safe for open allergen cross-contamination.
How Long Do Leftover Wings Last?
You can store any leftover wings in an airtight container in the fridge for up to 3 days. Reheat in the oven at 350°F for about 10-15 minutes to get them crispy again.
Can I Prep This Recipe Ahead of Time?
Absolutely! You can prep the wings and sauce a day in advance. Keep the wings seasoned in the fridge and the sauce in a separate container. When you’re ready, just bake the wings and coat them with the sauce afterward.