These 2-Ingredient Sweet Potato Pancakes are super easy and delicious! Just mash up sweet potatoes and mix with eggs for a tasty breakfast that’s healthy too.
I love how fluffy these pancakes turn out. And let’s face it, they make you feel a little fancy, even if you only cooked them in your pajamas! 🥞✨
Key Ingredients & Substitutions
Sweet Potato: This is the star of the dish! It adds natural sweetness and nutrition. You can also use canned sweet potato or pumpkin puree if you’re short on time. Just make sure it’s not seasoned.
Eggs: Eggs help bind the ingredients together and add fluffiness. If you’re looking for a vegan option, you can use flax eggs (1 tbsp flaxseed meal + 2.5 tbsp water per egg) or unsweetened applesauce (1/4 cup per egg).
How Do I Ensure Fluffy Pancakes?
The key to fluffy pancakes lies in how you mix the ingredients. After mashing the sweet potato, when you add the eggs, mix just until combined—overmixing can lead to dense pancakes. Cooking over medium heat is essential too. If the skillet is too hot, they will brown too quickly without cooking through.
- Keep your skillet at medium heat for even cooking.
- Flip the pancakes when you see bubbles forming on the surface, indicating it’s ready for a turn.
2-Ingredient Sweet Potato Pancakes
Ingredients:
- 1 large sweet potato (about 1 to 1.5 cups mashed)
- 2 large eggs
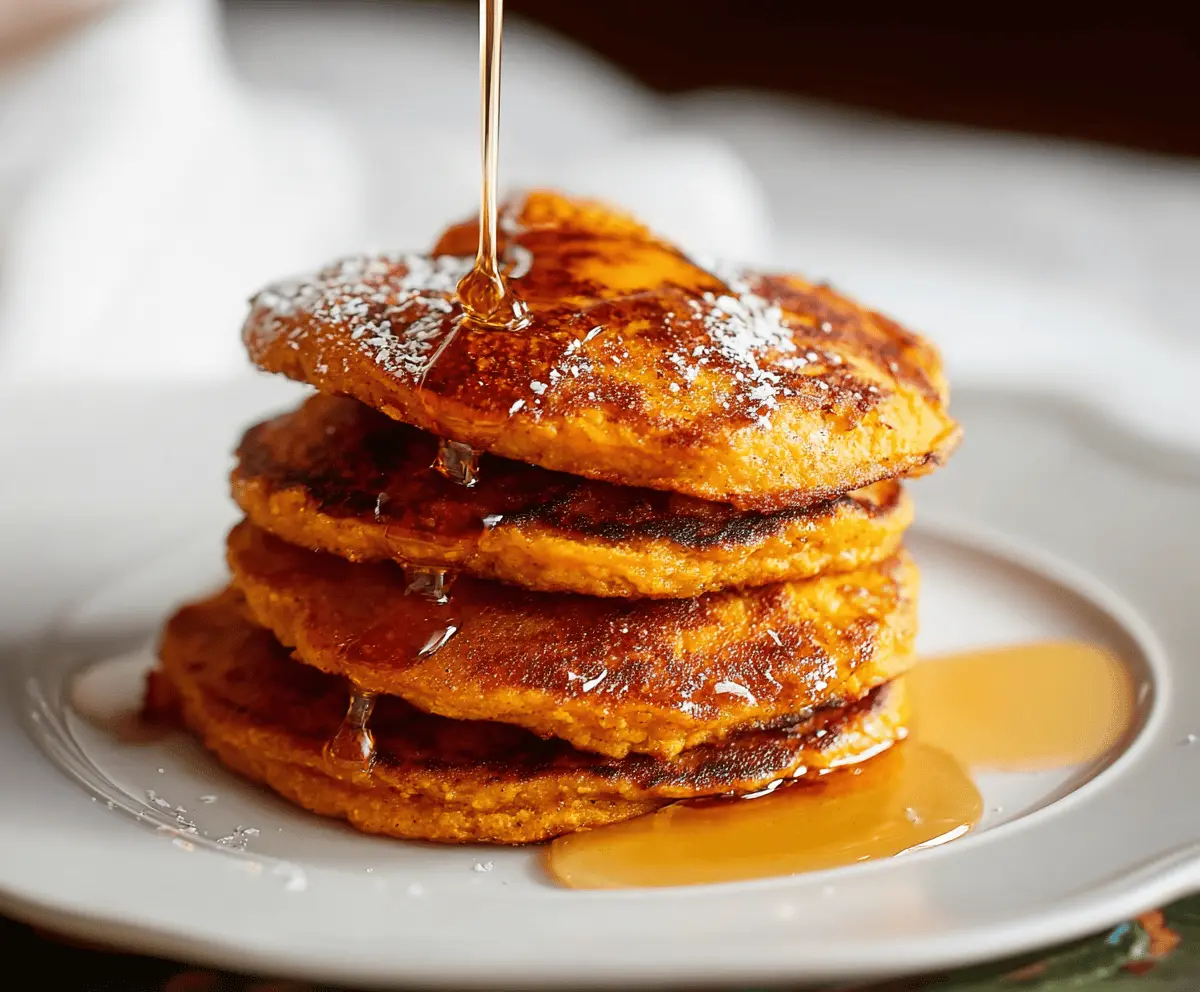
- Optional toppings: maple syrup, powdered sugar, coconut flakes
Time Needed:
This recipe takes about 10 minutes to prep and 10-15 minutes to cook, making it a quick and easy breakfast option. Total time is around 20-25 minutes from start to finish!
Instructions:
1. Cook the Sweet Potato:
Start by cooking the sweet potato until it’s tender. You can bake it in the oven at 400°F (200°C) for 45-60 minutes or microwave it for about 5-8 minutes, turning the potato halfway through to make sure it cooks evenly.
2. Mash the Sweet Potato:
Once the sweet potato is cooked and slightly cooled, peel off the skin. In a bowl, mash it thoroughly with a fork or potato masher until it’s nice and smooth. No lumps, please!
3. Mix in the Eggs:
Crack the eggs into the bowl with the mashed sweet potato. Mix them together well until you have a uniform batter. This will be your pancake mix!
4. Heat the Skillet:
Place a non-stick skillet or griddle over medium heat and lightly grease it with oil or butter. You want it to be hot but not so hot that the pancakes burn.
5. Cook the Pancakes:
Spoon some of the batter onto the skillet to form small rounds. Flatten them slightly with the back of the spoon or spatula. Cook for about 2-3 minutes on one side until you see bubbles form, and then flip them over to cook the other side until golden brown.
6. Serve and Enjoy:
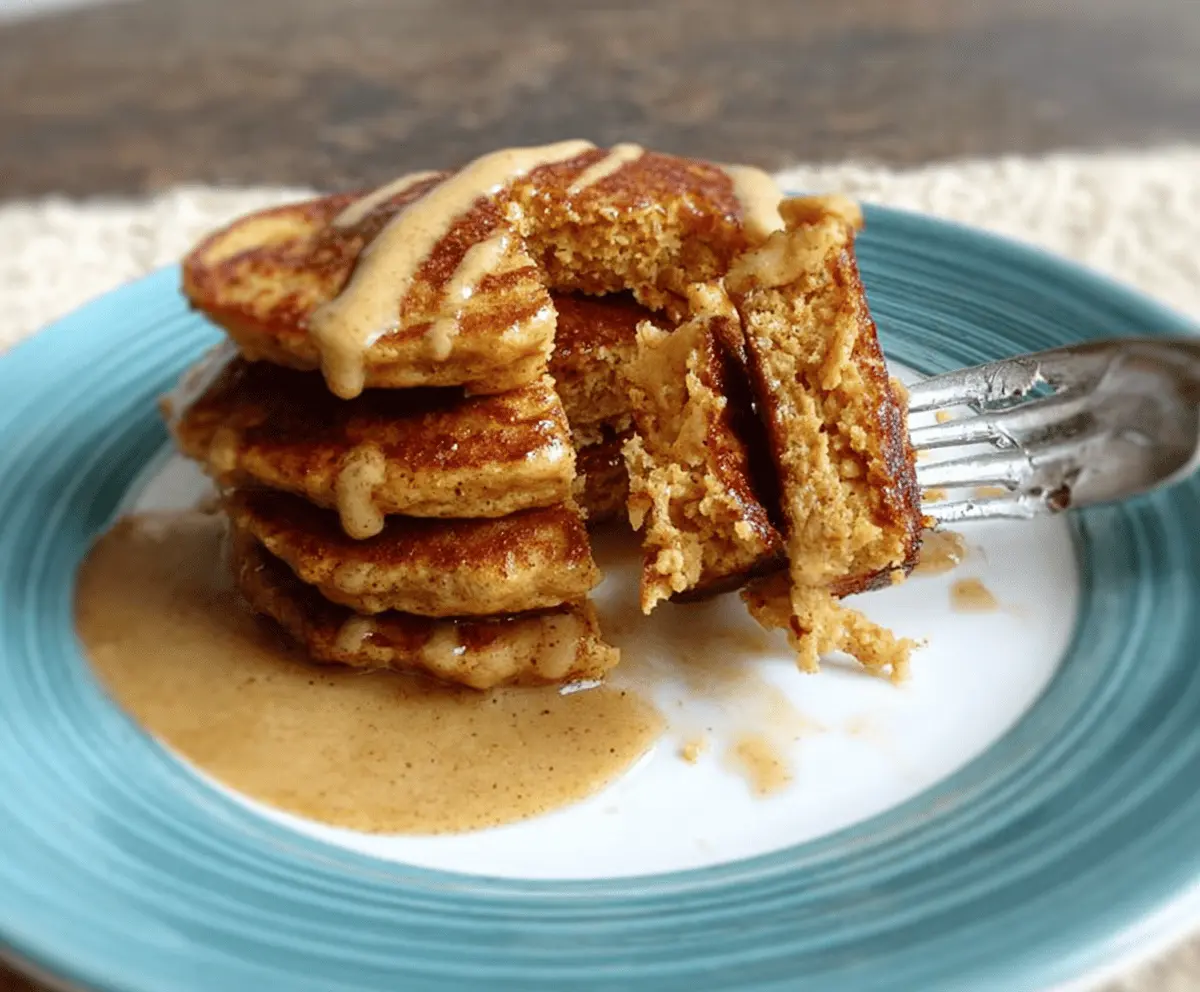
Once cooked, remove the pancakes from the skillet and stack them on a plate. Drizzle with maple syrup or sprinkle with powdered sugar and coconut flakes if you like. Enjoy your delicious, healthy sweet potato pancakes!
These pancakes are not only simple but also a delightful way to start your day. Happy cooking!
Can I Add Other Ingredients to the Batter?
Absolutely! Feel free to add spices like cinnamon or vanilla extract for added flavor. You can also mix in some baking powder for fluffier pancakes, but remember that it might change the texture slightly.
What Should I Do If My Batter Is Too Thick?
If your batter feels too thick, you can add a splash of milk (dairy or non-dairy) to reach your desired consistency. Just mix it in a little at a time until you get it right!
Can I Make These Pancakes Ahead of Time?
Yes! You can make the pancakes ahead and store them in the fridge for up to 3 days. Just reheat them in a toaster or skillet before serving for that fresh taste.
How to Store Leftover Pancakes?
To store leftovers, place them in an airtight container and refrigerate. You can also freeze them! Stack with parchment paper in between to avoid sticking, and store in a freezer-safe bag for up to 2 months.