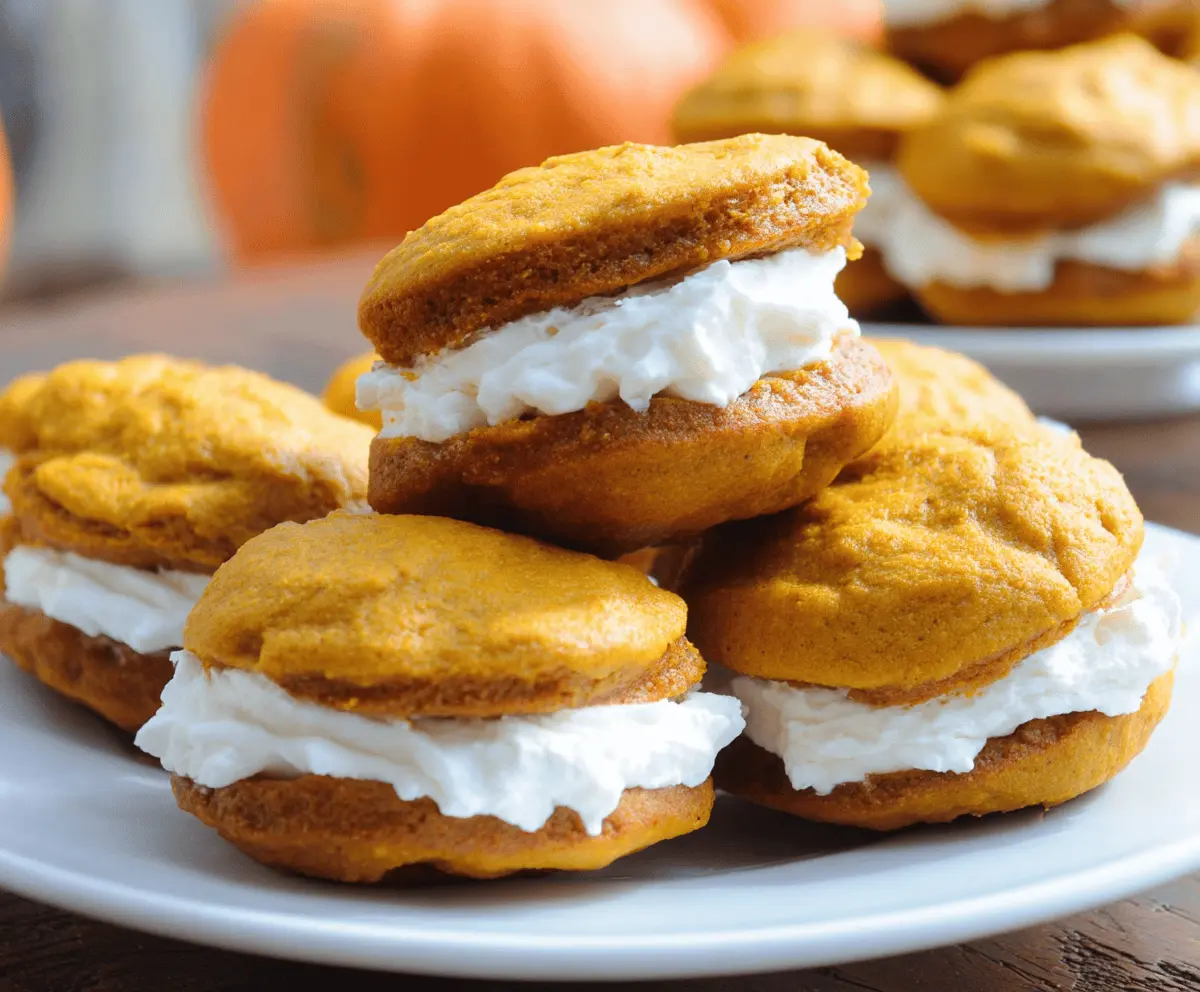
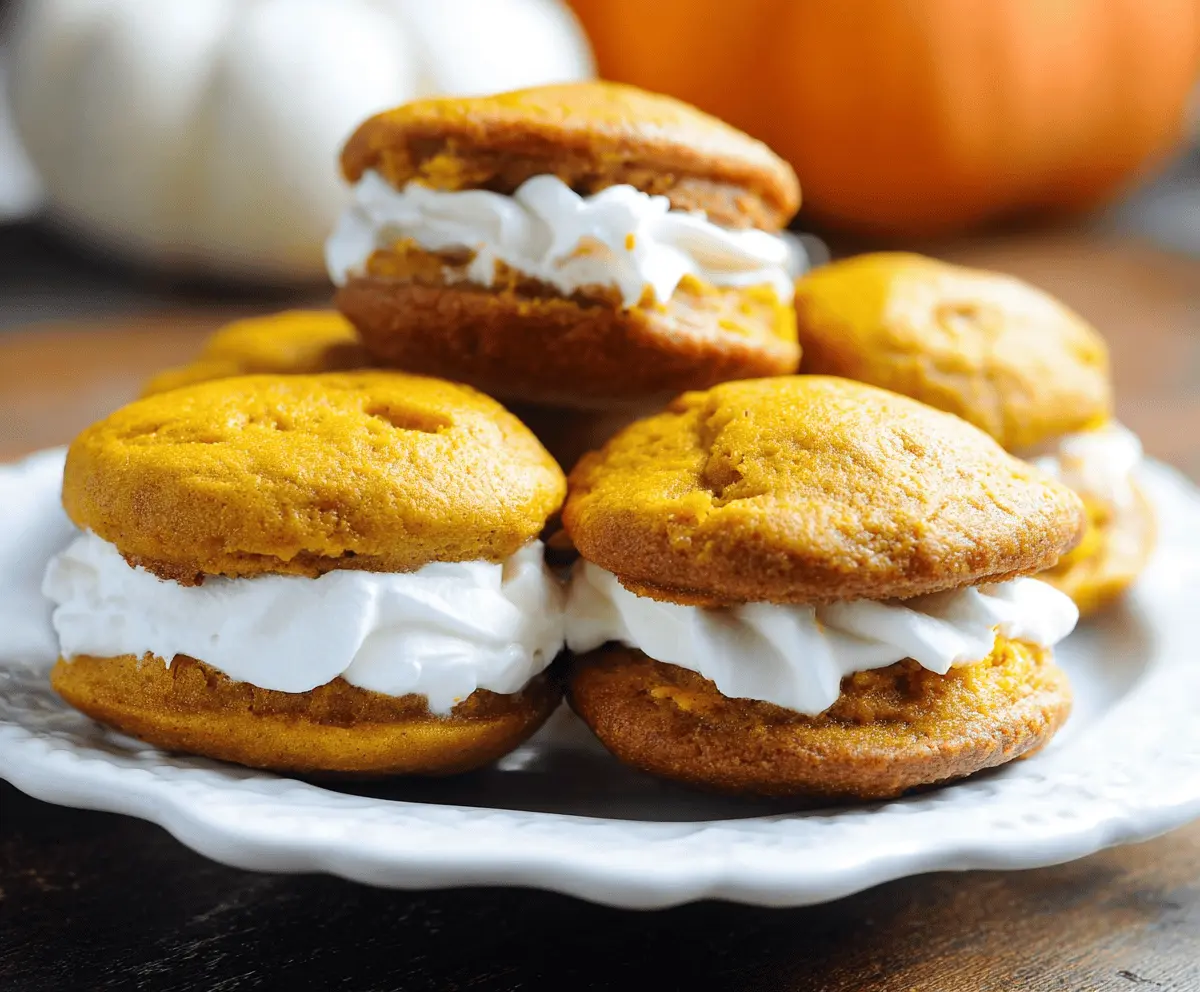
Amish Pumpkin Whoopie Pies are soft, sweet cakes filled with creamy frosting. They are like little bundles of fall flavors, perfect for sharing or enjoying with a cup of coffee!
Honestly, who can resist these yummy treats? They remind me of cozy autumn days and my grandma’s kitchen. I love serving them fresh out of the fridge; they taste even better chilled!
Key Ingredients & Substitutions
All-Purpose Flour: This is the base for our cakes. You can use a gluten-free blend if needed, or swap in whole wheat flour for a heartier flavor.
Canned Pumpkin Puree: This ingredient gives the whoopie pies their pumpkin flavor and moisture. If you can’t find canned pumpkin, you can make your own by roasting and pureeing fresh pumpkin or even using sweet potato puree.
Vegetable Oil: This keeps the cakes moist. If you prefer a healthier option, use applesauce or melted coconut oil as substitutes.
Spices: Ground cinnamon, ginger, and cloves create that classic fall flavor. You can adjust amounts to your liking, or use pumpkin pie spice as a one-for-one substitute.
Unsalted Butter: This is used in the frosting. If you’re dairy-free, try using a plant-based butter or margarine for the filling.
How Do You Achieve the Perfect Pumpkin Cake Texture?
Getting the right texture in your pumpkin cakes is key for delicious whoopie pies. Here’s how to ensure they’re fluffy and moist:
- Make sure to mix the wet ingredients until just combined with the dry ingredients. Overmixing can result in dense cakes.
- Use a light hand when scooping out the batter. Rounded tablespoons are ideal to ensure even cooking and a soft center.
- Watch the baking time carefully. Remove the cakes when they spring back lightly—this keeps them soft and chewy.
Let these tips guide you, and you’ll have wonderfully fluffy, flavorful whoopie pies every time! Enjoy baking!
Amish Pumpkin Whoopie Pies
Ingredients You’ll Need:
For the Pumpkin Cakes:
- 2 cups all-purpose flour
- 1 teaspoon baking soda
- 1 teaspoon ground cinnamon
- 1/2 teaspoon ground ginger
- 1/4 teaspoon ground cloves
- 1/4 teaspoon salt
- 1 cup canned pumpkin puree
- 1 cup granulated sugar
- 1/2 cup vegetable oil
- 1 large egg
- 1 teaspoon vanilla extract
For the Filling:
- 1/2 cup unsalted butter, softened
- 1 1/2 cups powdered sugar, sifted
- 1 teaspoon vanilla extract
- 2 tablespoons heavy cream or milk
How Much Time Will You Need?
This recipe takes about 20 minutes for prep and 10-12 minutes for baking, plus some cooling time. After baking, you’ll want to let the whoopie pies chill for at least 30 minutes for the best flavor and texture. So, overall, you’re looking at around 1 hour and 15 minutes until you can dig into these tasty treats!
Step-by-Step Instructions:
1. Preheat the Oven:
Start by preheating your oven to 350°F (175°C). While it’s heating up, prepare your baking sheets by lining them with parchment paper to prevent sticking.
2. Mix the Dry Ingredients:
In a medium bowl, whisk together the flour, baking soda, cinnamon, ginger, cloves, and salt. This mix will help create the perfect base for your cakes. Set this aside for later!
3. Combine the Wet Ingredients:
In a large bowl, add the pumpkin puree, granulated sugar, vegetable oil, egg, and vanilla extract. Mix everything together until it’s nice and smooth. This will form the yummy foundation of your whoopie pies.
4. Combine Wet and Dry:
Now, gradually add your dry ingredient mixture to the wet mixture. Stir gently until just combined. Be careful not to overmix; we want those cakes to stay fluffy!
5. Scoop the Batter:
Using a spoon or a cookie scoop, drop rounded tablespoons of batter onto your prepared baking sheets. Make sure to leave about 2 inches of space between each scoop to give them room to spread while baking.
6. Bake the Cakes:
Bake in your preheated oven for about 10-12 minutes. The cakes should puff up and bounce back when you touch them lightly. Keep an eye on them so they don’t overbake!
7. Cool the Cakes:
After baking, remove the baking sheets from the oven and let the cakes cool on the sheets for about 5 minutes. Then, carefully transfer them to a wire rack to cool completely.
8. Make the Filling:
In a medium bowl, beat the softened butter until creamy. Slowly add the sifted powdered sugar, mixing well after each addition. Then, add vanilla extract and 1 tablespoon of heavy cream (or milk) and beat until the filling is light and fluffy. Adjust the consistency by adding more cream or milk if needed.
9. Assemble the Whoopie Pies:
Once your pumpkin cakes are completely cool, it’s time to fill them! Spread or pipe a generous amount of frosting onto the flat side of one cake, then place another cake on top (flat side down) to form a sandwich. Repeat this until all your cakes are filled!
10. Chill and Serve:
For the best flavor, refrigerate your whoopie pies for at least 30 minutes before serving. This allows the flavors to meld beautifully and keeps the filling firm.
Now, you’re ready to enjoy your delightful Amish Pumpkin Whoopie Pies! They’re perfect for sharing with friends or savoring all to yourself. Happy baking!
Can I Use Pumpkin Pie Filling Instead of Pumpkin Puree?
It’s best to use pure pumpkin puree instead of pumpkin pie filling, as the filling contains added spices and sweeteners that could alter the flavor and texture of your whoopie pies. Pure pumpkin puree will give you the right pumpkin taste without extra additives!
How Should I Store Leftover Whoopie Pies?
Store any leftover whoopie pies in an airtight container in the refrigerator for up to 5 days. They’ll stay fresh and delicious! If you’d like to keep them longer, you can freeze the assembled pies—just wrap them tightly in plastic wrap and then place them in a freezer bag. They can be frozen for up to 3 months.
Can I Make the Whoopie Pies Gluten-Free?
Absolutely! To make gluten-free whoopie pies, simply substitute the all-purpose flour with a 1:1 gluten-free baking blend. Make sure that the blend contains xanthan gum for proper structure!
What Can I Use Instead of Heavy Cream in the Filling?
If you don’t have heavy cream on hand, you can substitute it with whole milk, half-and-half, or coconut cream for a dairy-free option. Just keep in mind that the consistency may vary slightly based on your choice.